


Plastic Wooden Table Lamp Fixing Kit With Wood Nipple – BC Version
This is a guide to help you install our Wooden Lampholder Kit With Wood Nipple, and I am using some prop parts which already have a hole and the backplate fixed to a piece of wood.
Depending on if you already have an existing installation, or you’re installing from scratch, this guide may change slightly.
The first step is to replace your existing cable with the new one supplied with the kit, this should be as simple as pulling the old wire out and feeding the new wire in from the bottom of the lamp.
In some cases you may need to attach the new wire to the old wire to pull it through the light is there are any sharp bends etc… hopefully not and it’s nice and simple.
-
Once this is done, you will need to install the wood nipple, ensuring the 10mm fine thread is sticking out the top of the wood.
We recommend in testing the size of hole required first, as some woods will require different size holes, but generally an 8.5mm will be fine.
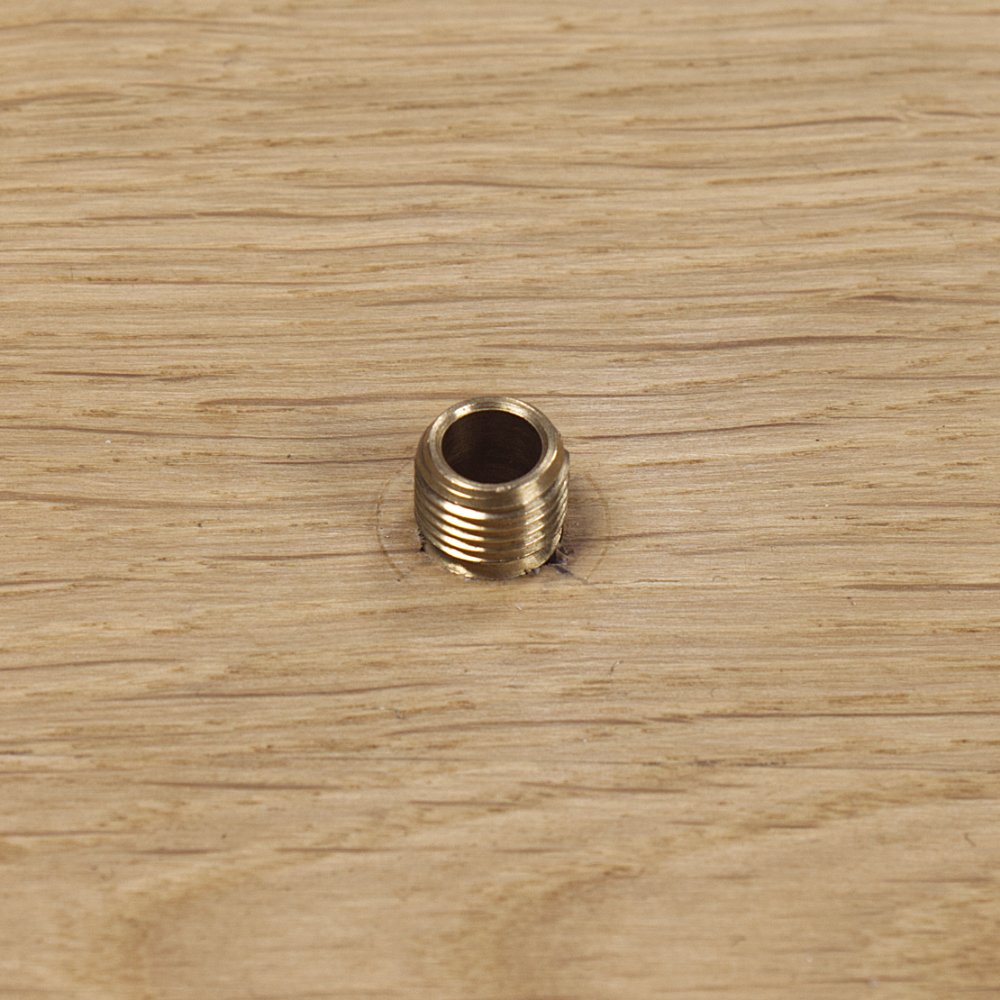
-
Feed the cable cord set through your light fitting ensuring not to damage it as you push/pull it through.
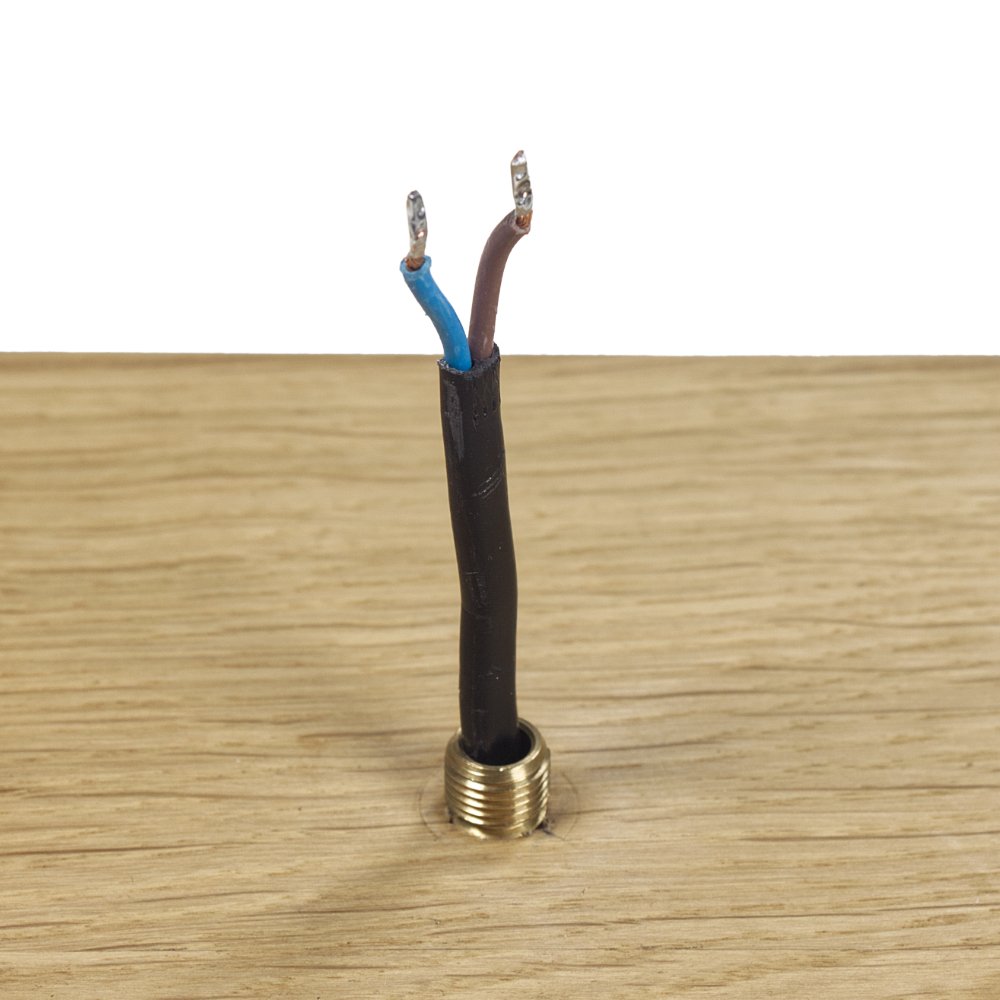
-
Wiring your light fitting.
Please click on the link below. This will take you to another guide that will give you step-to-step instructions on wiring your light fitting.