Plastic Wooden Table Lamp Fixing Kit With Backplate and Cover – BC Version
This is a guide to help you install our Wooden Lampholder Kit With Backplate, and I am using some prop parts which already have a hole and the backplate fixed to a piece of wood. Depending on if you already have an existing installation or you’re installing from scratch, this guide may change slightly. The first step is to replace your existing cable with the new one supplied with the kit, this should be as simple as pulling the old wire out and feeding the new wire in from the bottom of t
-
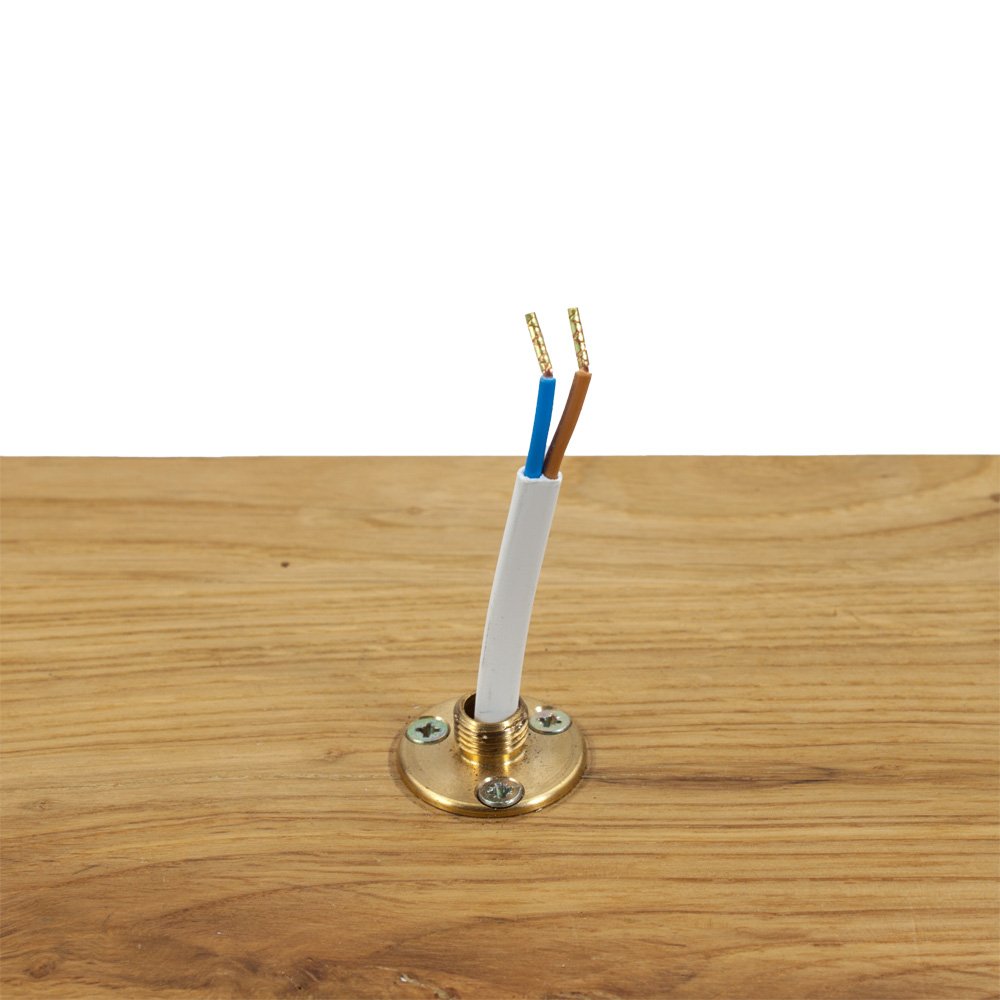
Once this is done you will either need to screw down the backplate using the 3 screws provided or if you already have a 10mm thread, then you should be able to use this.
-
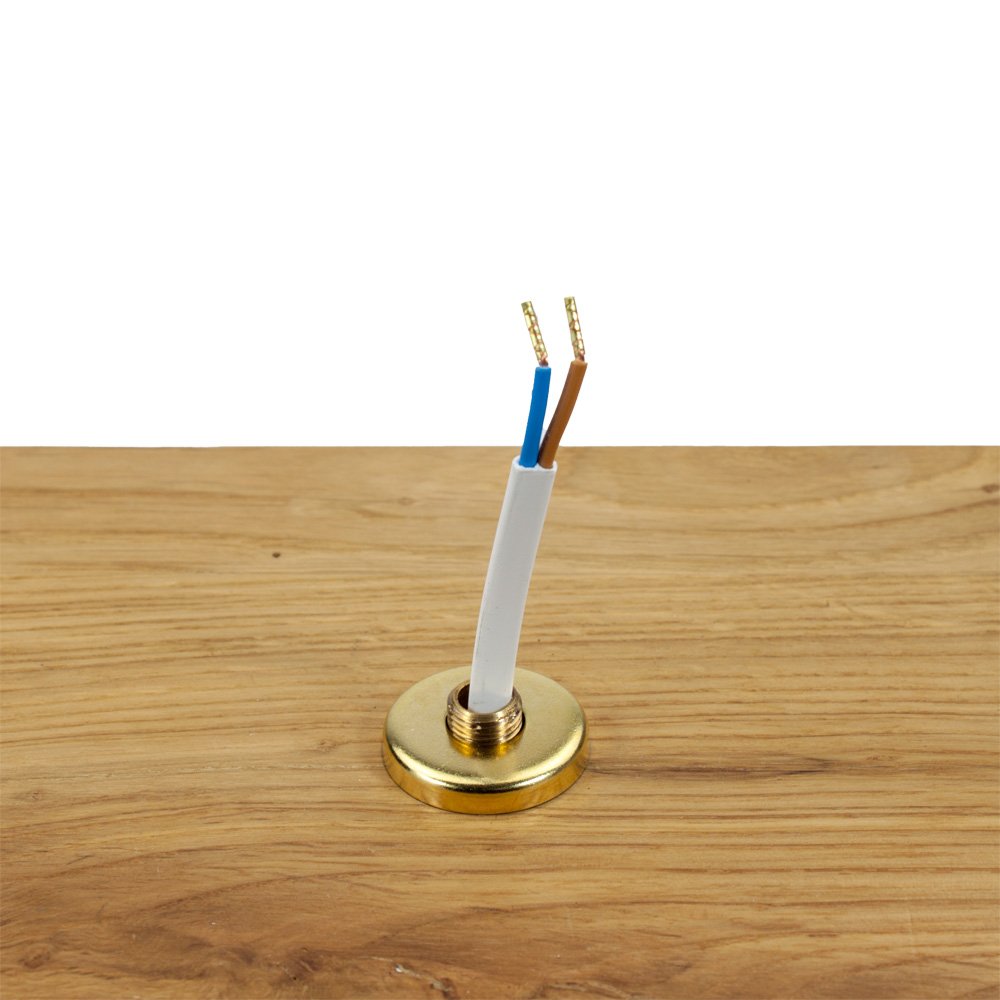
Once the backplate is fixed down you can place the cover over the top to hide the screws.
-
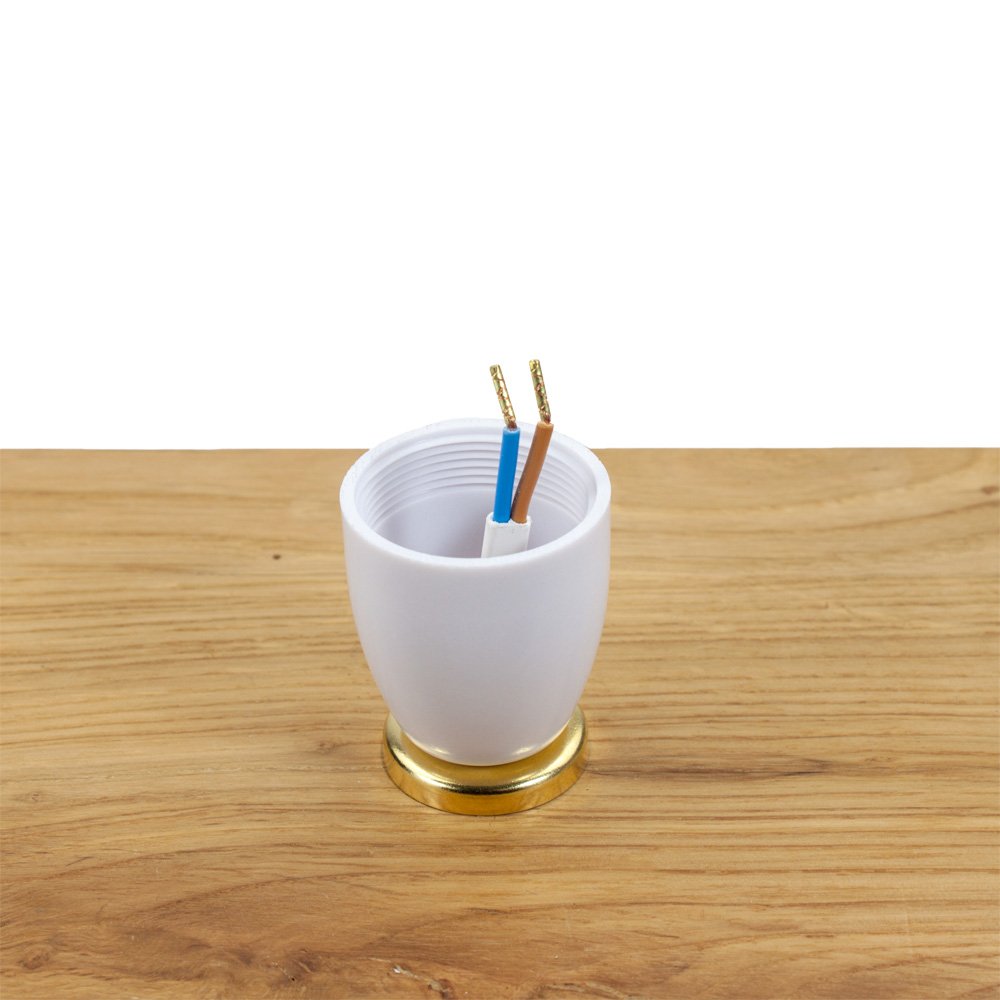
Unscrew the lampholder into the 2 sections this will be the bottom piece that screws onto the backplate and the top piece that has the connection unit in.
-
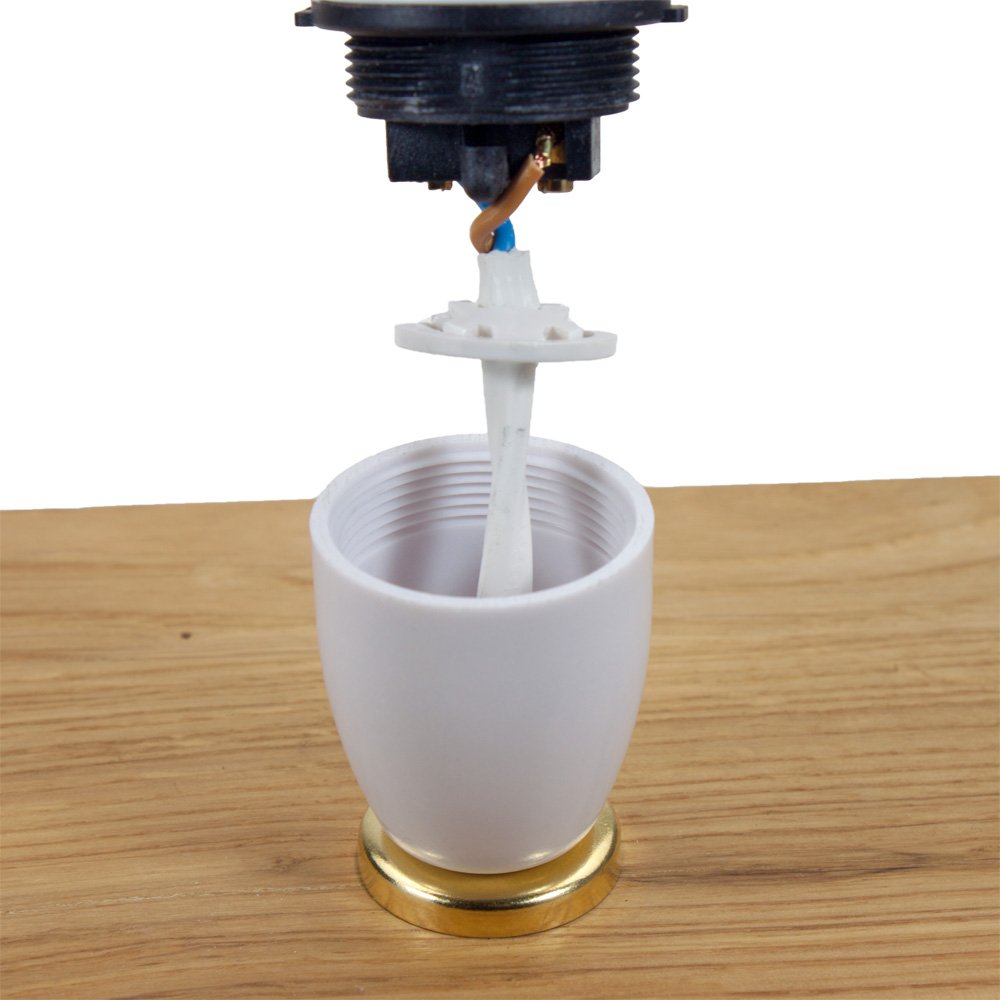
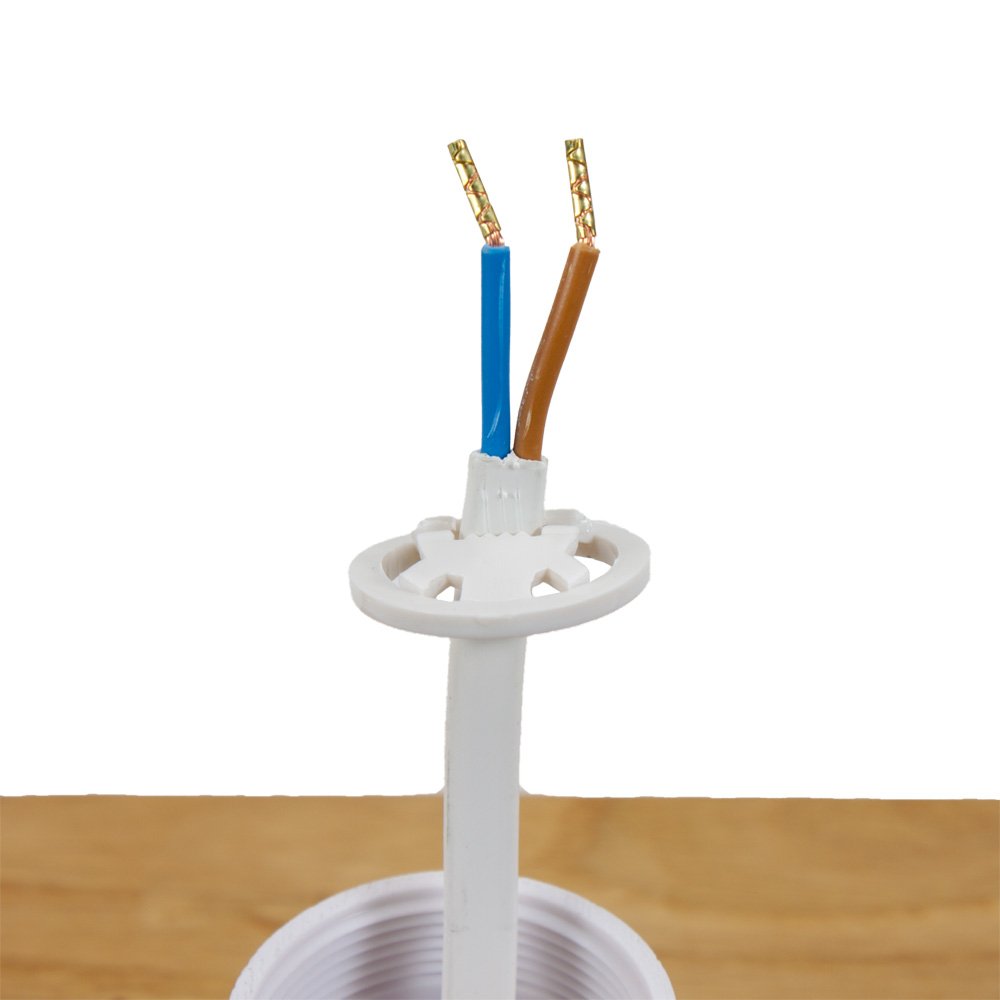
Inside the bottom section you will find a circular cord grip, this will need to be slid down the cable as shown below, note that the teeth are pointing downwards.
-
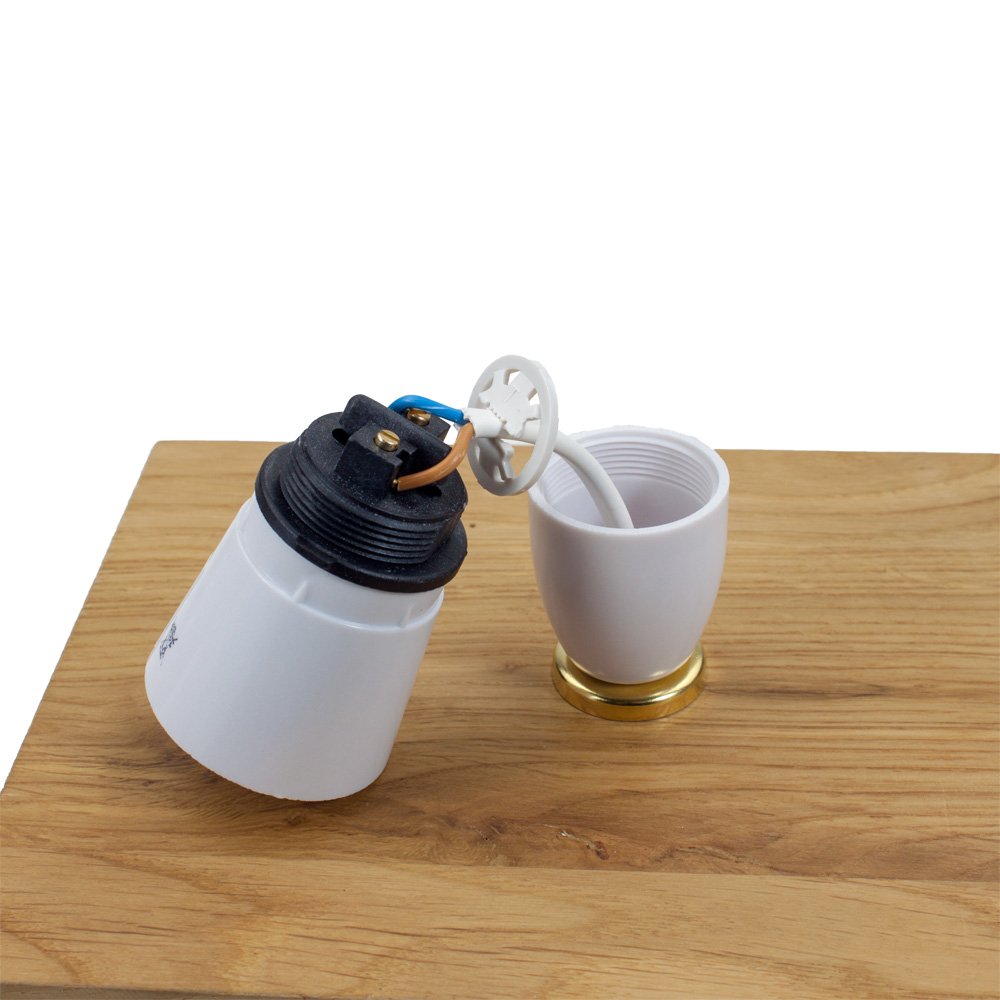
Once the cord grip is installed you will need to take the connection unit and connect the wires to it, Not: it does not matter which way around the wires go.
-
Once connected to the connection unit, you will have to put a self-made twist into the cable, this is because you twist the top section onto the bottom section to complete the lampholder.
The problem is if you take what you have and twist it in it will twist the wires up inside, so you will have to make a purpose made twist in the opposite direction.
This will then untwist and should finish fairly twist free once you have screwed the lampholder together.