Kit 35 Installation Guide
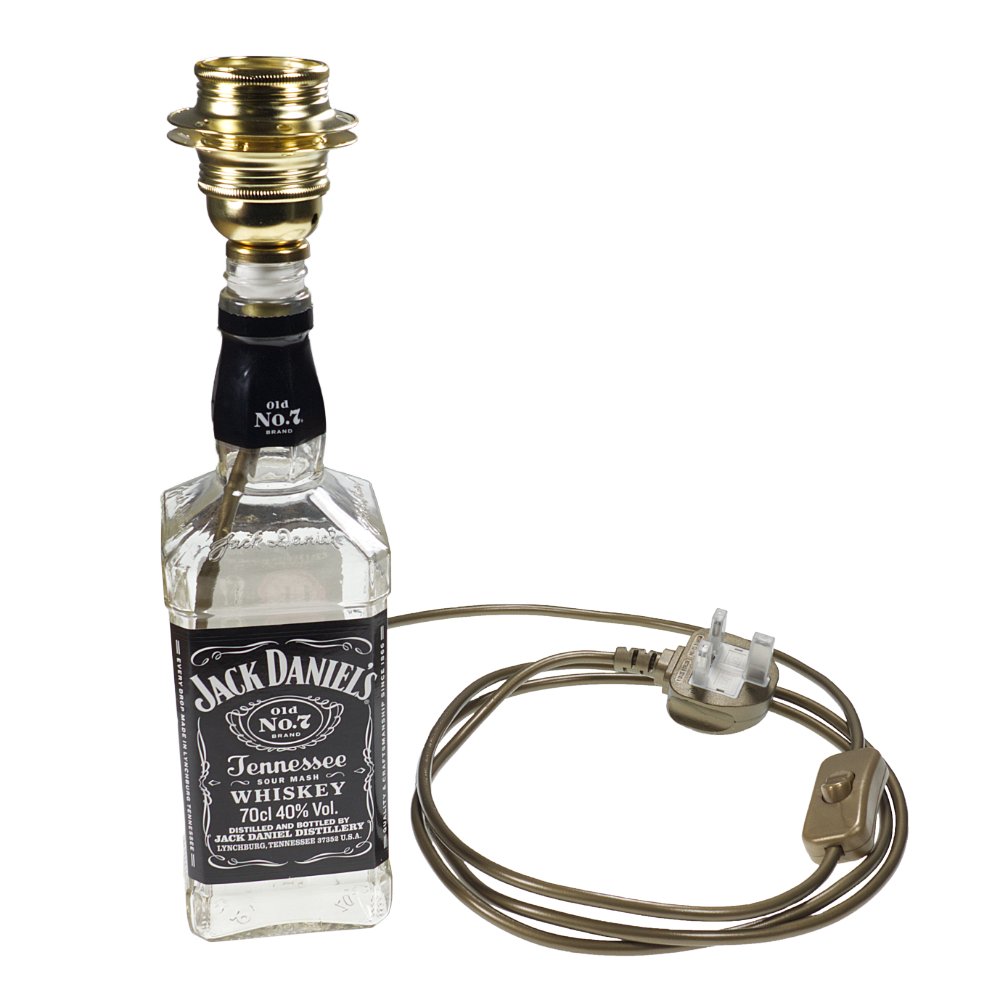
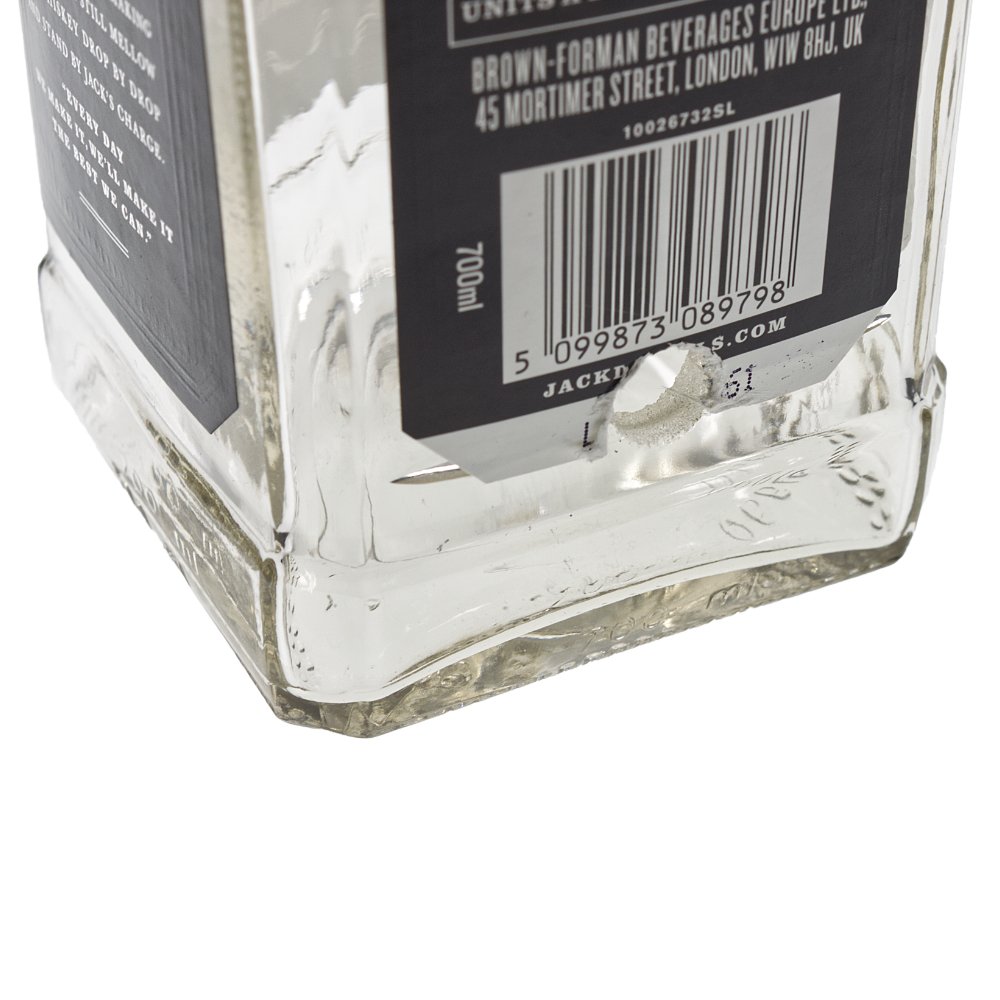
In this guide, I have used all parts that you get from Kit 35 and installing them onto a Jack Daniel’s bottle that I have already pre-drilled a hole in.
Please see below a video on how to drill a bottle.
-
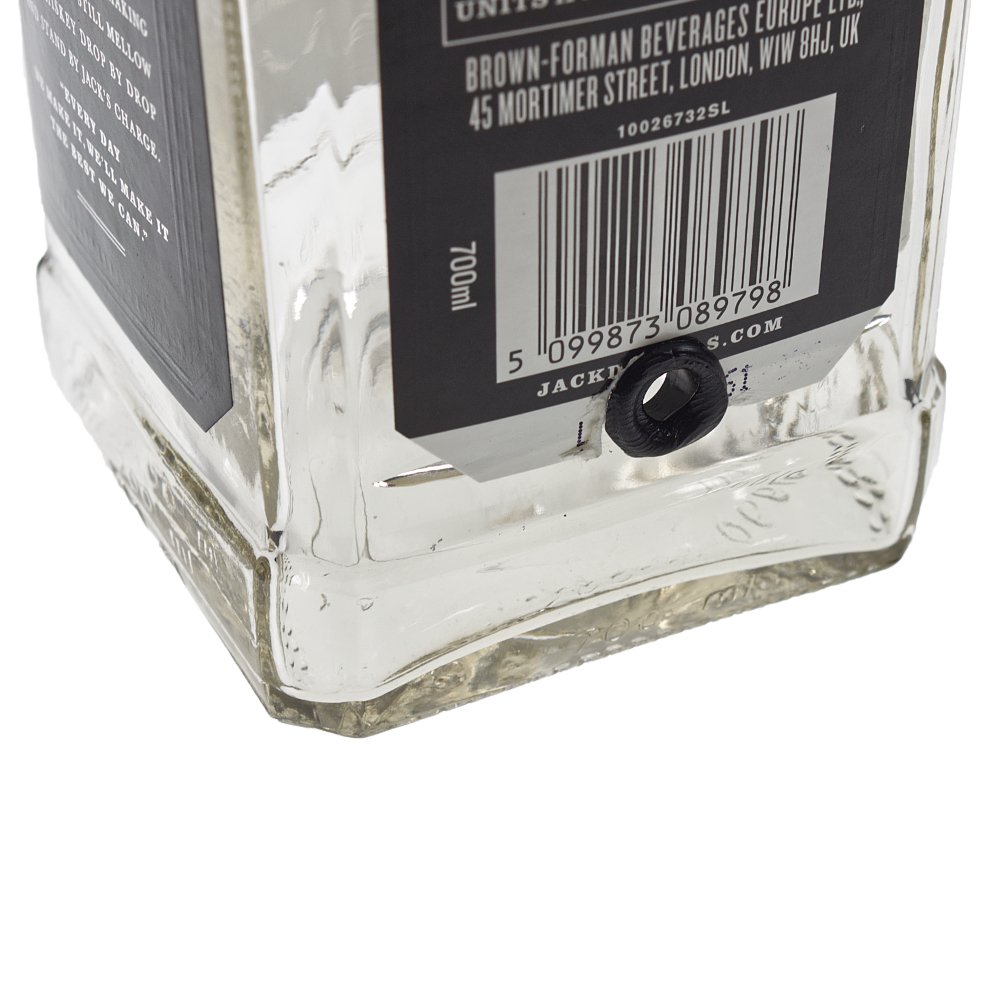
Take your drilled bottle and insert the grommet, please ensure to take care and not to apply too much force, especially with Jack Daniel's bottles as they will crack.
A little tip is to place the grommet into hot water to soften it up, then quickly put it into the bottle.
Note: Thick bottles such as this one may require some glue to hold the grommet into position.
-
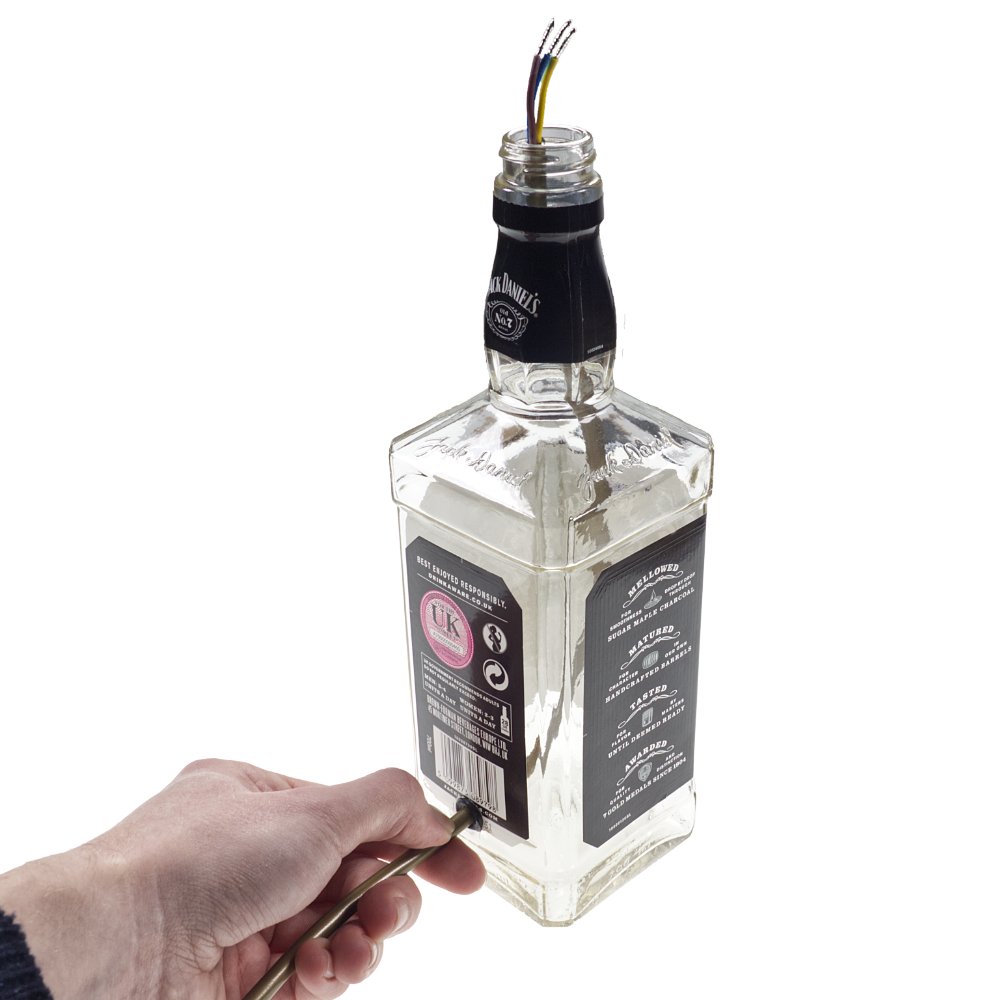
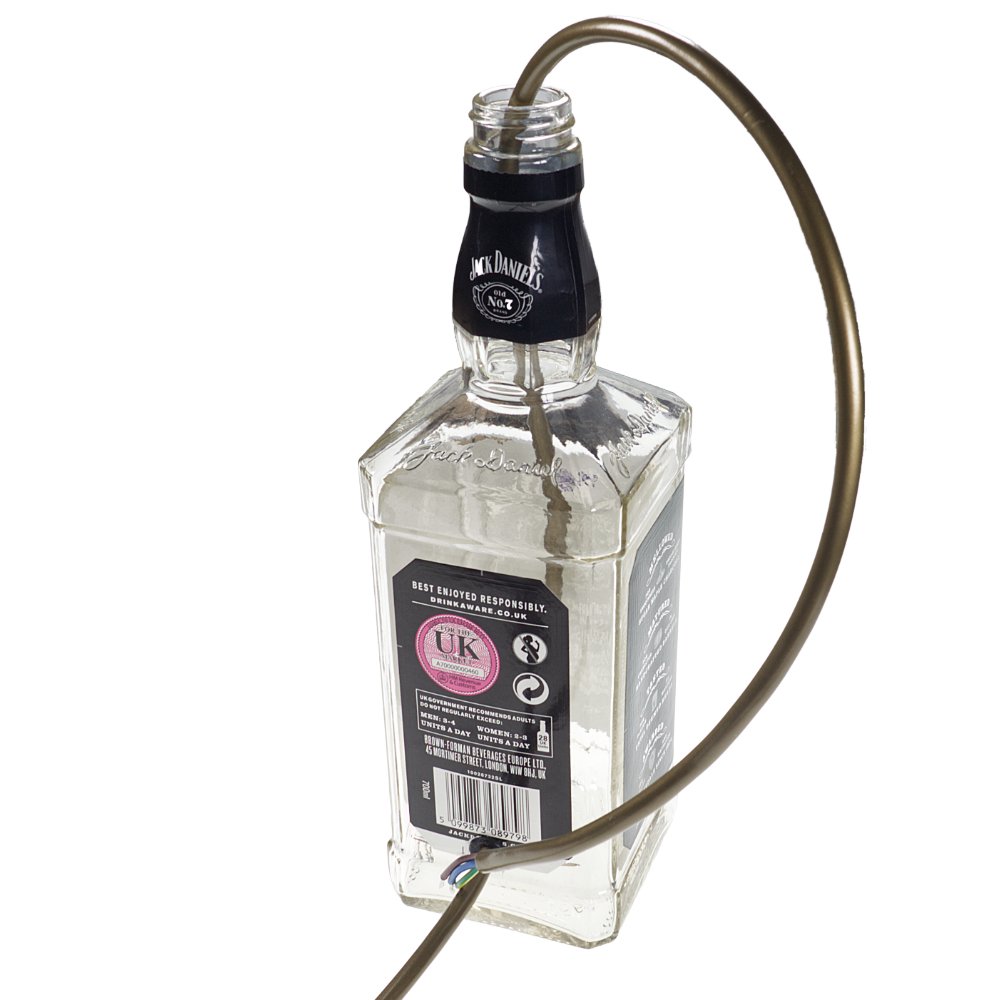
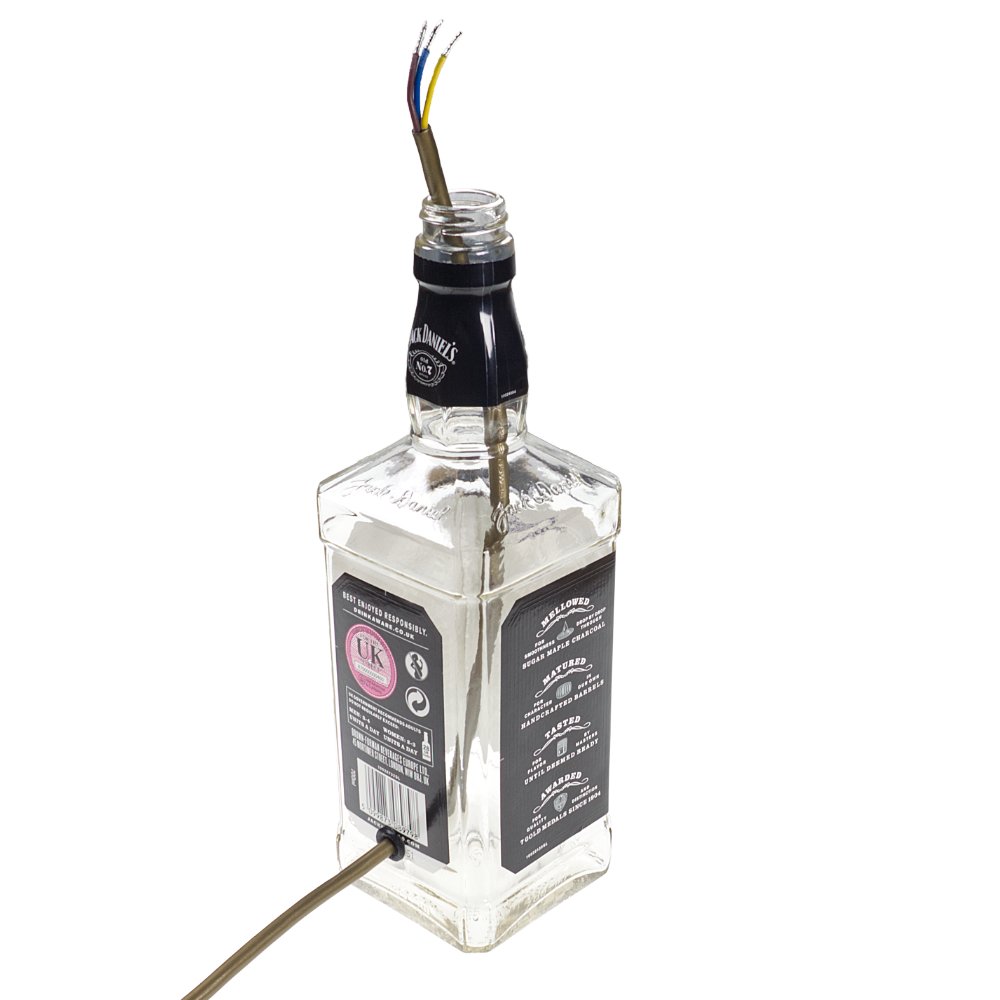
Once the grommet is installed take the cable and push it through the grommet and up out the top, ensuring you see a bit of outer PVC and the stripped ends are poking out the top.
Grab a pen or a screwdriver and scratch or mark where the cable enters the grommet. (where my thumb is on left-hand picture)
Then pull the cable out the top until you get to your marked area of the cable.
-
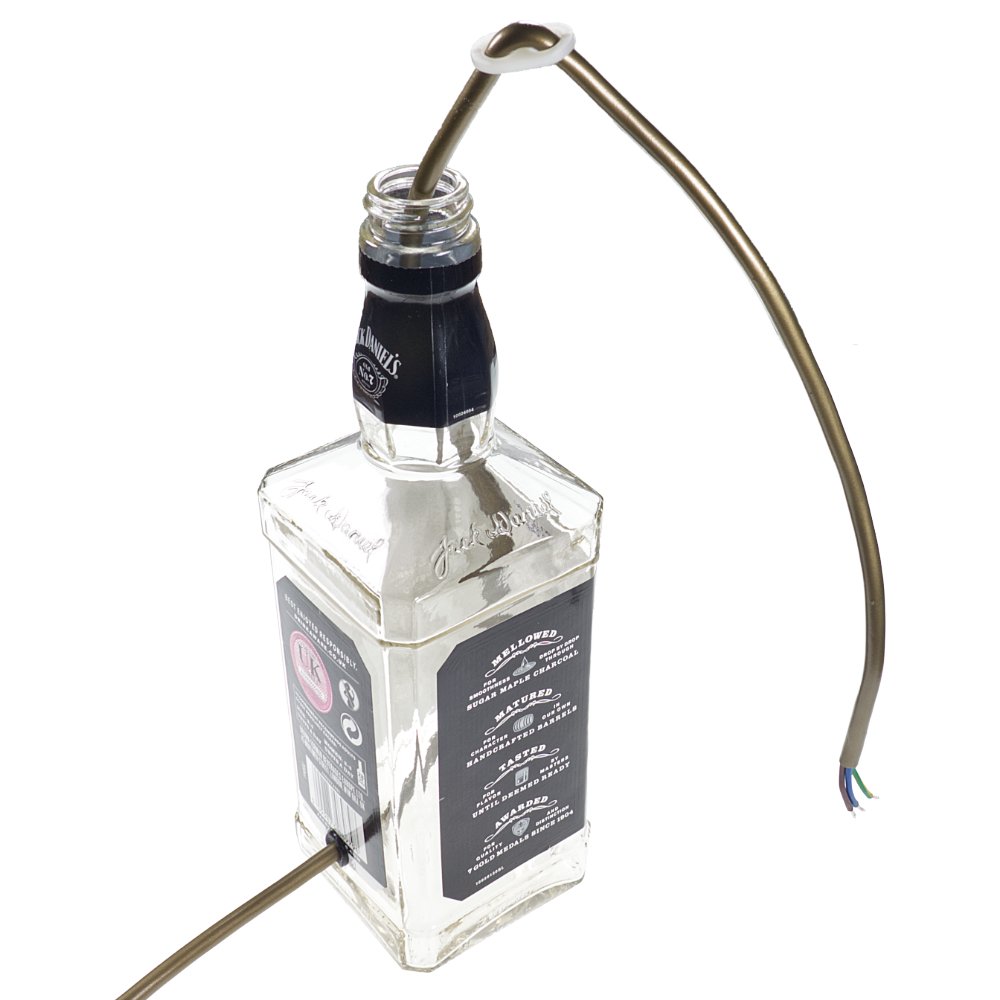
Take the cord grip and push the cable through one of the holes until the grip reaches the mark in the cable. Hold the grip with one hand and feed the end of the cable back through the second hole, ensuring the cord grip is at the marked piece of cable.
Once this is done you can pull the cable back, so the cord grip stops and sits inside the bottle behind the grommet as shown in last image.
Note: sometimes you may need to pull the cable back up out the top and adjust the cord grip if you feel there is too much slack or not enough slack.
You want to be able to see a little bit of the outer PVC of the cable sticking out the top of the bottle.

-
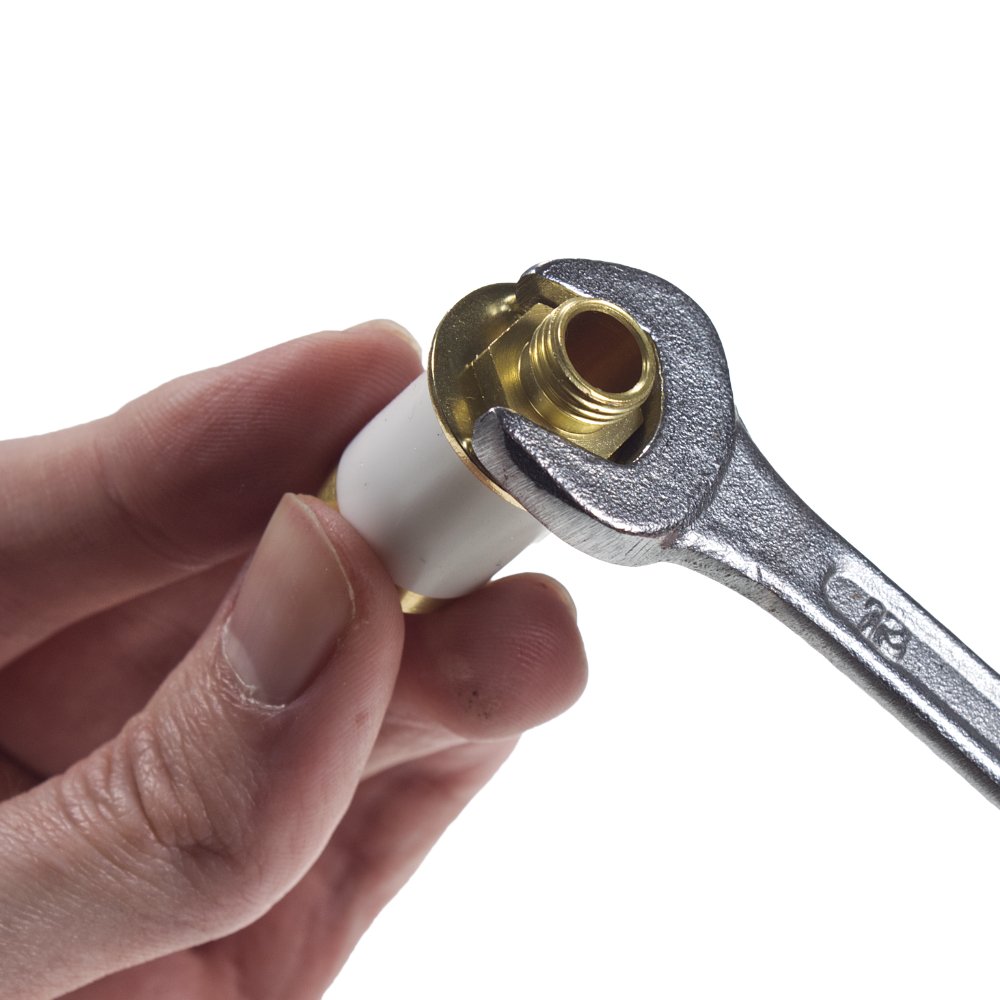
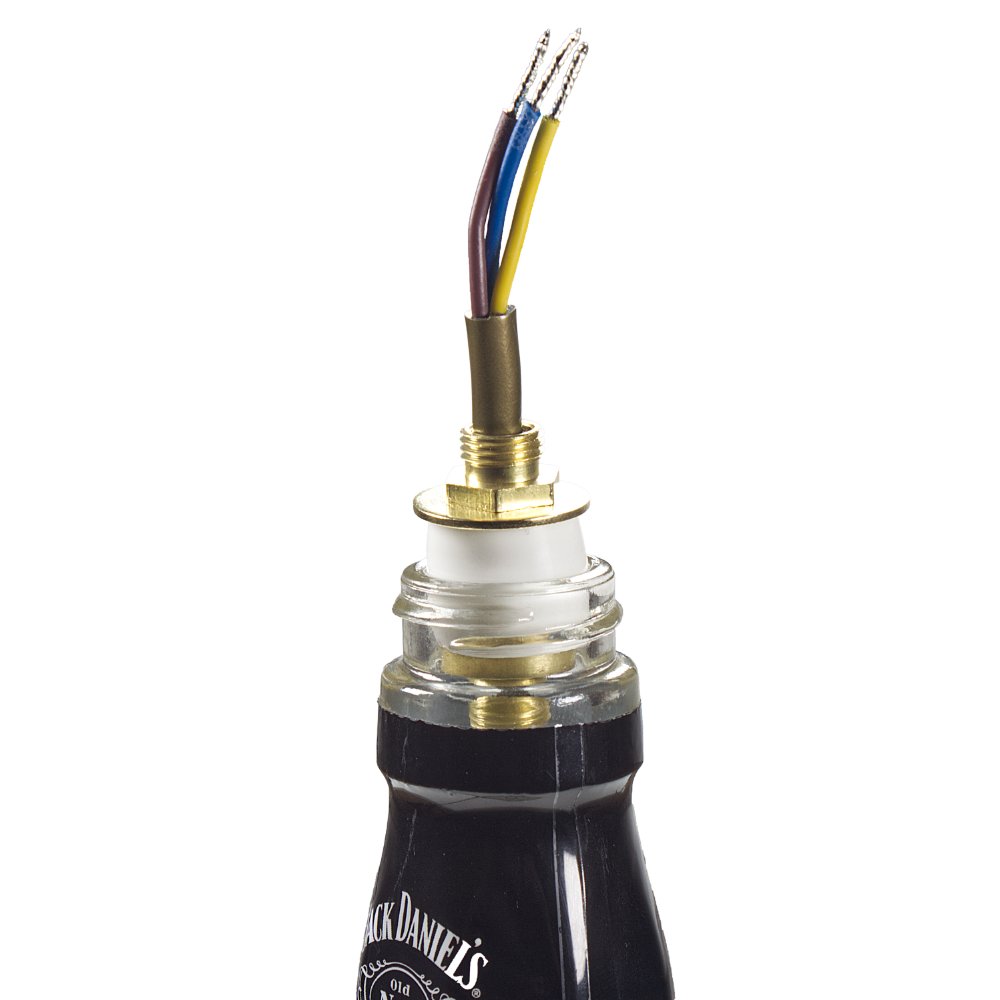
Grab the rubber bung and a 13mm spanner, hold the bung in one hand and tighten the top nut until the bung fits tight into the bottle.
- Too tight and it will not push down
- Too loose, and you may struggle on the next step.
-
Once the bung is in the bottle hold the washer with your thumb and tighten the top nut until you get a nice tight fixing on to the bottle.
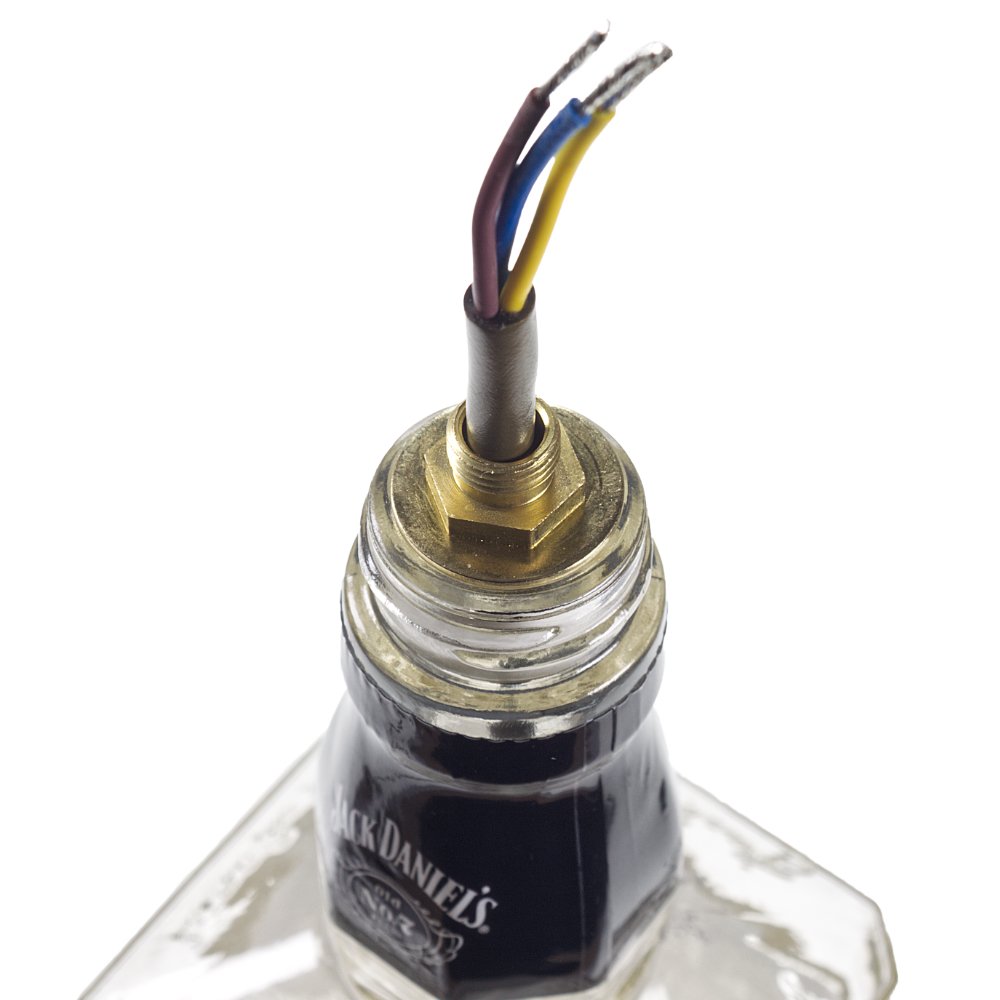
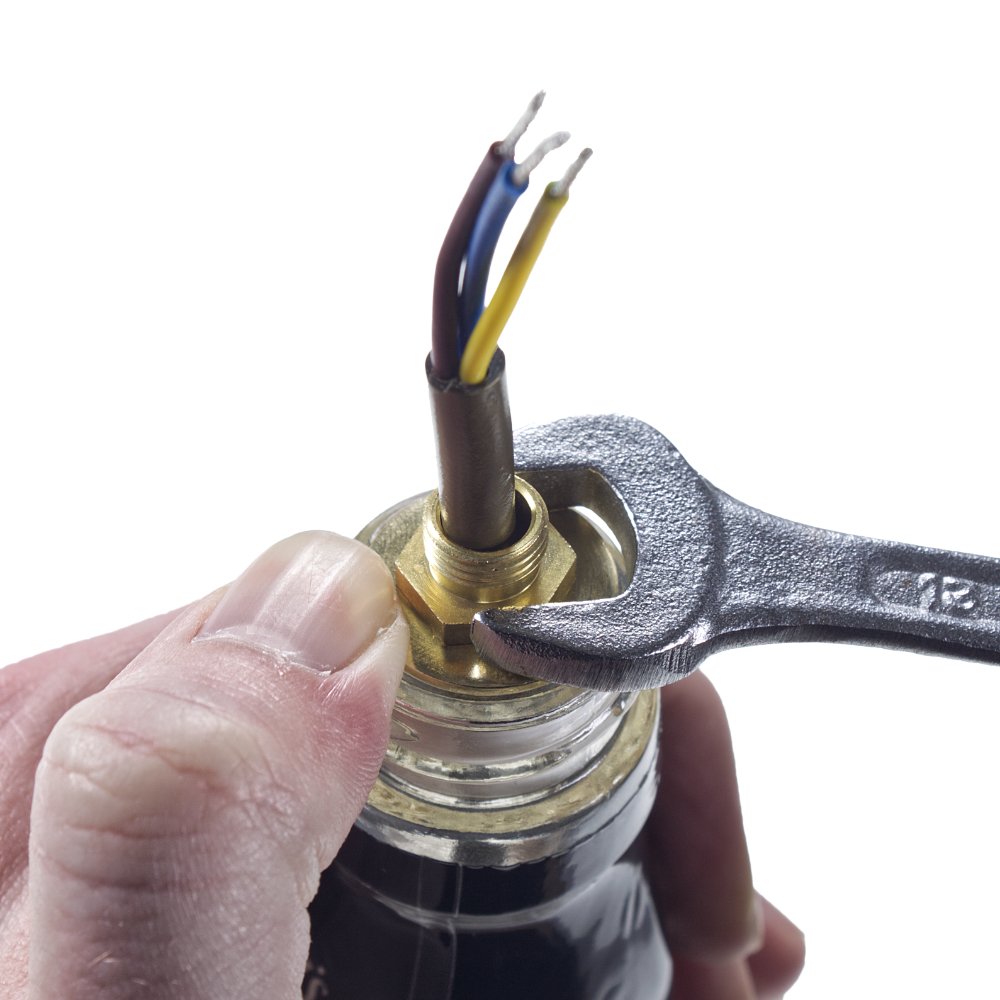
Below is a quick video on how to install our bungs.
-
Take the nut cover and place it over the bung to hide the brass parts of the bung.
Separate the lampholder into its 3 pieces and screw the bottom section of the lampholder on to the bung's thread.
Tighten the screw inside the base of the lampholder to ensure that it is securely locked onto the bung.
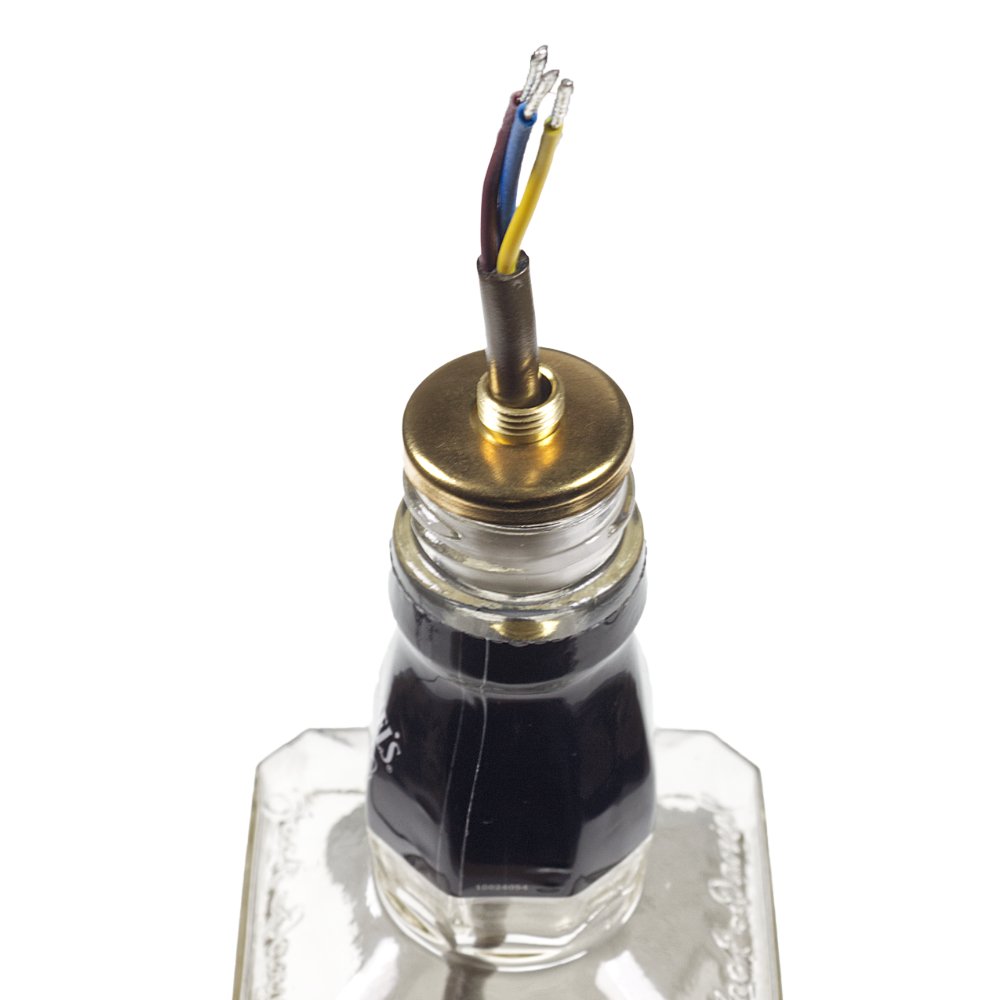
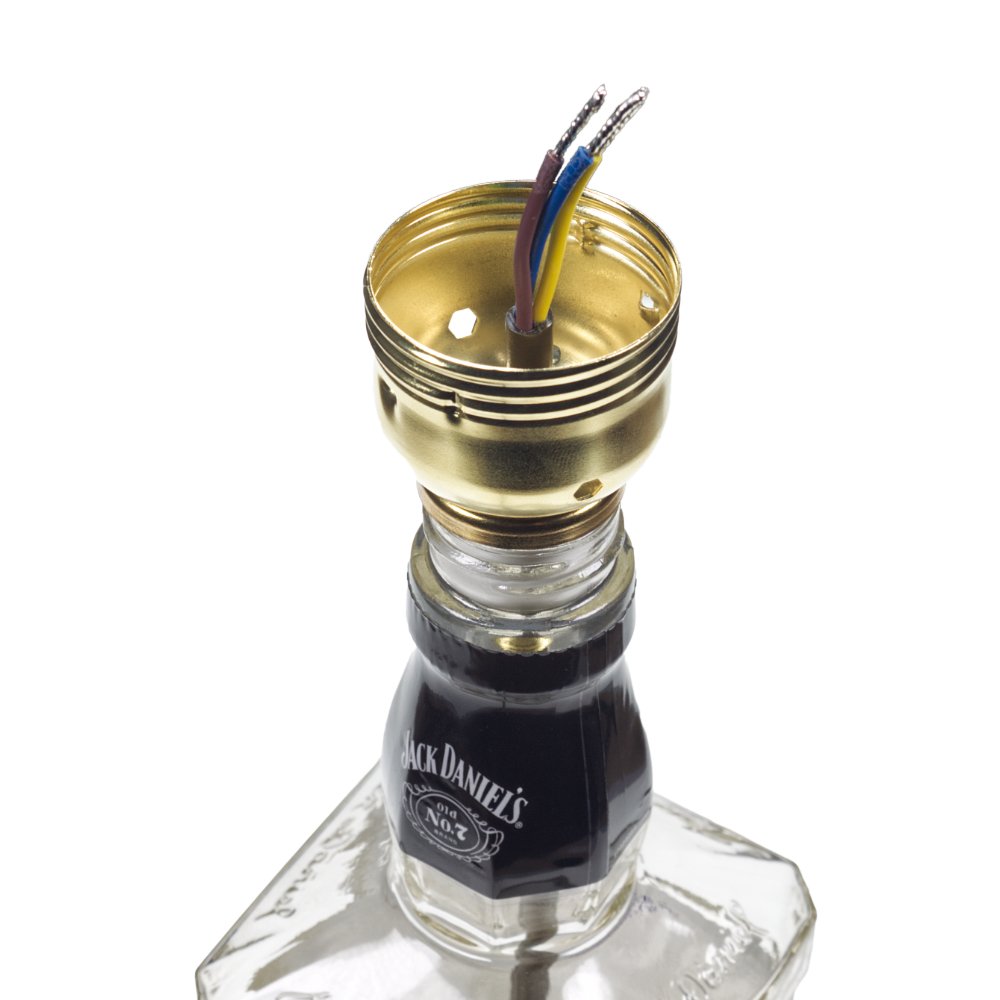
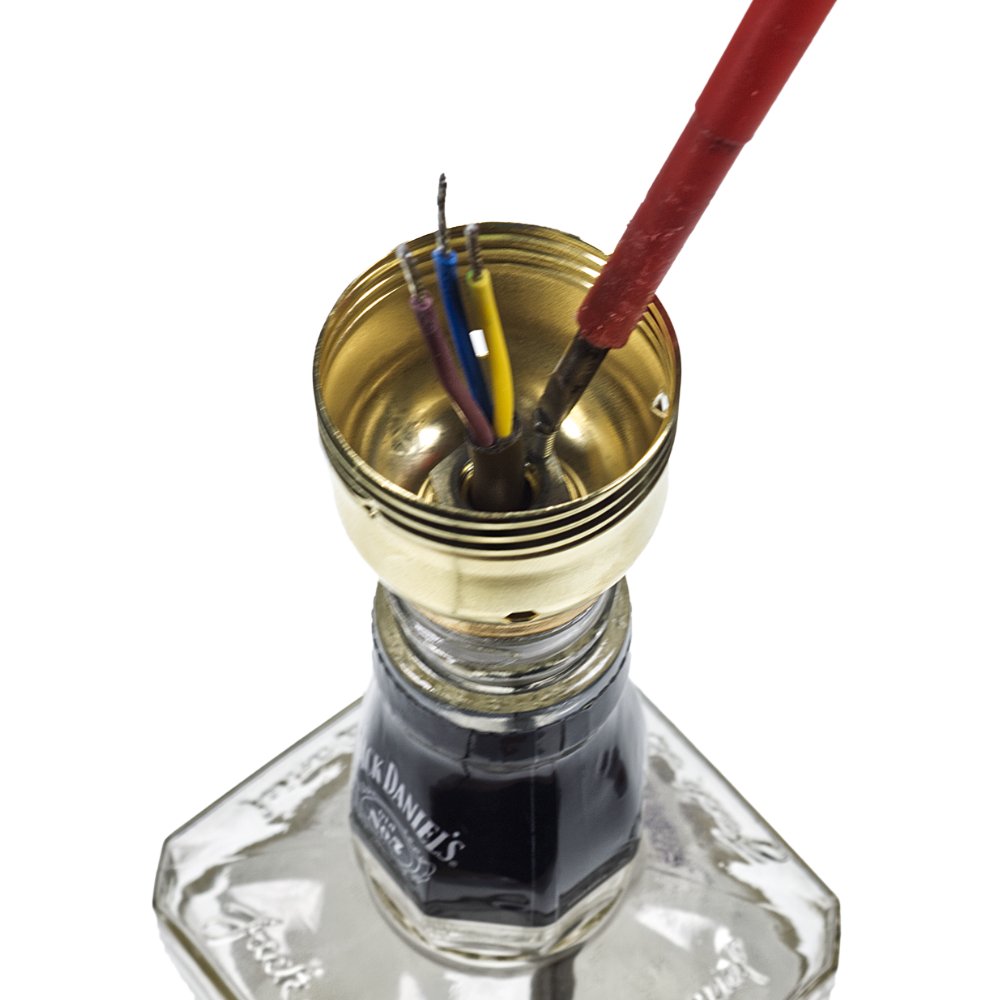
-
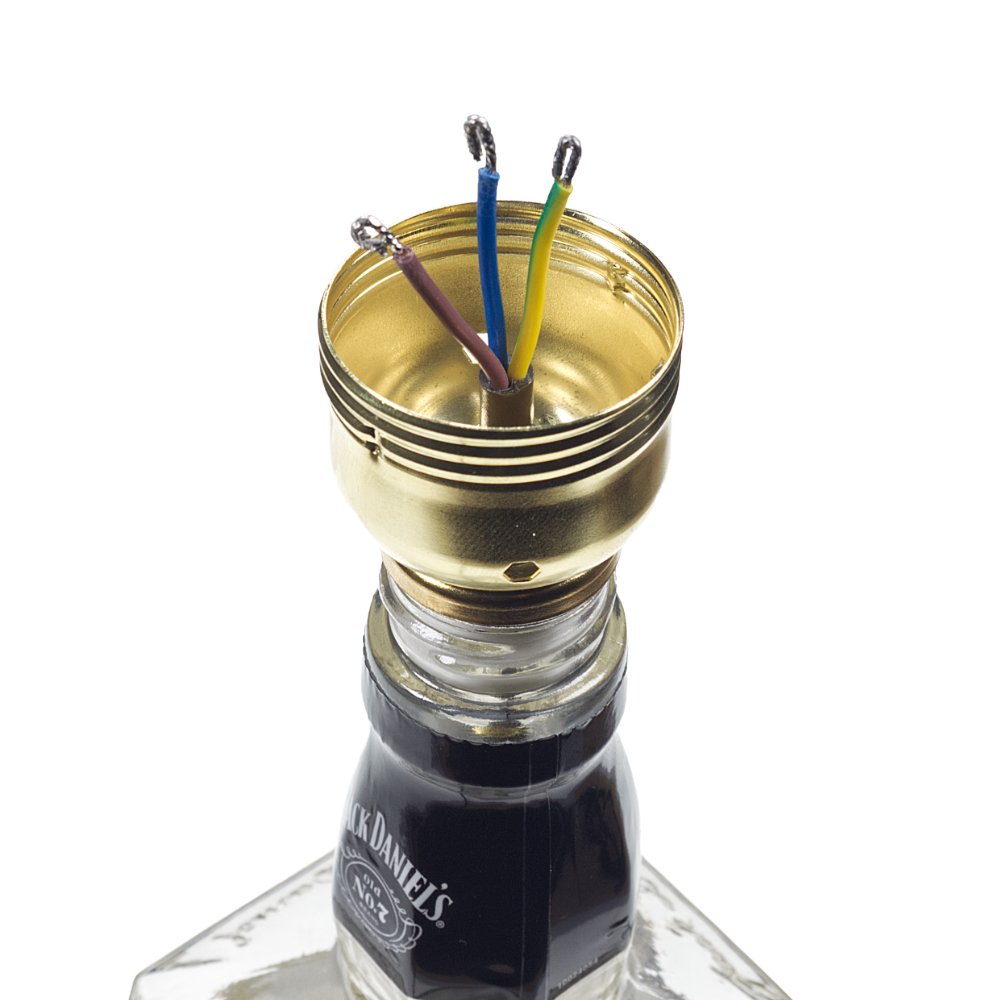
Using a pair of pliers, double over the ends of the cable.
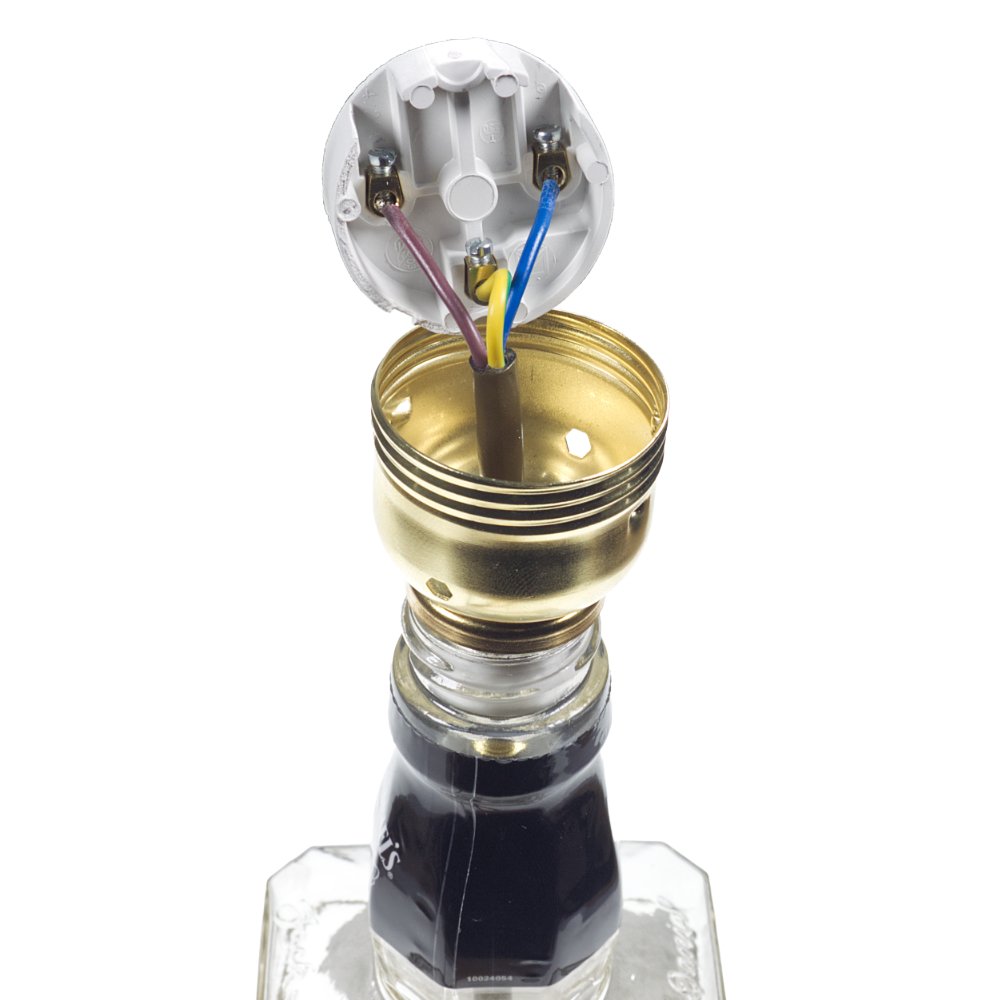
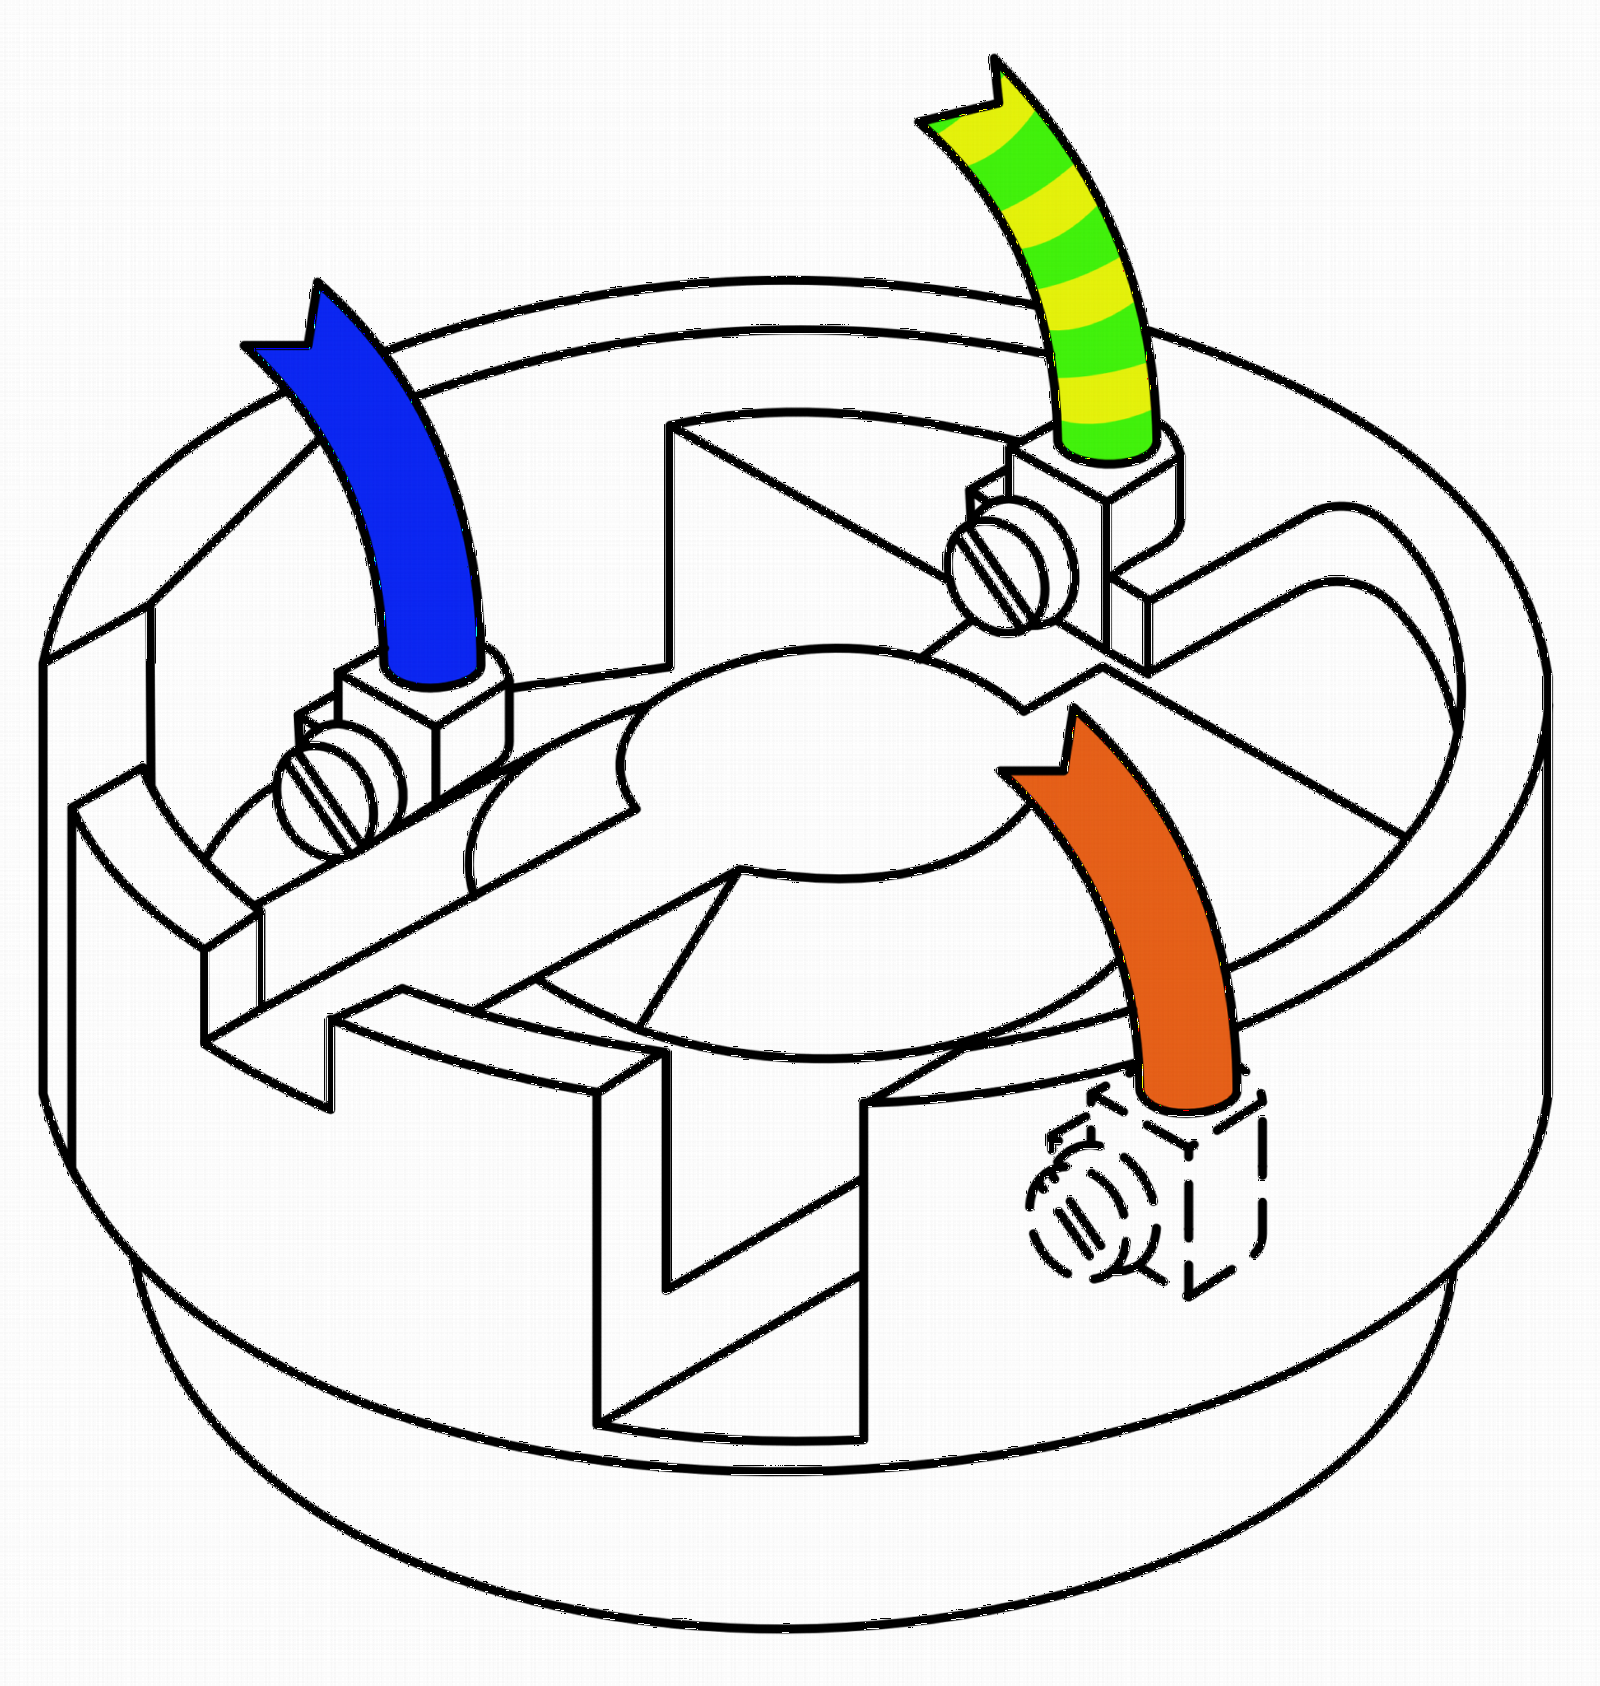
Then take the connection unit of the lampholder and connect the Neutral (Blue), the Live (Brown) and the Earth (Green/Yellow) into the connection unit, as shown below.
-
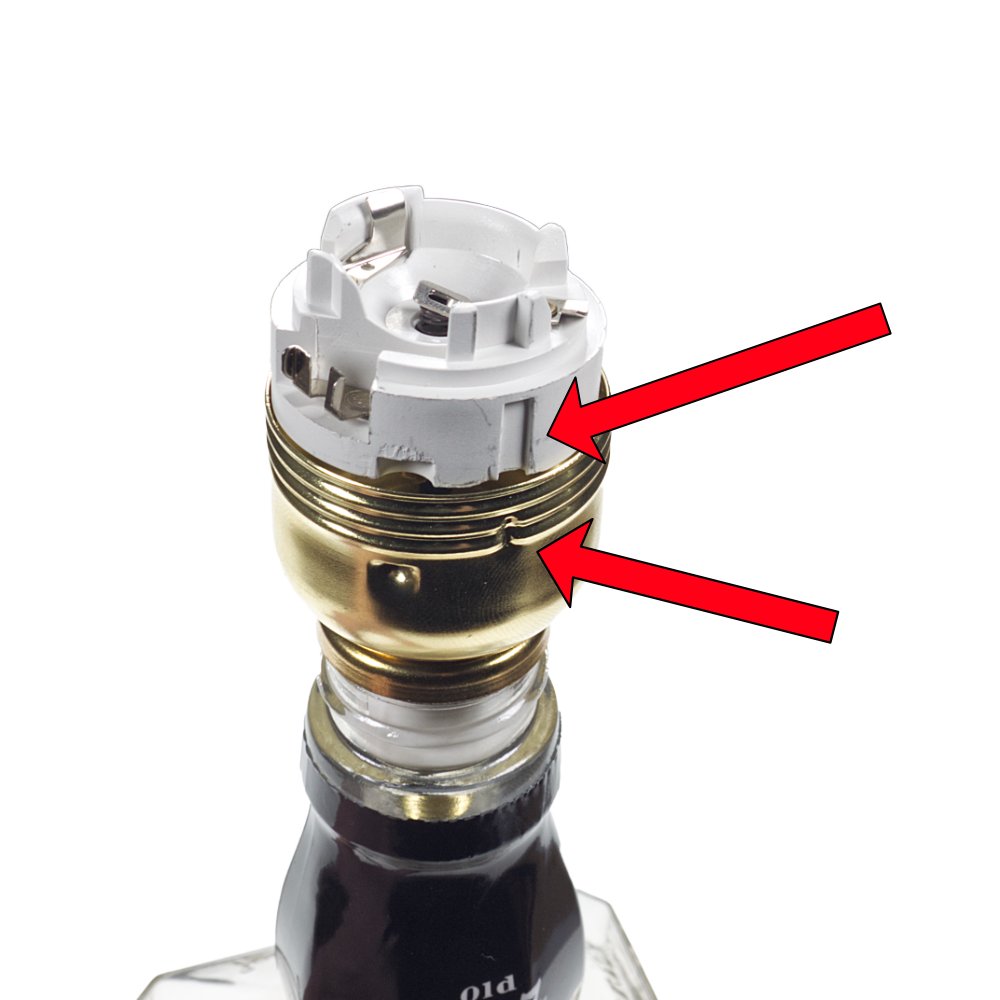
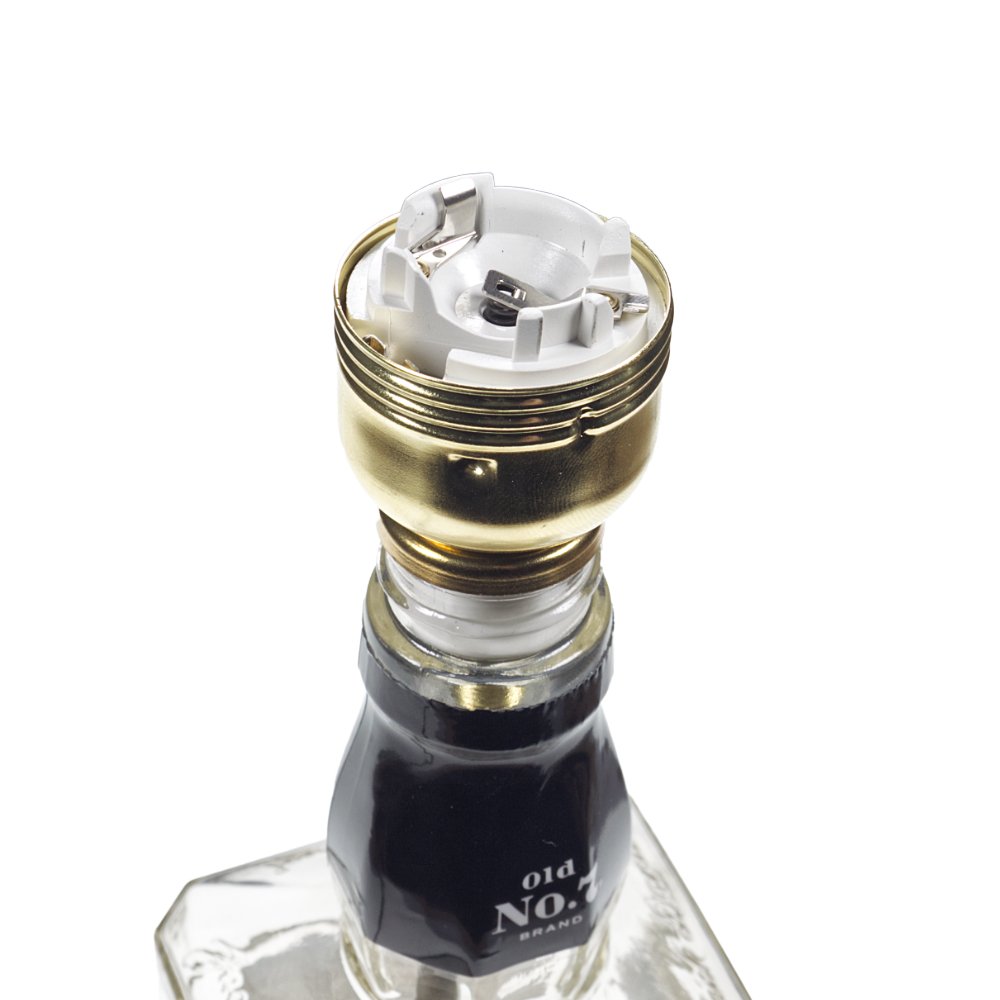
Push the connection unit into the base of the lampholder ensuring the indents align up (see first image below).
-
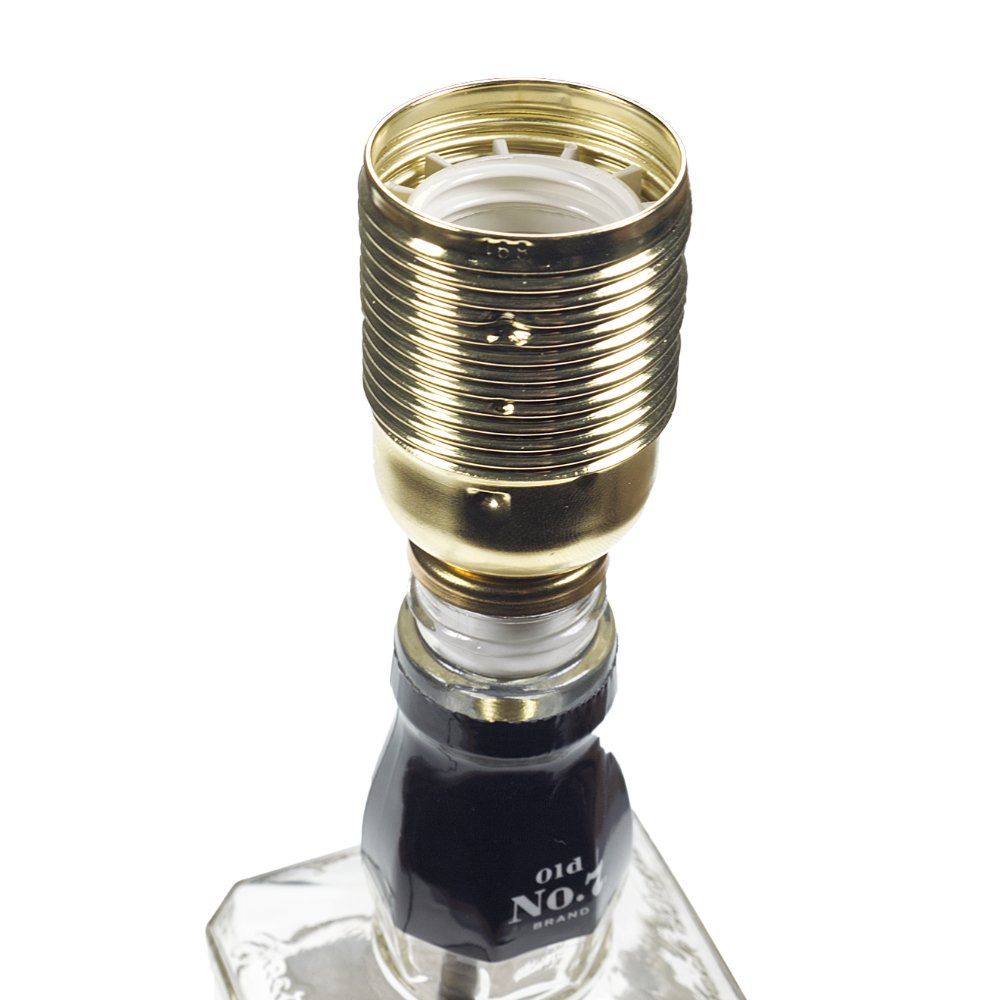
Screw the top section of the lampholder to the base until you hear several clicks, this is the insert locking into place.
Note: If you wish to unscrew the lampholder, you will need to push down the locking barb on the insert to release the lampholder. It will then need to be bent backwards to reinstall the lampholder.
Finally, screw the 2 shade rings in place.
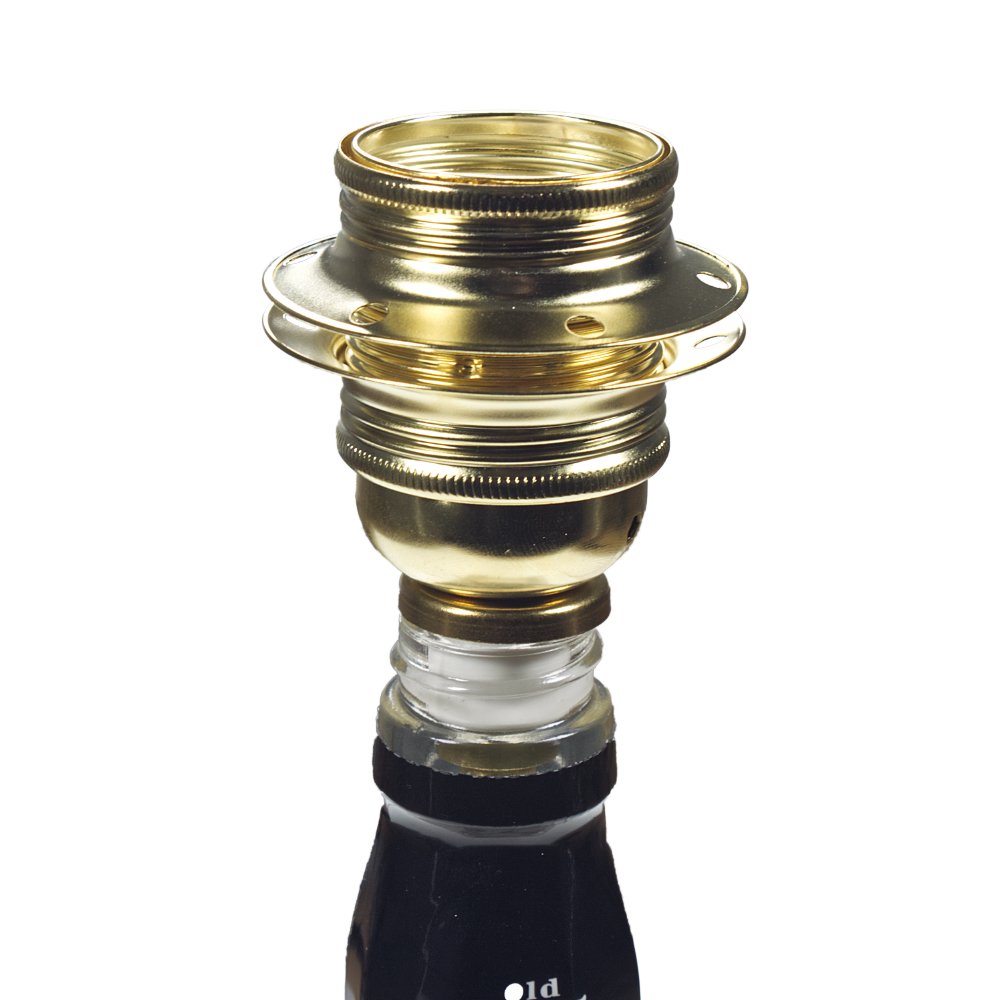
This now completes the installation of Kit 35.