


Kit 17 Installation Guide – BC Version
This step-by-step guide is to aid you in installing our kit 17.
-
Take the black plastic pottery nipple and put the brass washer on followed by the plastic washer on top, Push the pottery nipple up inside the fitting and out the top so the thread is visible.
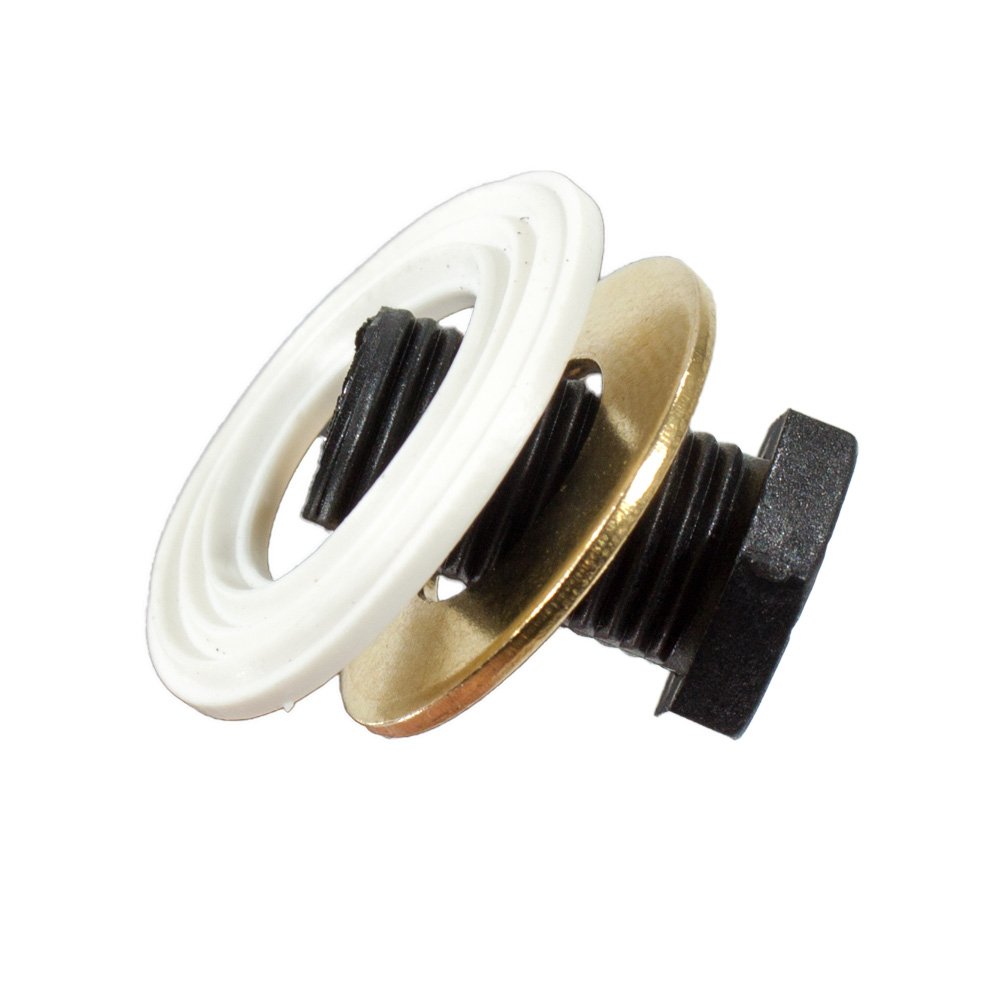
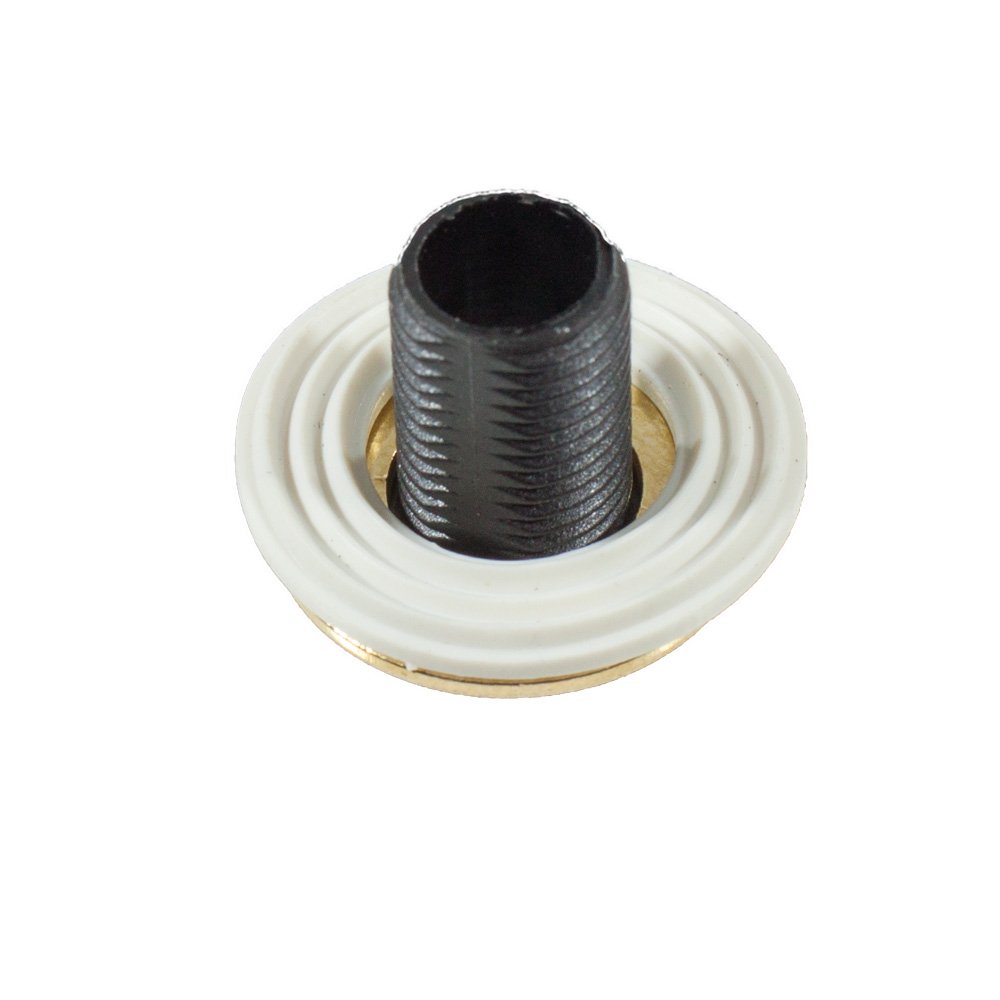
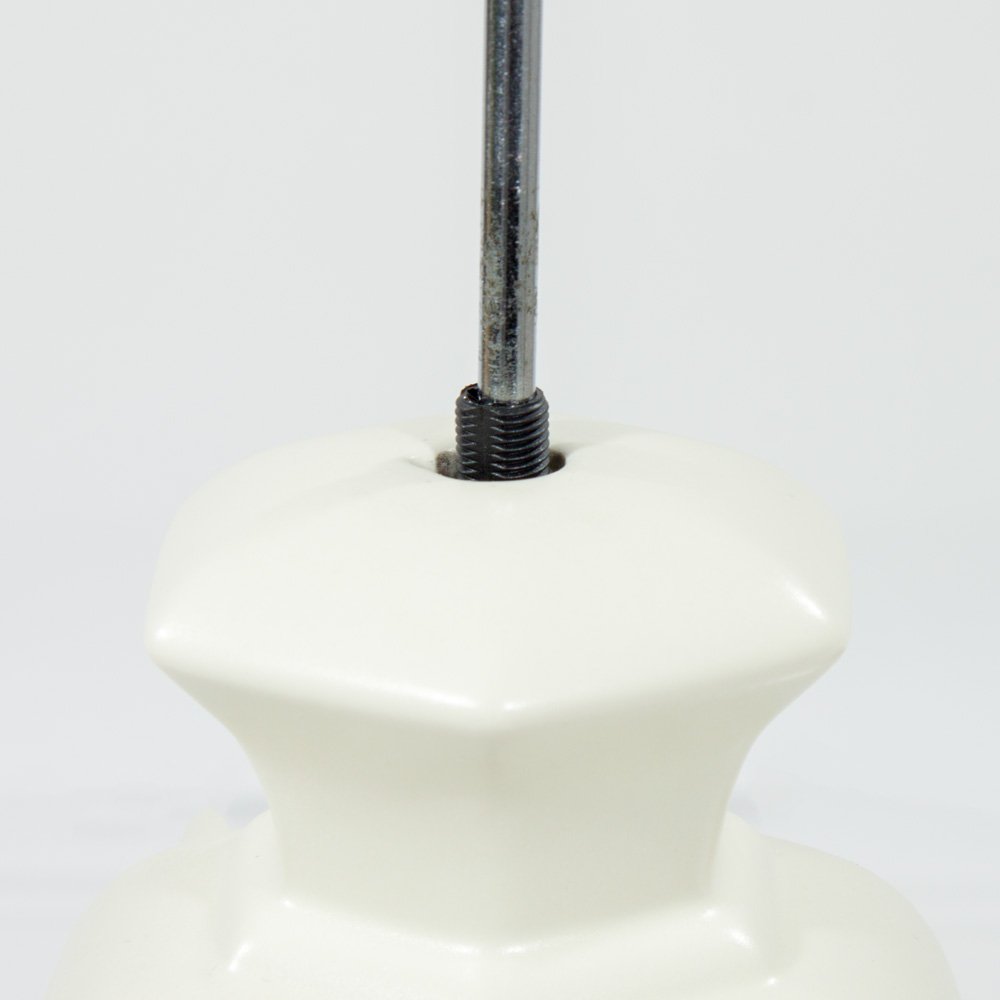
Here is a guide if you cannot get your hand up inside the ceramic item.
-
Separate the lampholder into its 2 components. Place the brass washer over the thread sticking out the top of the lamp base, followed by the bottom part of the lampholder.
Note: You may need to cut/adjust the thread if too long. Approx. 6mm is required to go into the lampholder.
-
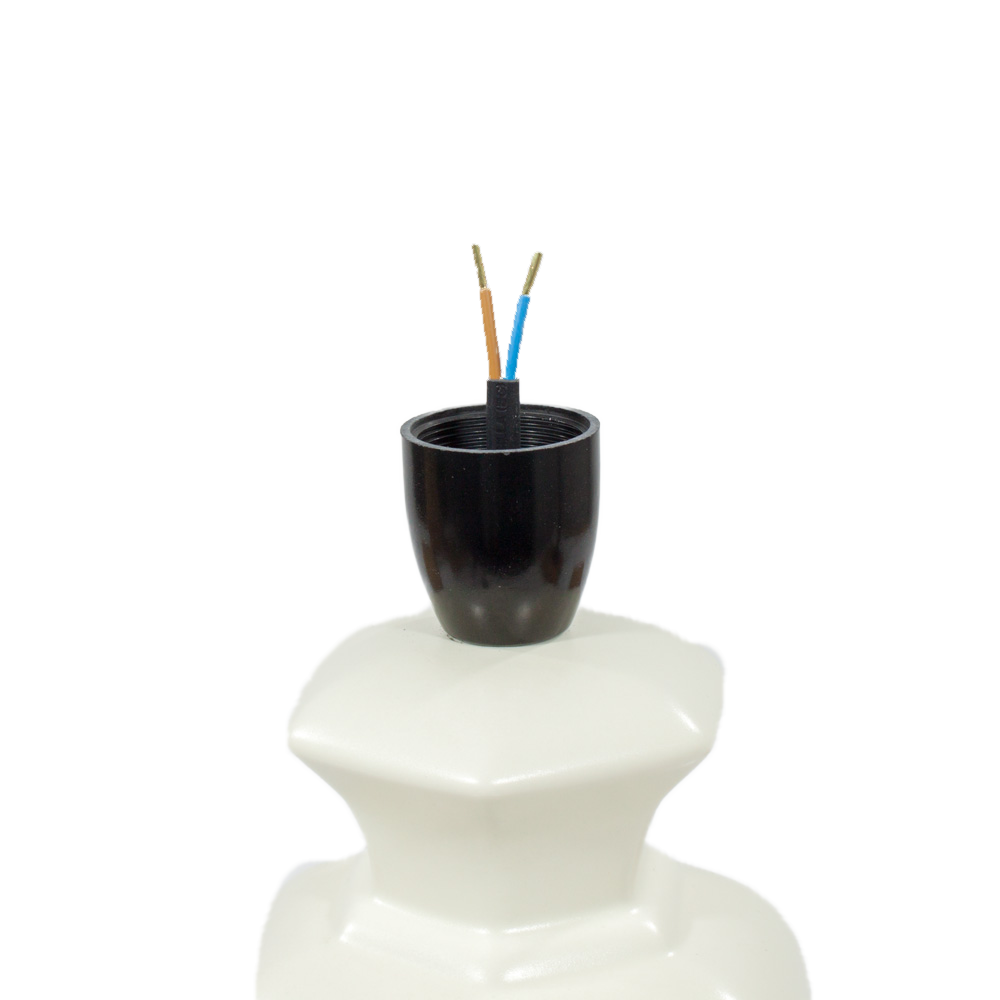
Take the cable, push it into your ceramic base and out the top of the ceramic lamp.
Then take the plastic cord grip and slide it onto the cable, ensuring it finishes onto the white or black jacket of the cable. As shown below.
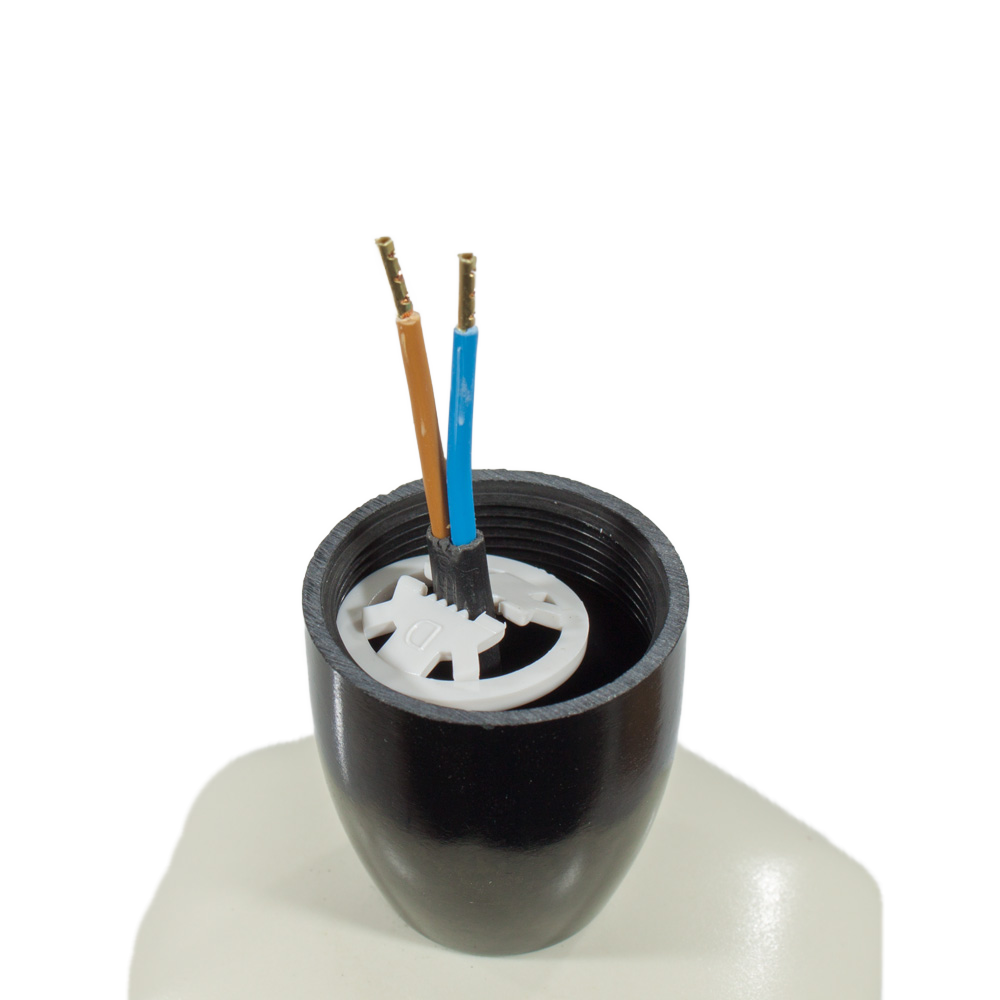
-
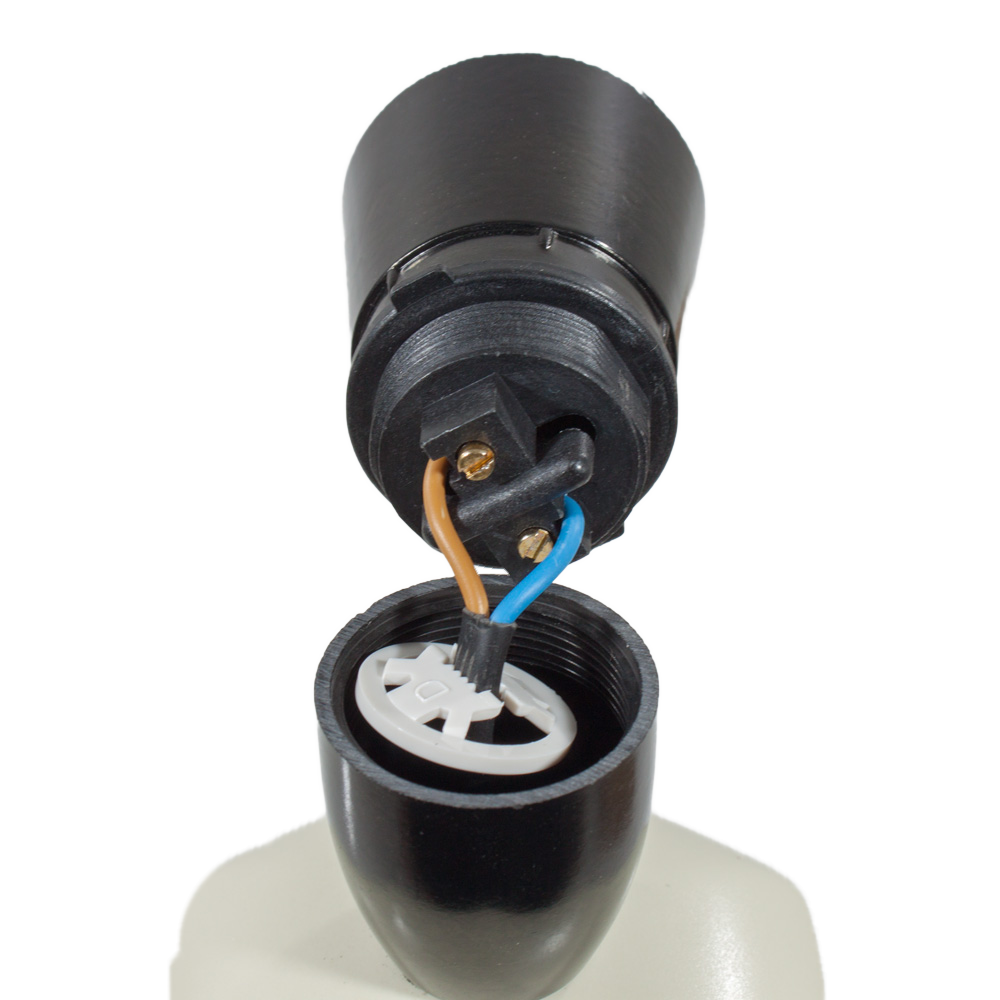
Take the top section of the lampholder and connect the wires as shown in the image.
Note: It does not matter which way around, live and neutral go.
N = Neutral—Blue | L = Live—Brown
-
Carefully screw the connection unit onto the base of the Lampholder ensuring the cable does not twist inside the light fitting, To help prevent this if you can hold the cable at the bottom of the light fitting and twist it whilst screwing the lampholder together this will prevent the cable from twisting and snagging inside.
This now completes the installation of kit 17