


Kit 17 Installation Guide – ES Version
This step-by-step guide is to aid you in installing our kit 17.
-
Take the black plastic pottery nipple and put the brass washer on followed by the plastic washer on top, Push the pottery nipple up inside the fitting and out the top, so the thread is visible.
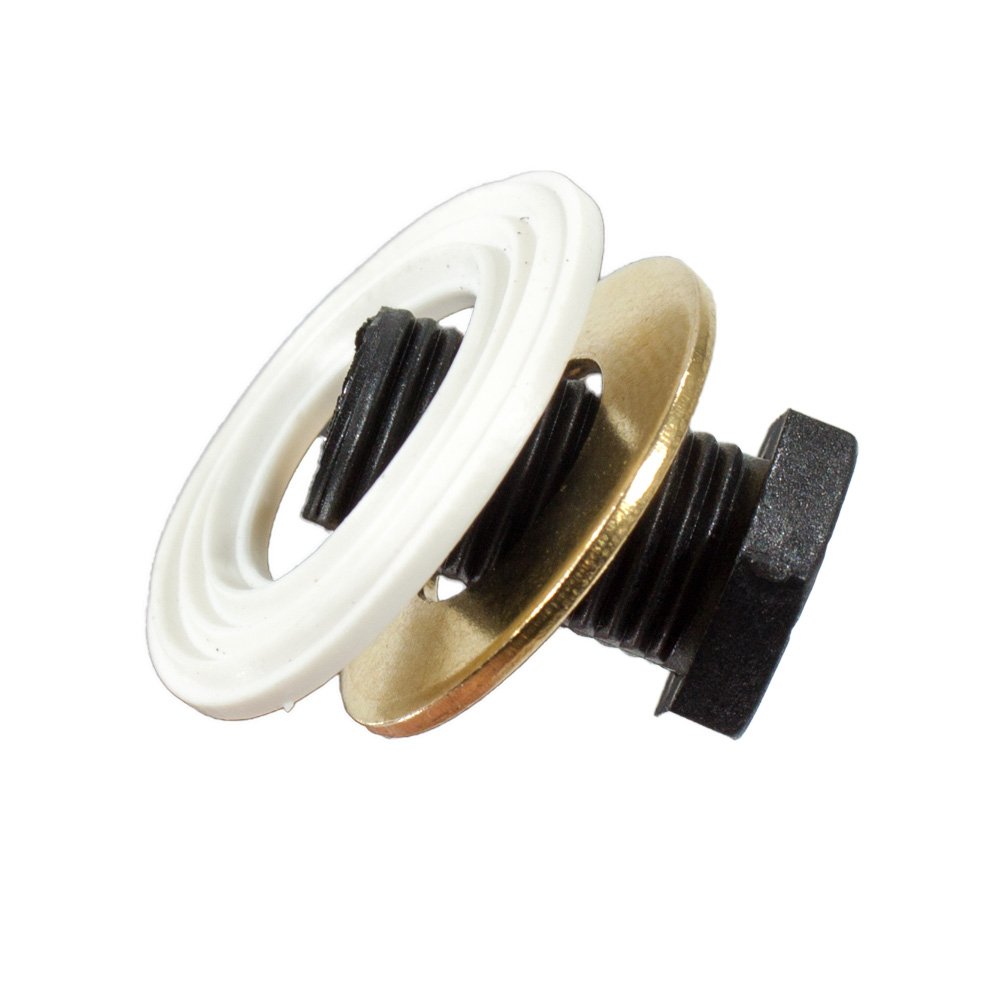
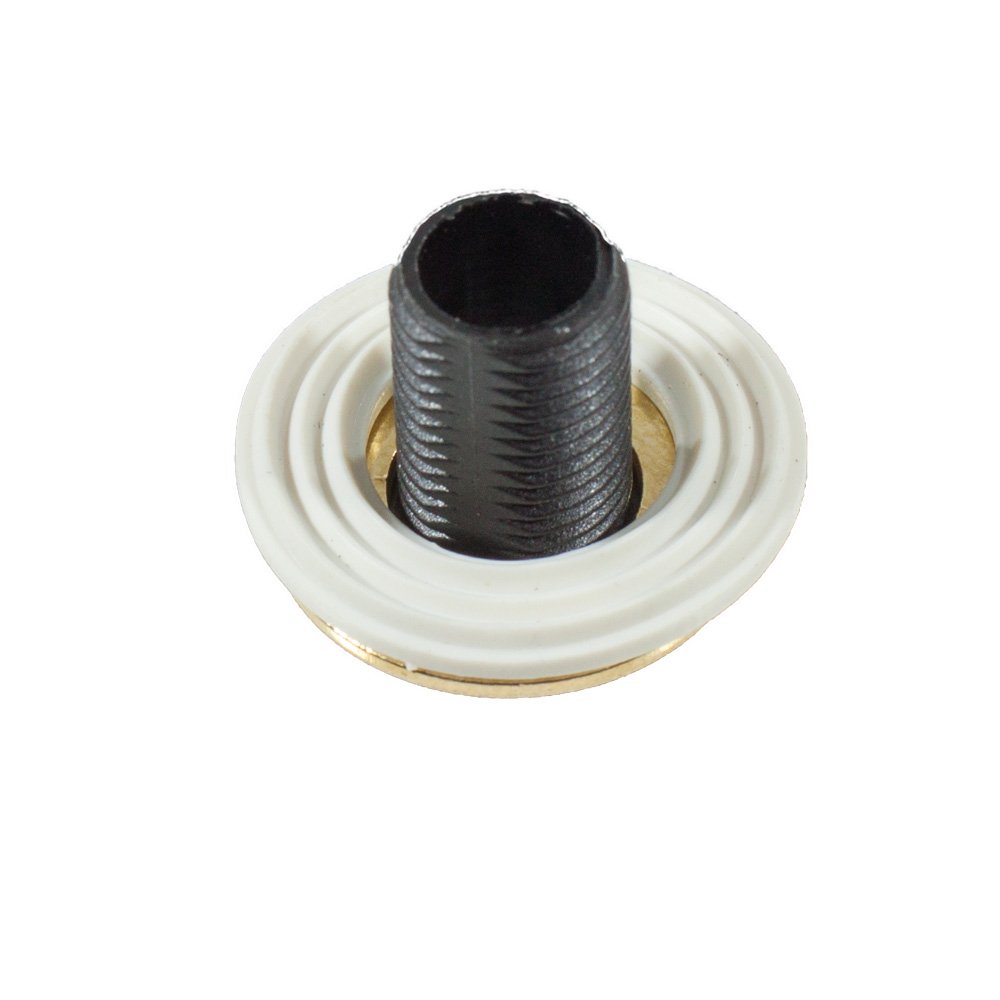
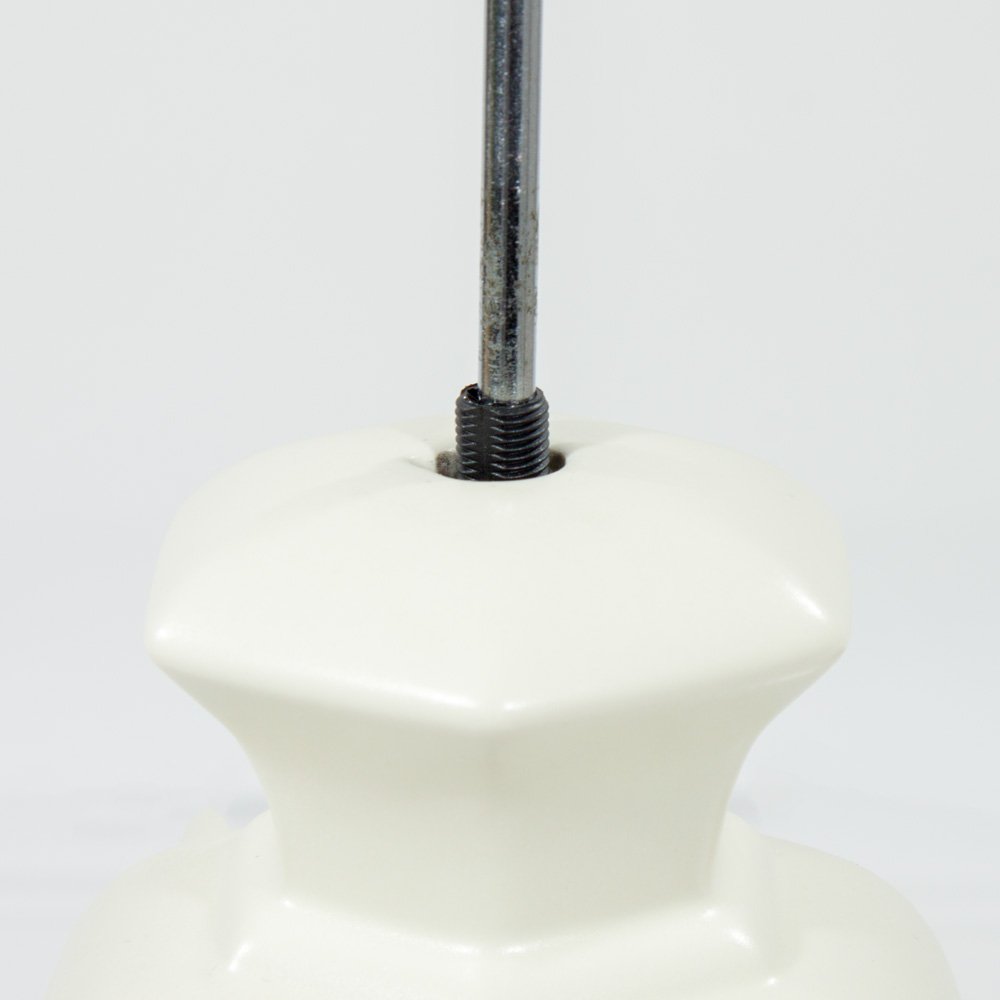
Here is a guide if you cannot get your hand up inside the ceramic item.
-
Separate the lampholder into its 3 components. Place the brass washer over the thread sticking out the top of the lamp base, followed by the bottom part of the lampholder.
Note: You may need to cut/adjust the thread if too long. Approx. 6mm is required to go into the lampholder.
-
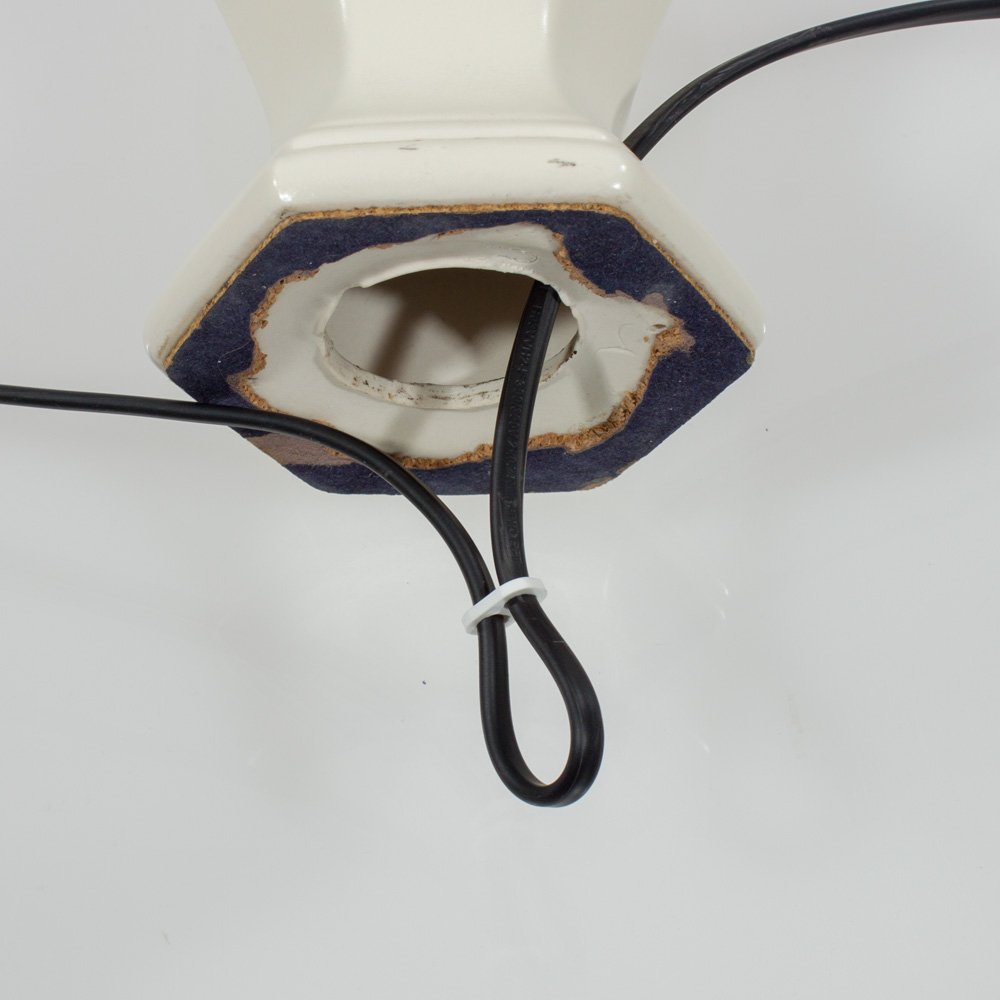
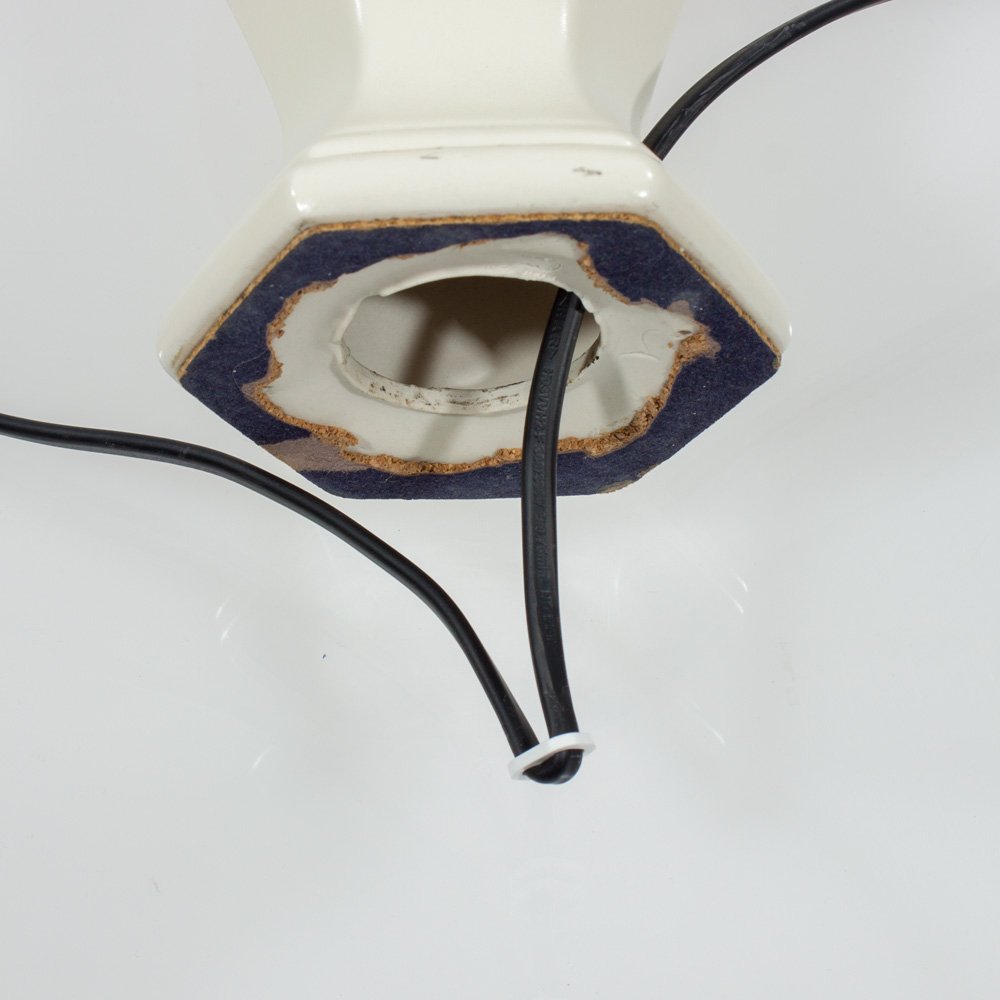
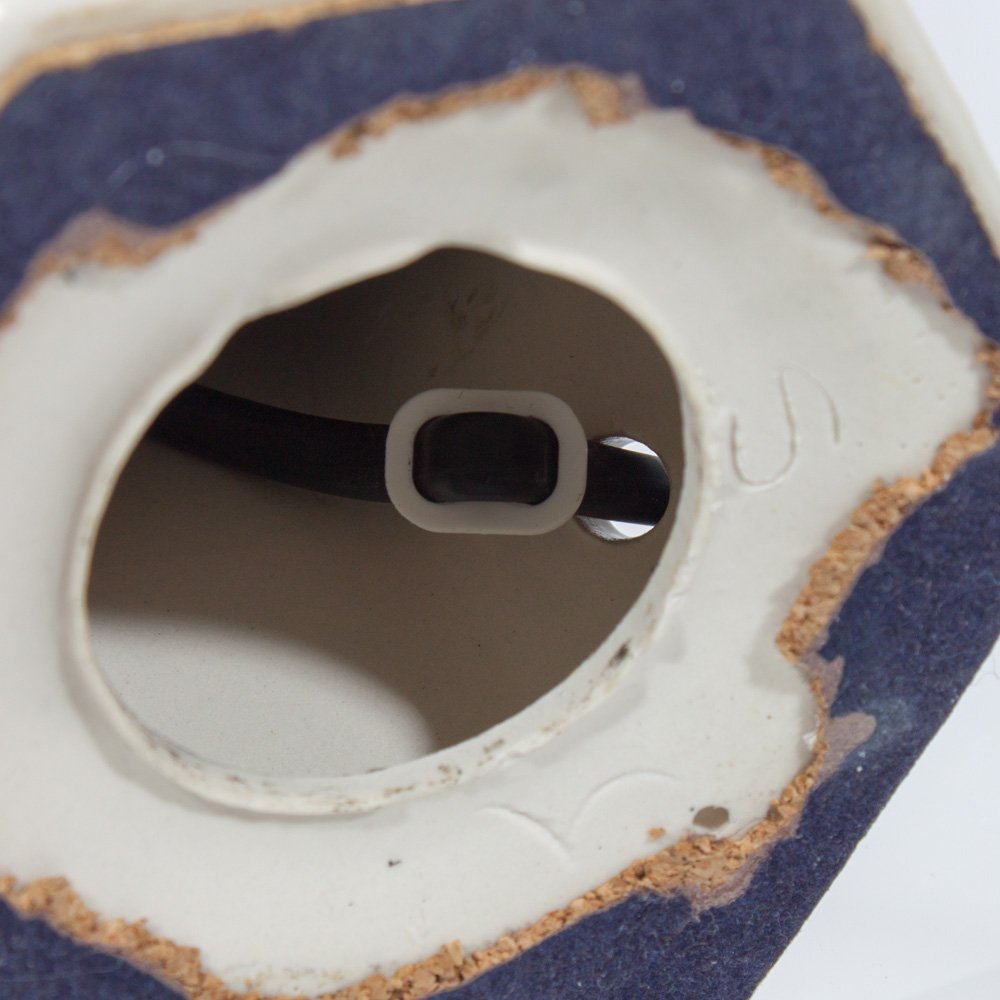
Take the cable push it into your ceramic base and out the bottom access hole, then grab the strain relief and push the wire through one hole then back out through the other as shown below.
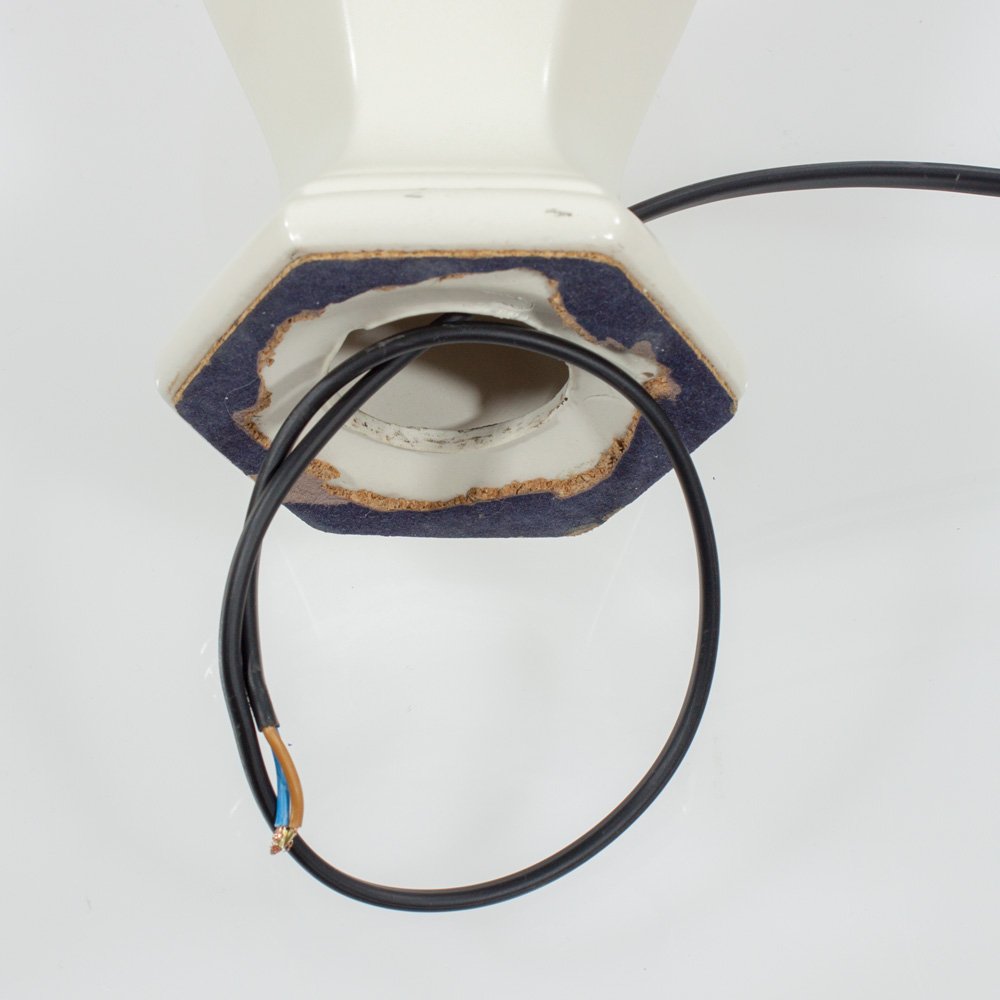
-
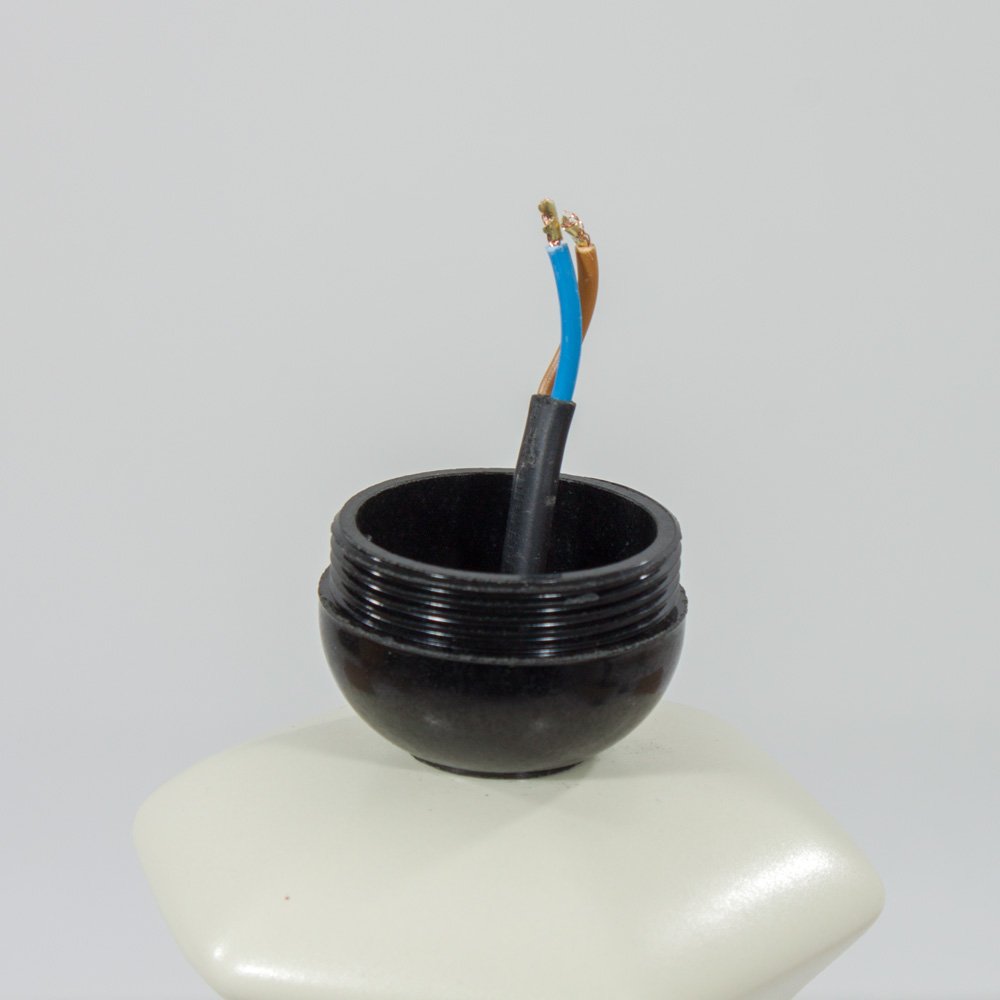
Take the bottom section of the lampholder and screw it onto the thread sticking out of the base.
-
Take the plastic connection unit and wire it as below, ensuring the correct wire is in the correct connection, note there are L and N marking on the connection unit.
N = Neutral—Blue | L = Live—Brown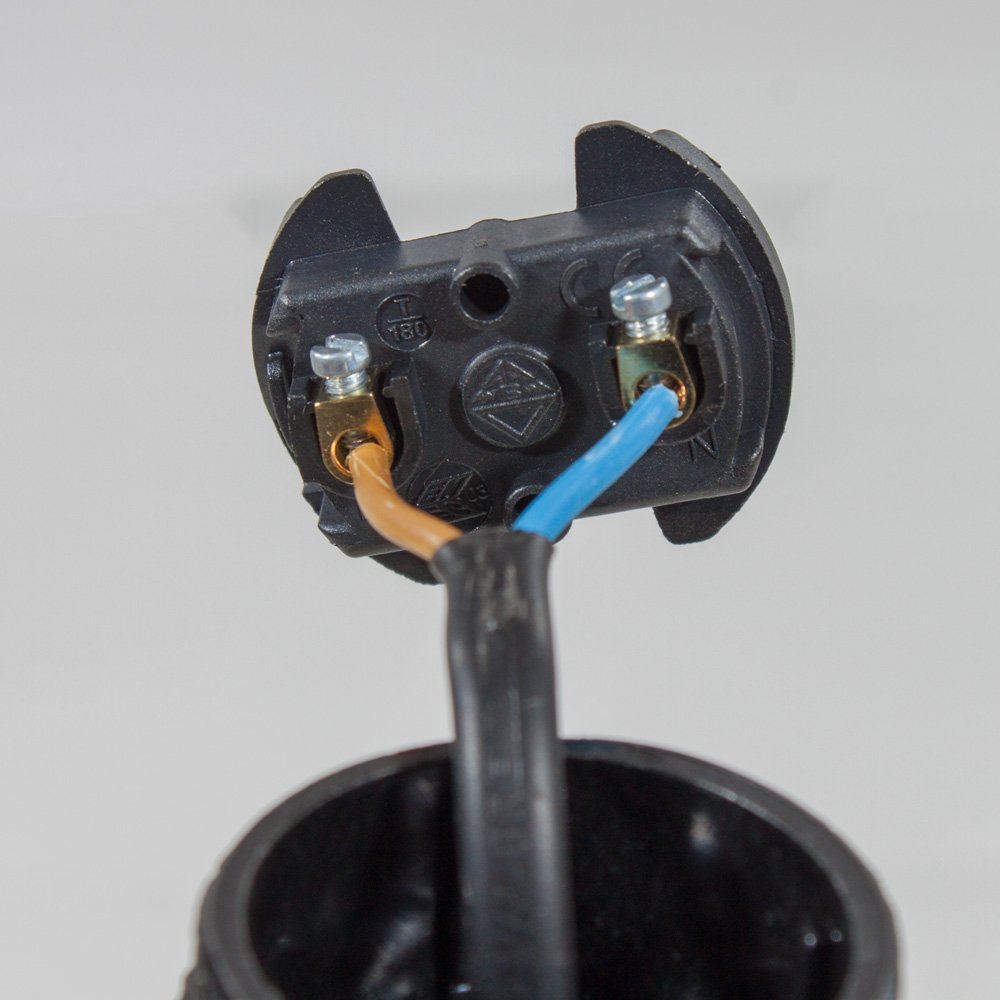
-
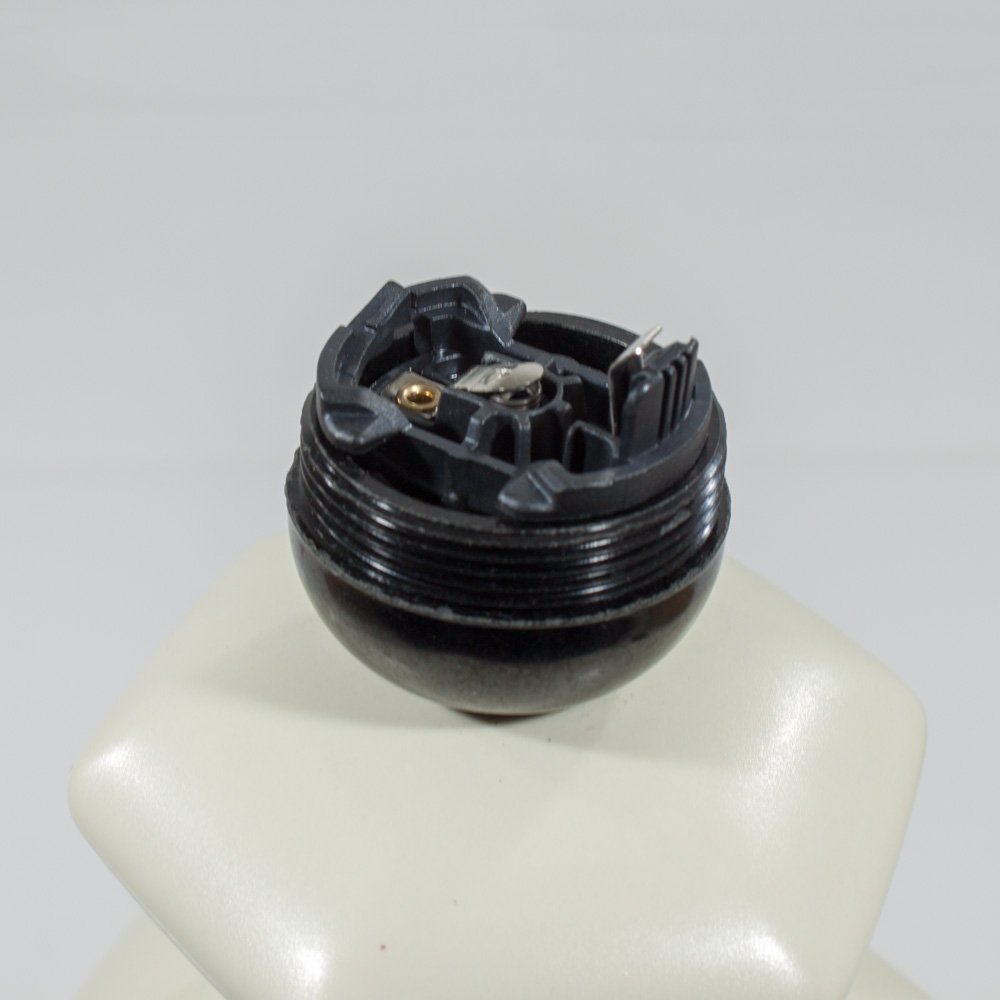
Once the connection unit has been wire carefully push it into the base of the lampholder ensuring no cables are trapped.
-
Finally take the top section of the lampholder and screw it over the top, noting a clicking noise as you tighten it up.
The clicking noise is the locking barb which is a safety feature of all E27 lampholders, this ensures that the skirt (top section) does not come away from the bottom section when unscrewing a light bulb.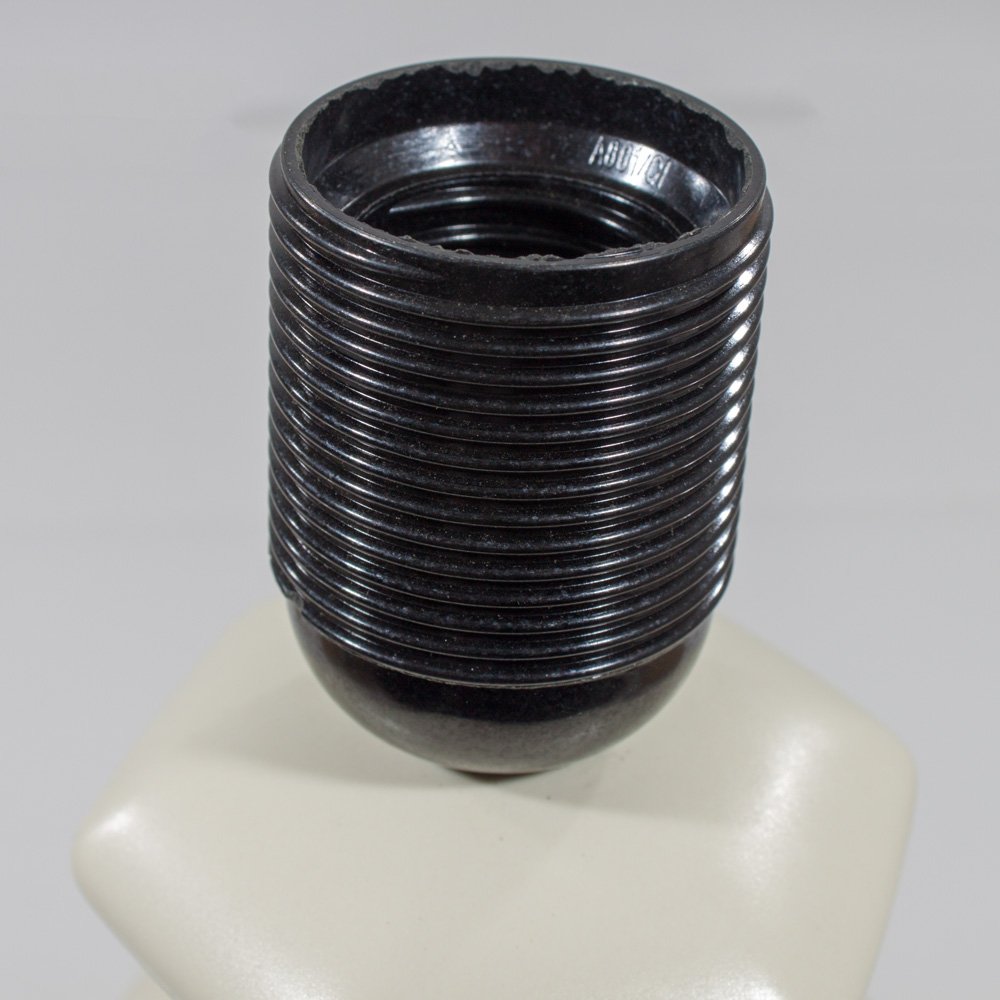
Note: If you need to remove the lampholder then follow this guide
This now completes the installation of kit 17