


Kit 12 Installation Guide
This is to show you a step by step guide on how to install Kit 12.
With Kit12, you do need to have access inside the vase/item from the bottom.
-
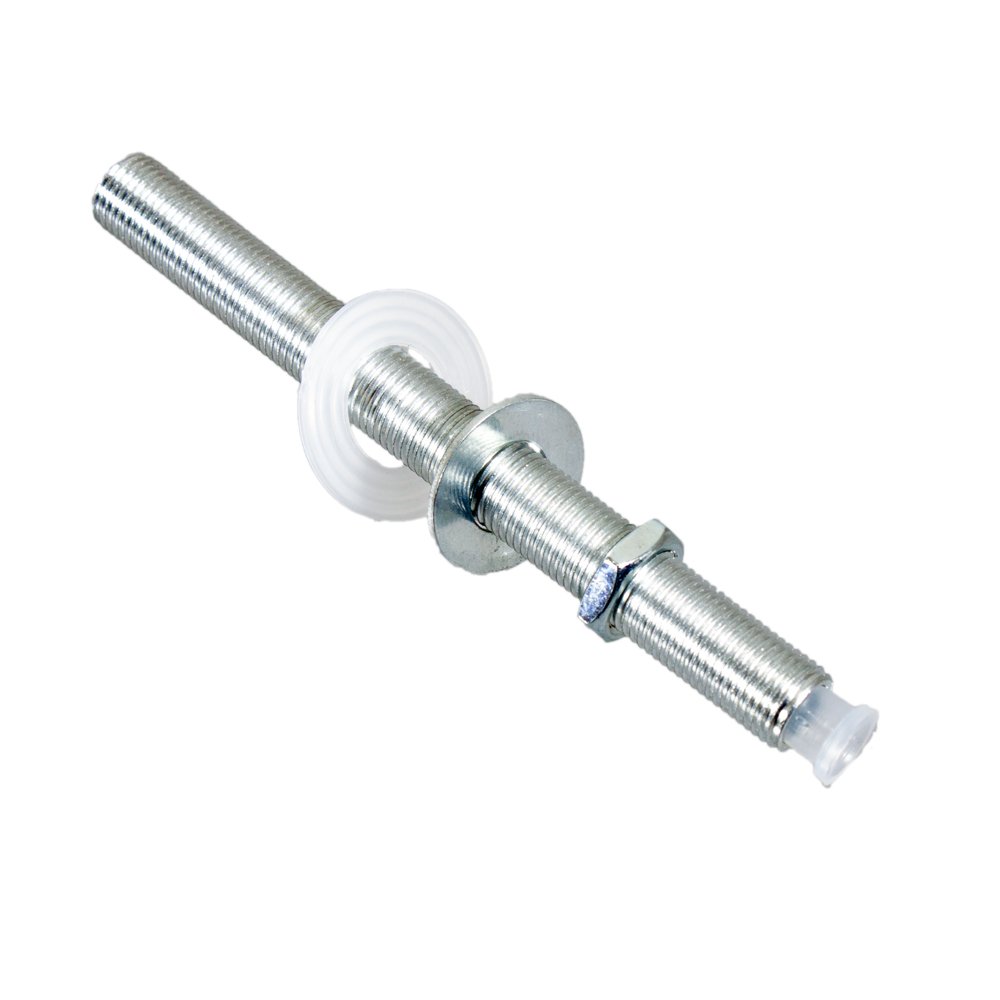
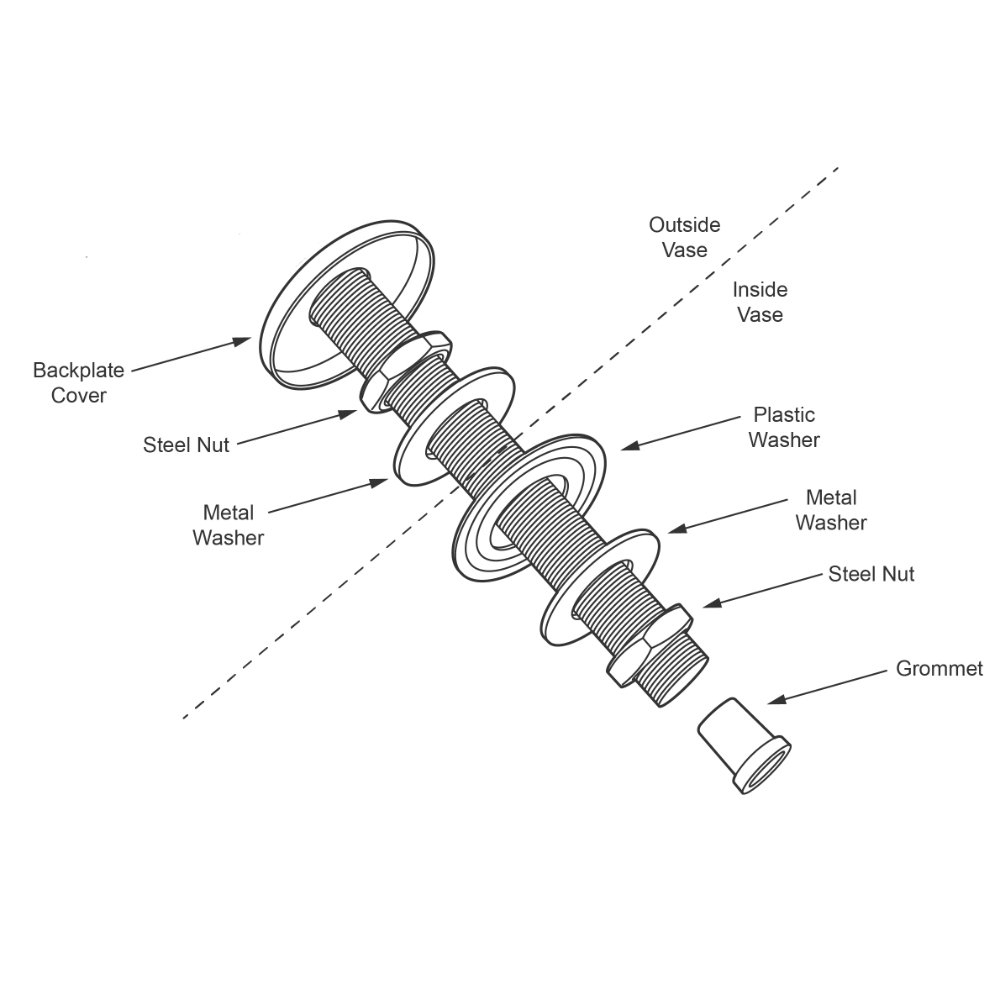
Take the all threaded tube and push the clear grommet into one end.
Then take the plastic washer and slide it onto the rod from the same end as the tube grommet has been inserted, followed by a metal washer then a nut.
Please Note: The clear tube grommet does not come with the kit any more.
-
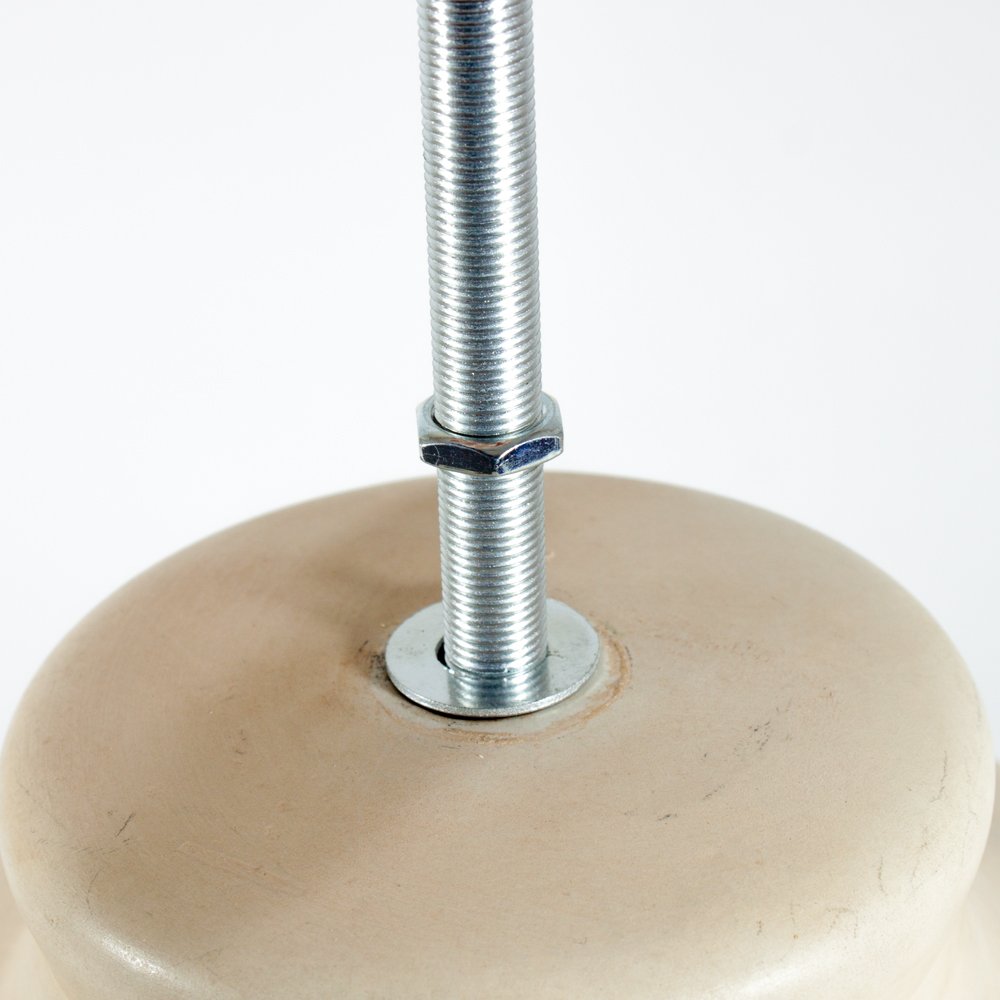
Push the above assembly up through the hole in your vase/item so it is sticking out the top of the vase/item.
Ensure to keep hold of it once sticking out the top as you don't want it to fall down, alternatively, if you can lay the vase/item on its side this may help.
-
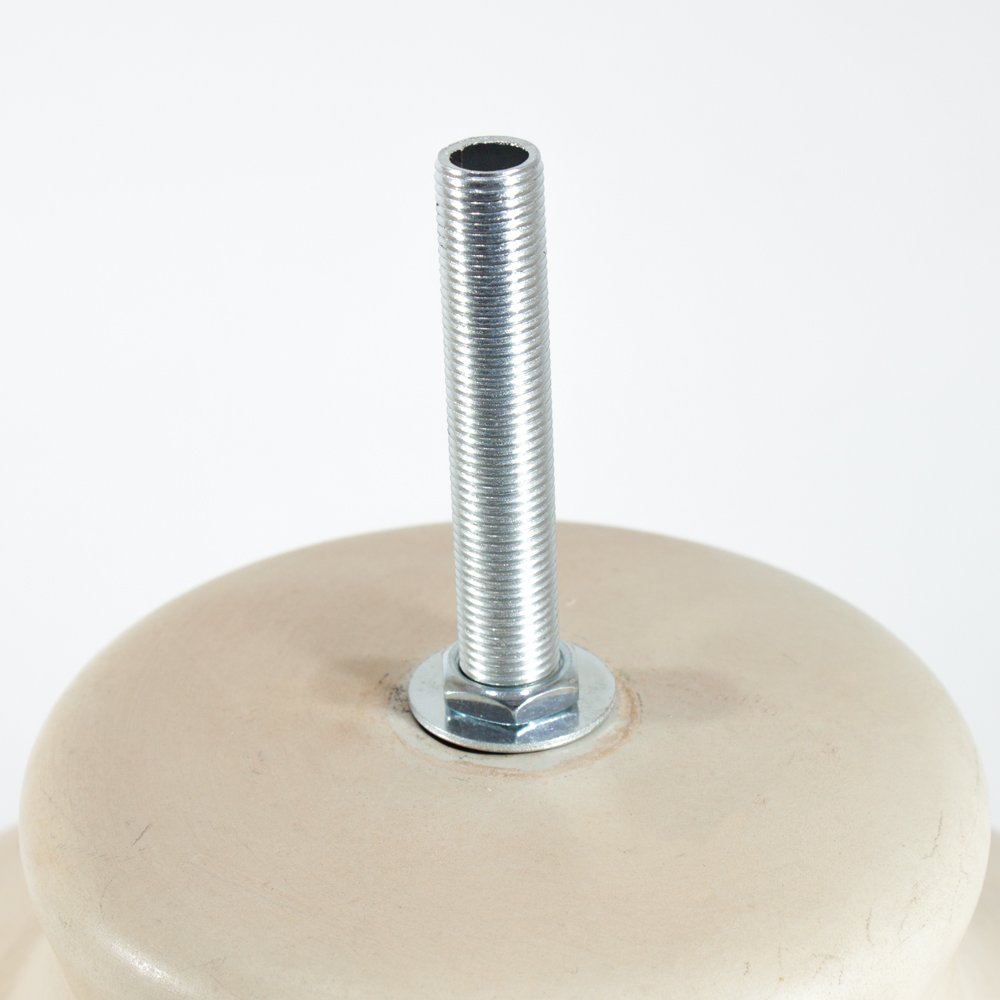
Once the assembly is sticking out the top take the second metal washer and slide it onto the rod followed by the second steel nut.
-
Before you tighten the assembly up ensure you have the correct length of thread sticking out the top:
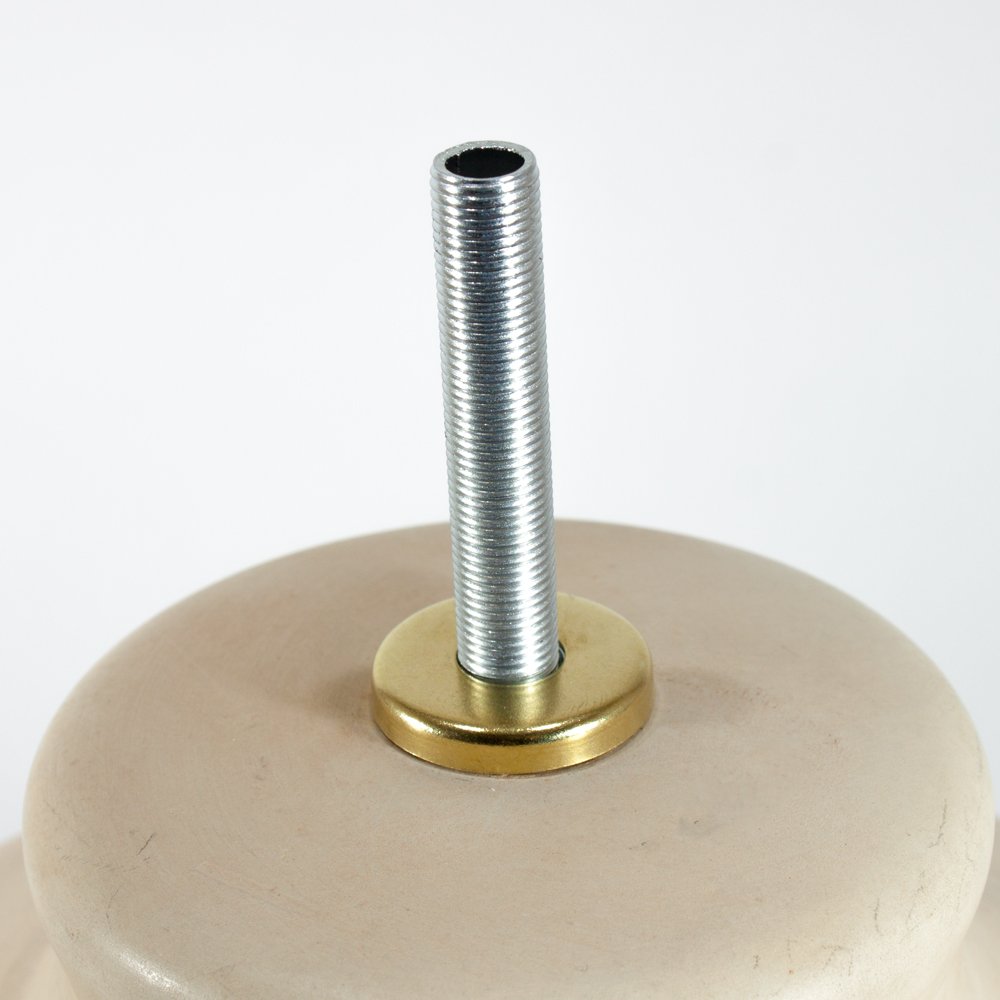
- For the 38mm kit, leave 50mm of thread sticking out the top of the lamp base.
- For the 75mm Kit, leave 87mm of thread sticking out the top of the lamp base.
-
Once you have the correct amount of thread sticking out the top you can tighten up the nuts, in most cases you can get away with holding the nut from the inside whilst you get a spanner on the nut on top.
-
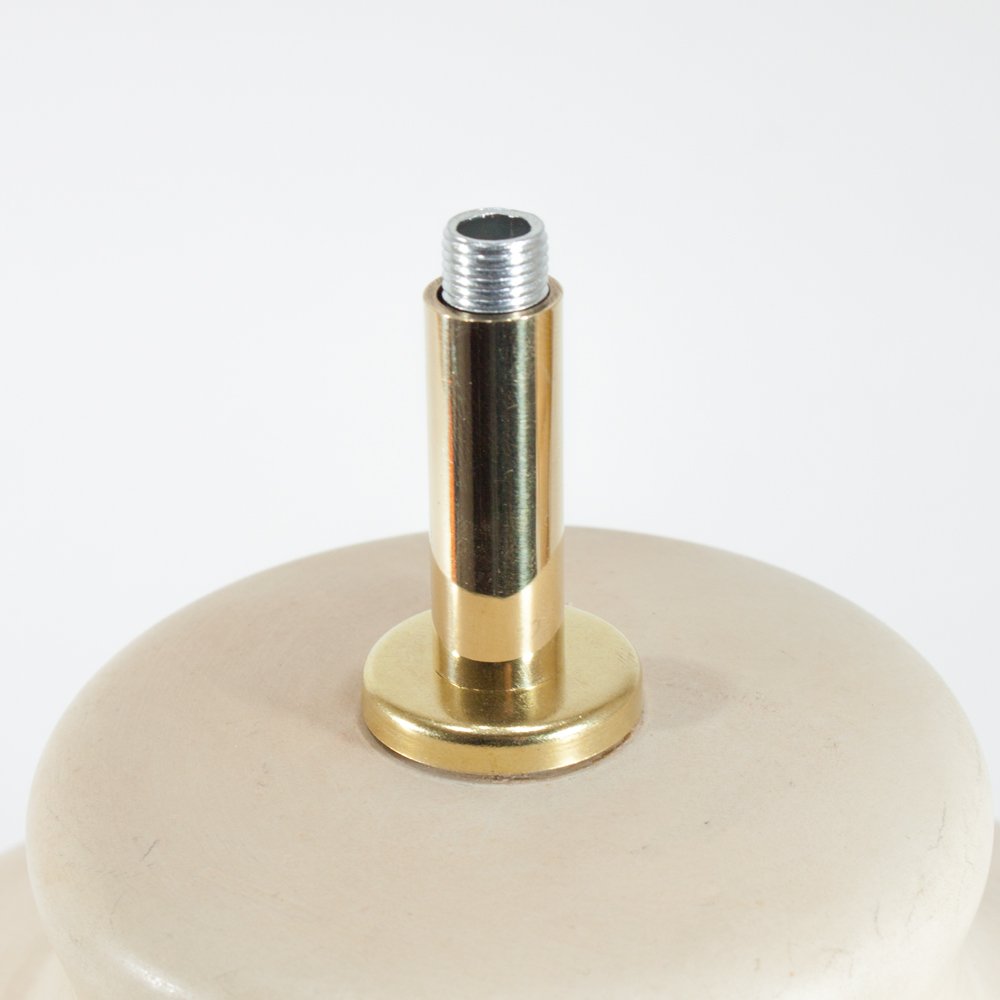
After the assembly is nice and tight you can slide the nut cover over the top followed by the tube cover.
-
The next step is to insert the cable, grab the black grommet supplied and insert this into the 10mm hole drilled into the vase/item.
Please note that you may not be able to use this part, if not, then ensure the hole is smooth and has no sharps bits.
-
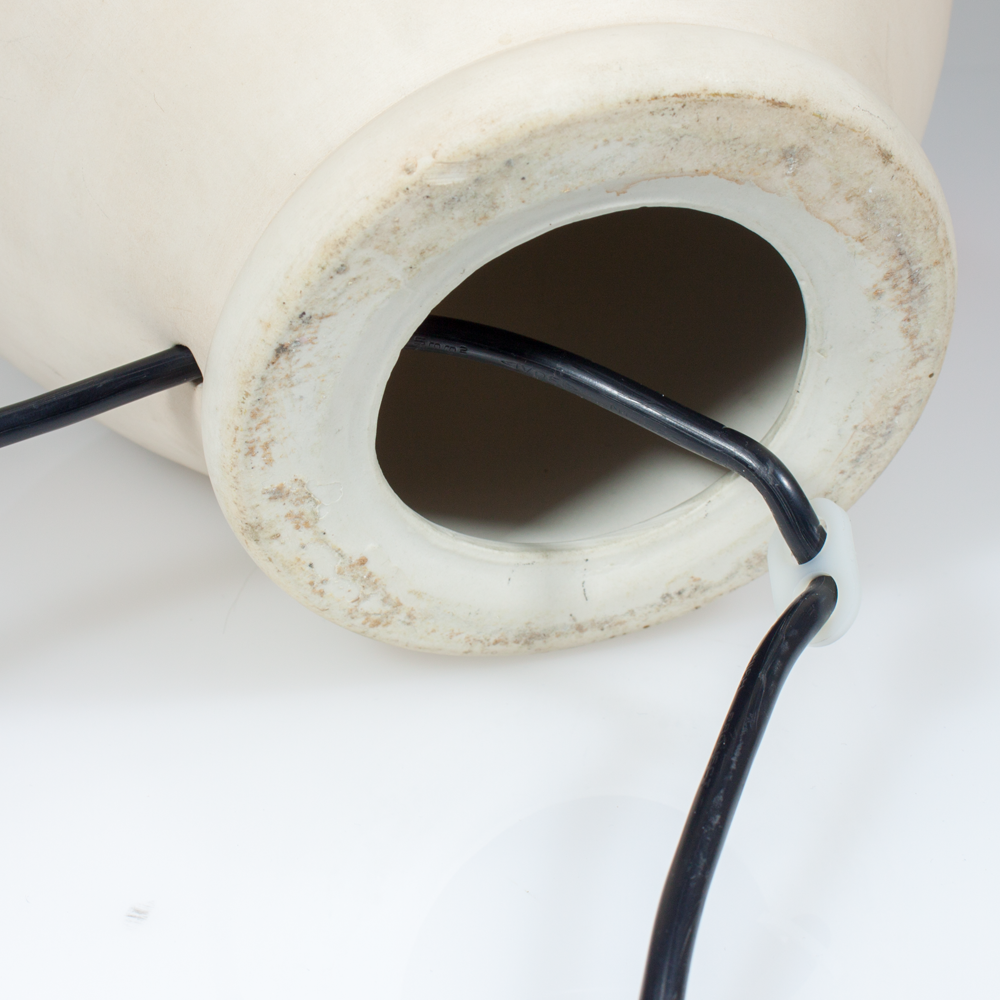
Take the cable and push it into the 10mm hole and out the bottom of the vase, then take the cord grip and feed the cable through one hole and then back through the other as seen below.
Ensuring that there is enough cable to come out the top of the assembly and ensuring the cord grip is touching the inside of the 10mm hole, you may need to rerun this process to extend or shorten the position of the cord grip.
-
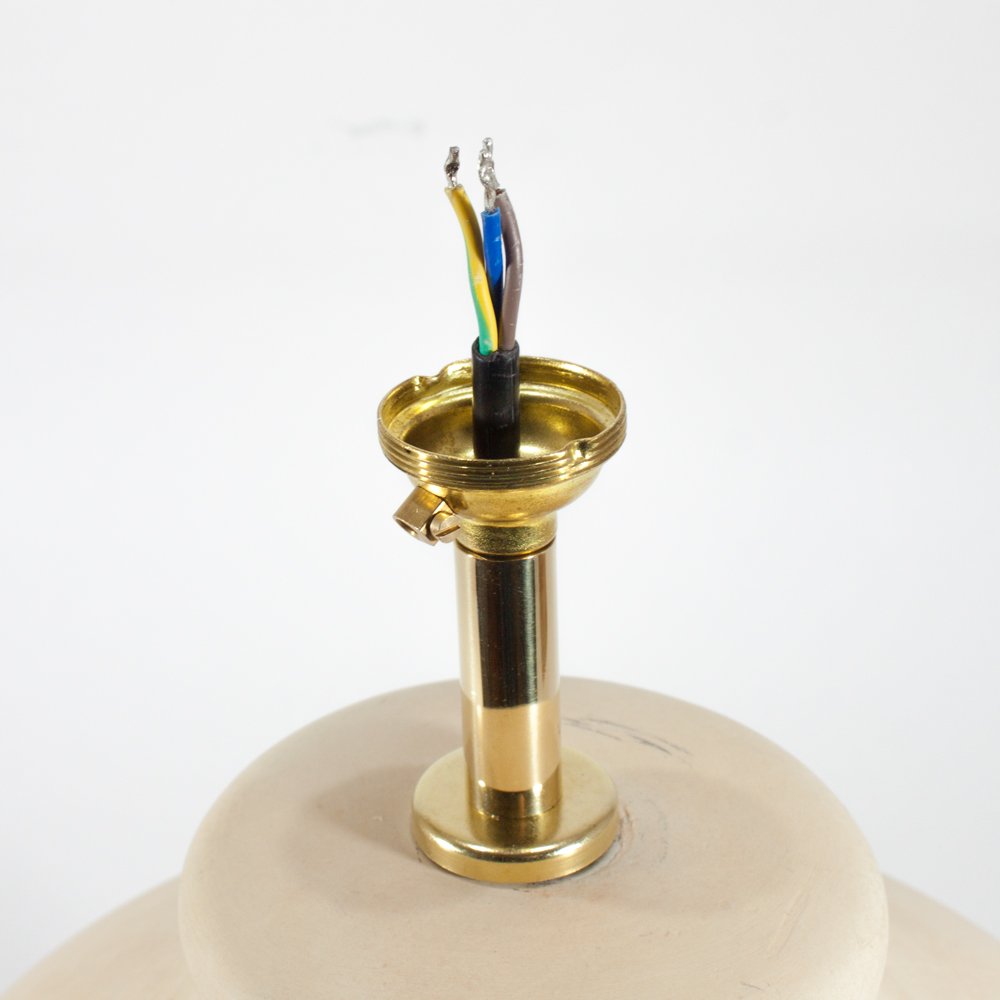
Once this has been done, you can now take the cable and push up through the assembly.
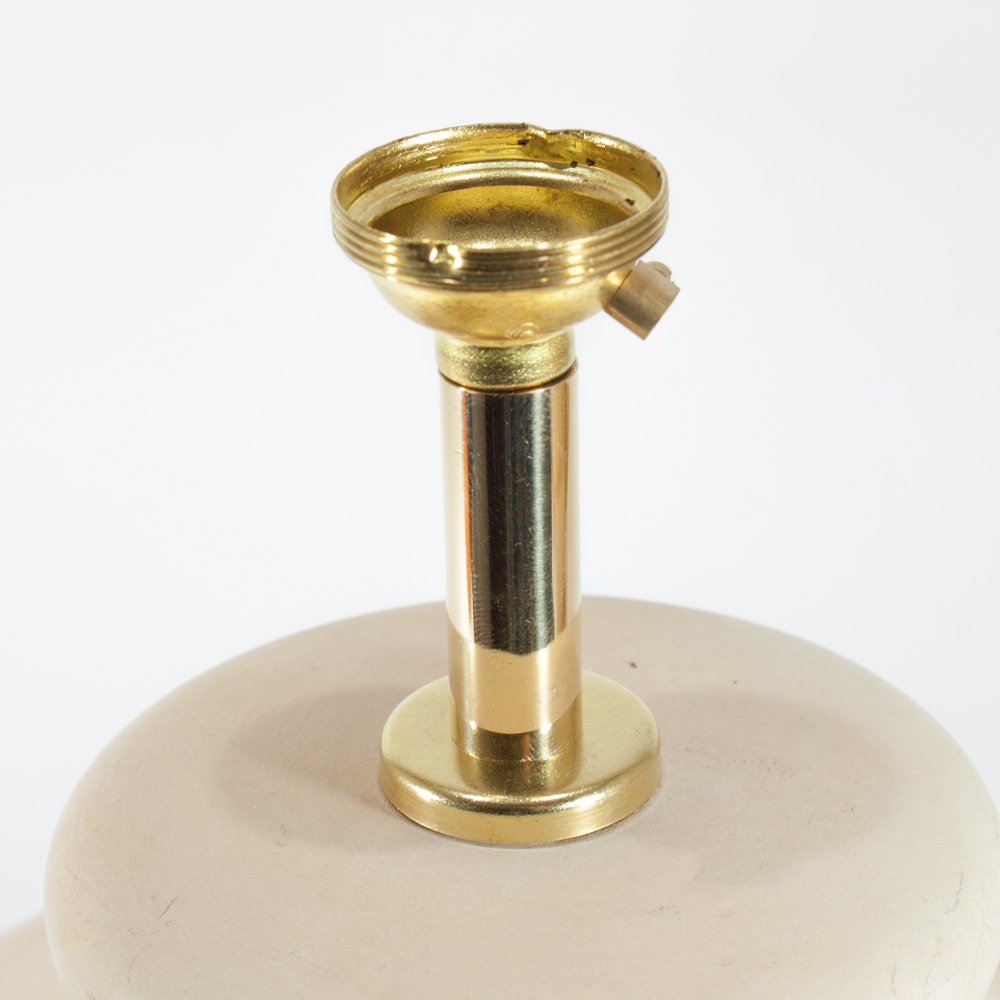
Take the lampholder and separate it into its 3 components, then take the bottom part and screw it onto the top of the assembly, carefully feeding the cable through it.
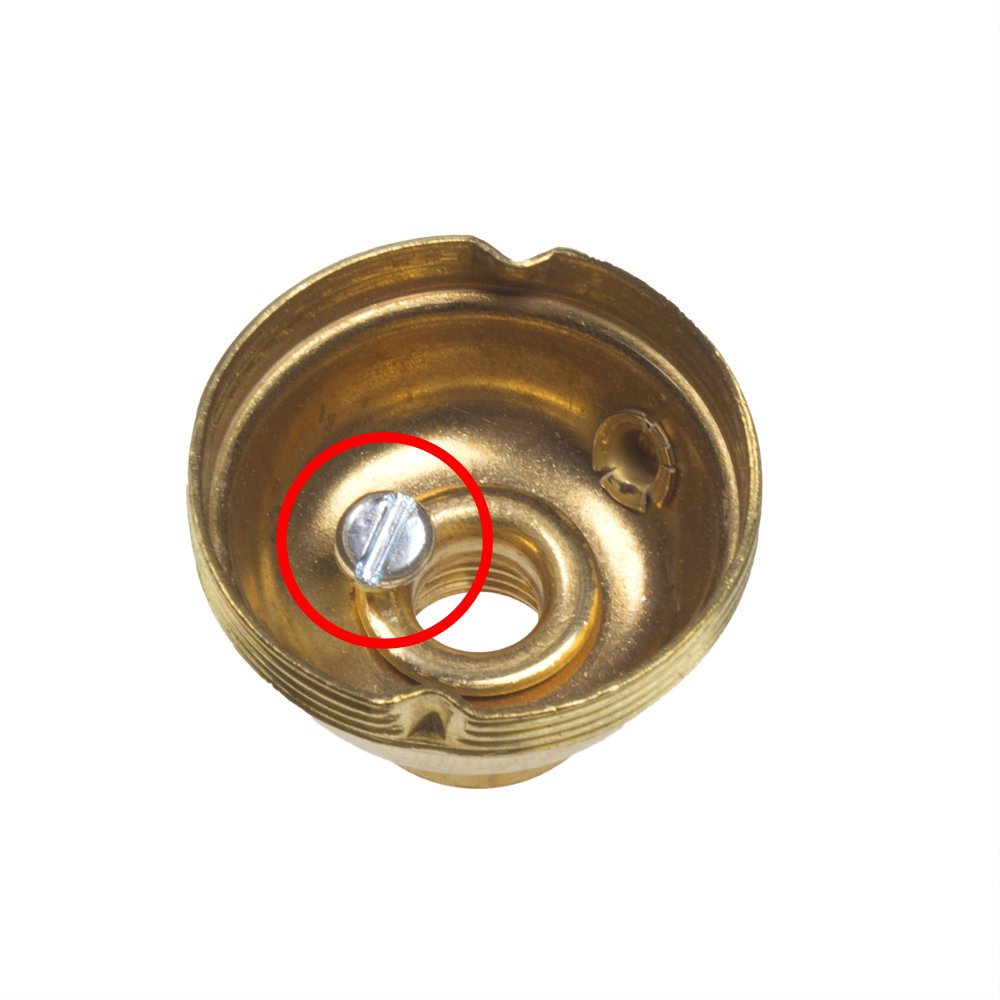
Note: There is a locking screw on the lampholder, this may need to be loosened off before screwing onto the main thread.
Once it's been screwed on, you must tighten this back up, this will lock the lampholder onto the main thread.
-
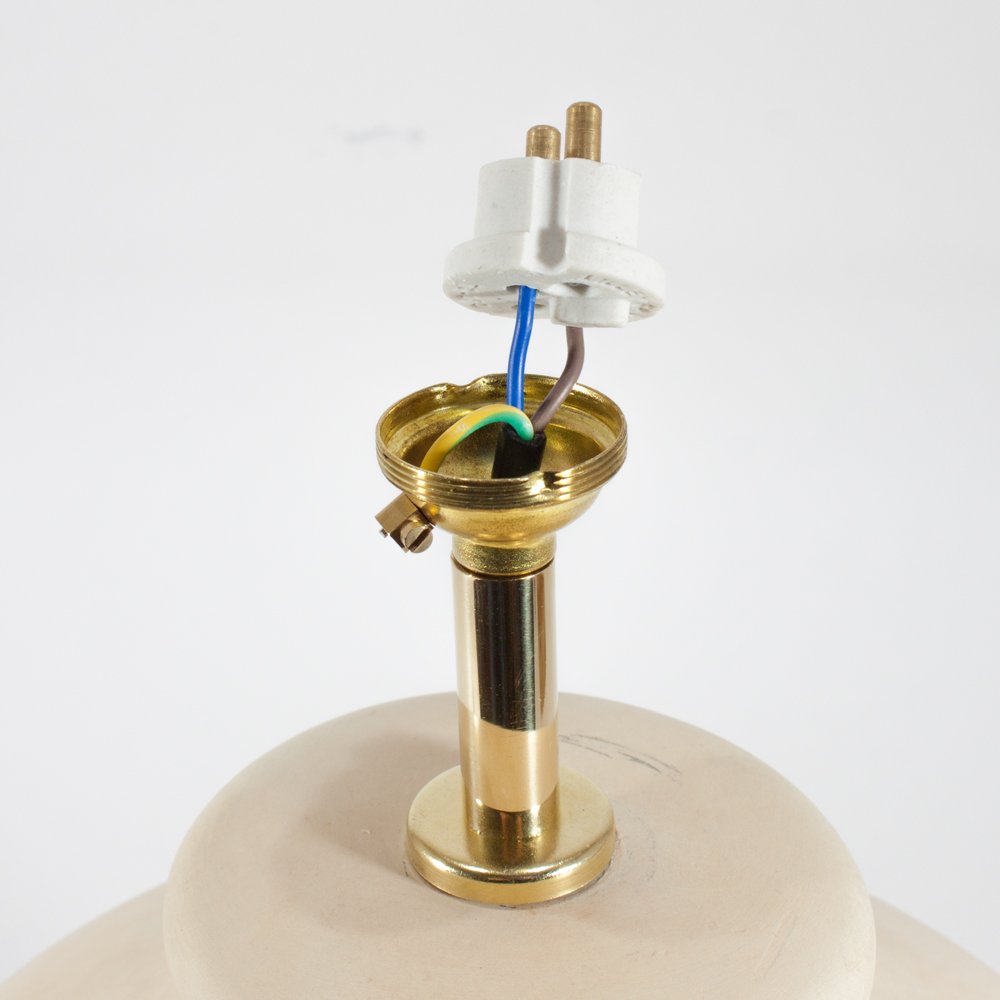
Wire the connection unit and earth block as shown below.
It does not matter which way around the live (Brown) and neutral (Blue) go, as long as the earth goes into the block.
-
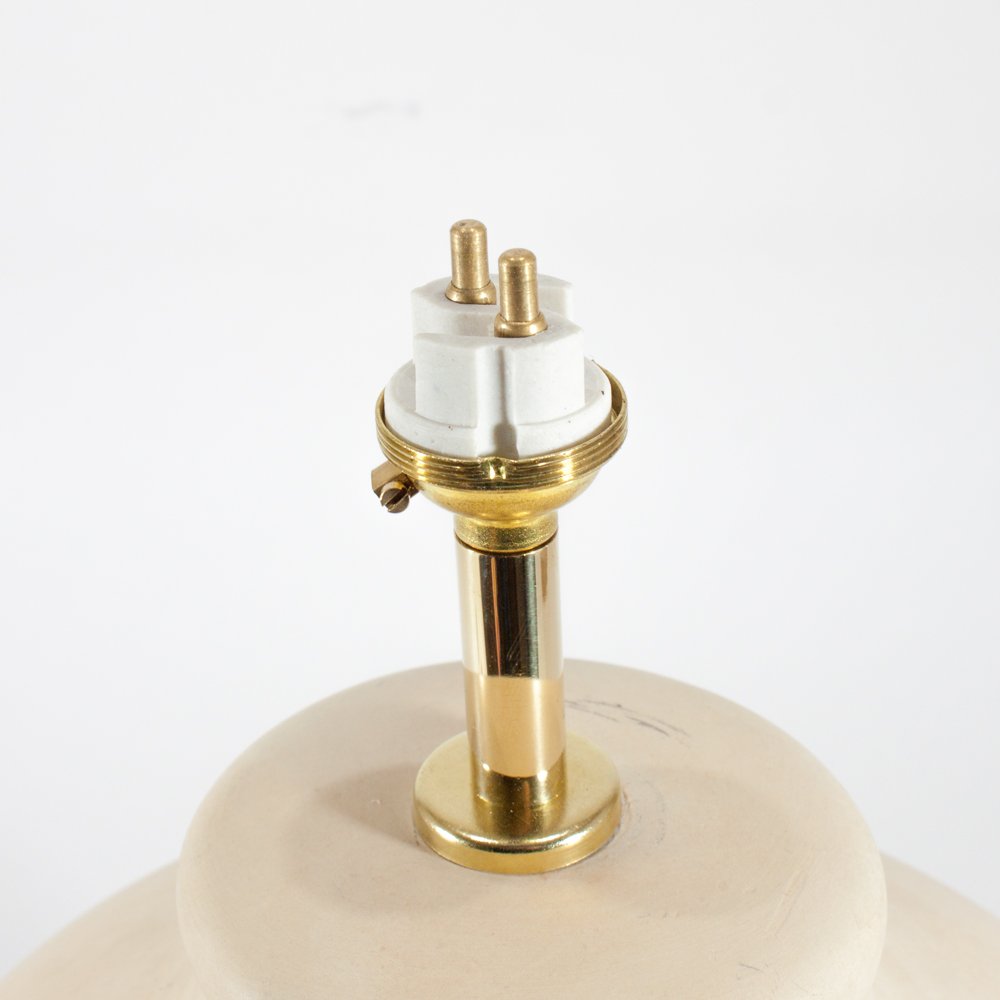
Once the connection unit had been connected as shown above you can then carefully push the connection unit inside the base of the lampholder ensuring the notches align up as shown below.
-
Once the connection unit is inside the base you can then take the skirt and again ensuring the notches align place it over the top of the ceramic unit and tighten up the lock ring.
See images below on the alignment.
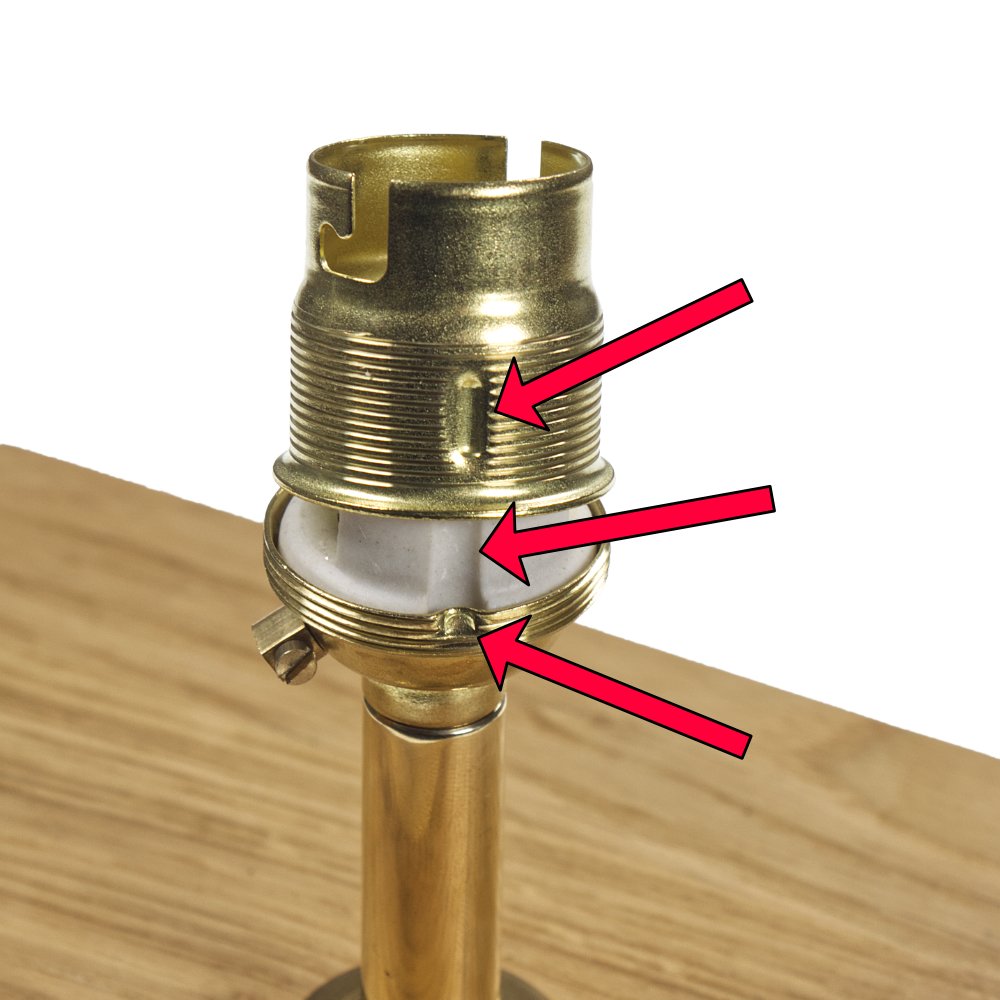
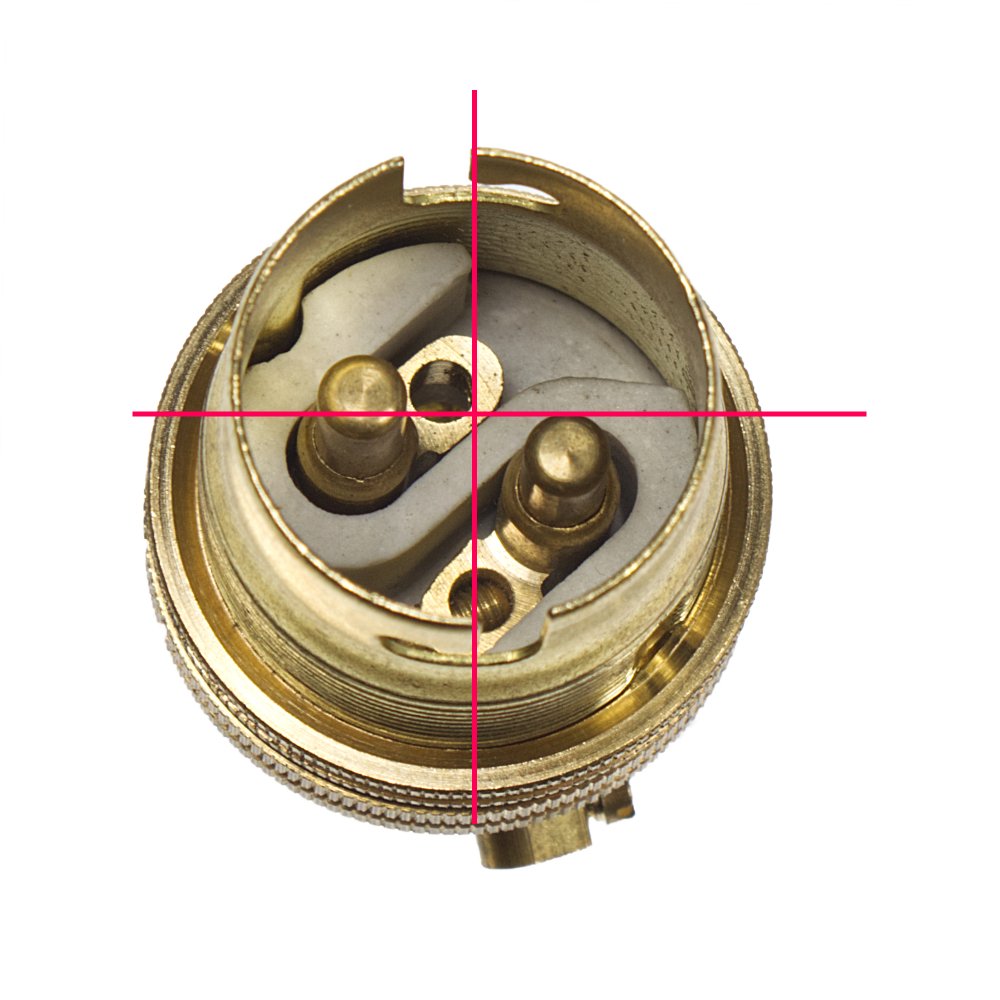
More information on how the align the lampholder can be found here.