Kit 1 Installation Guide
This is to show you a step by step guide on how to install Kit 1.
-
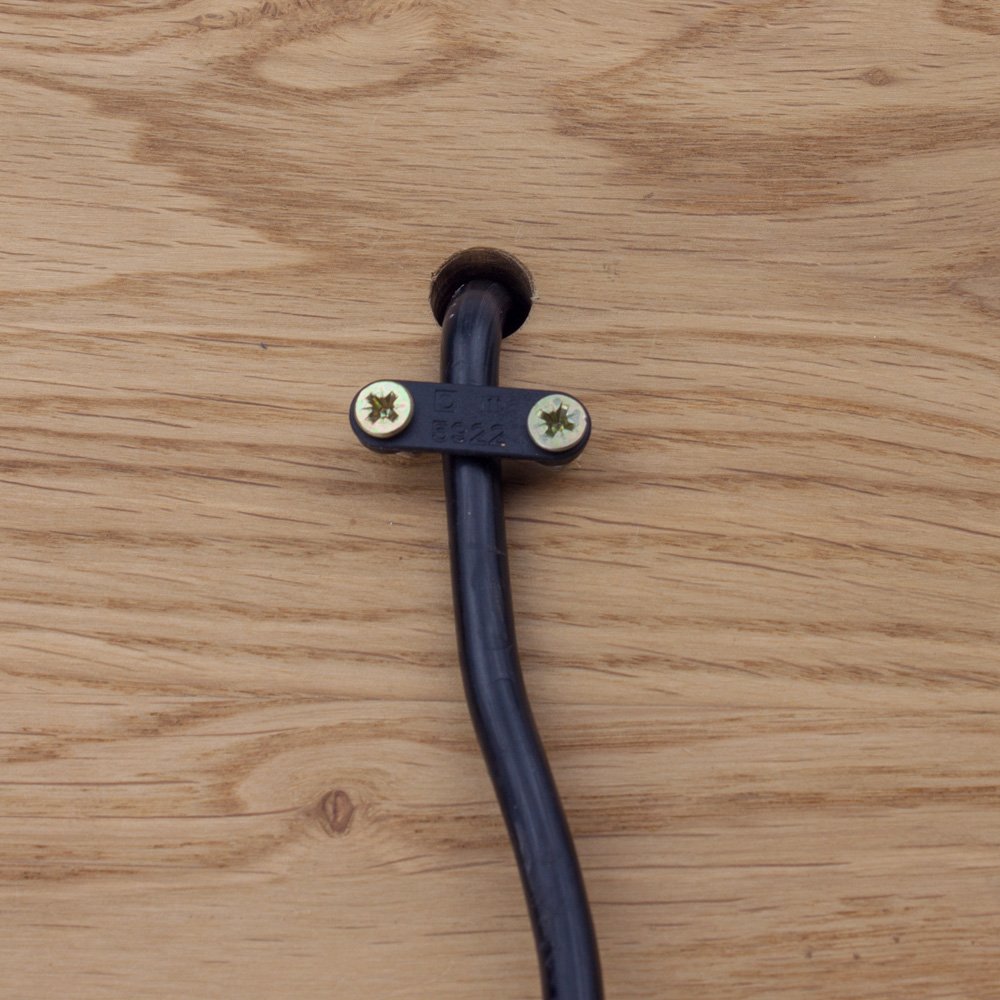
Feed the cable cord set through your light fitting ensuring not to damage it as you push/pull it through. Ensure you leave this loose so you can adjust the length when on step 3.
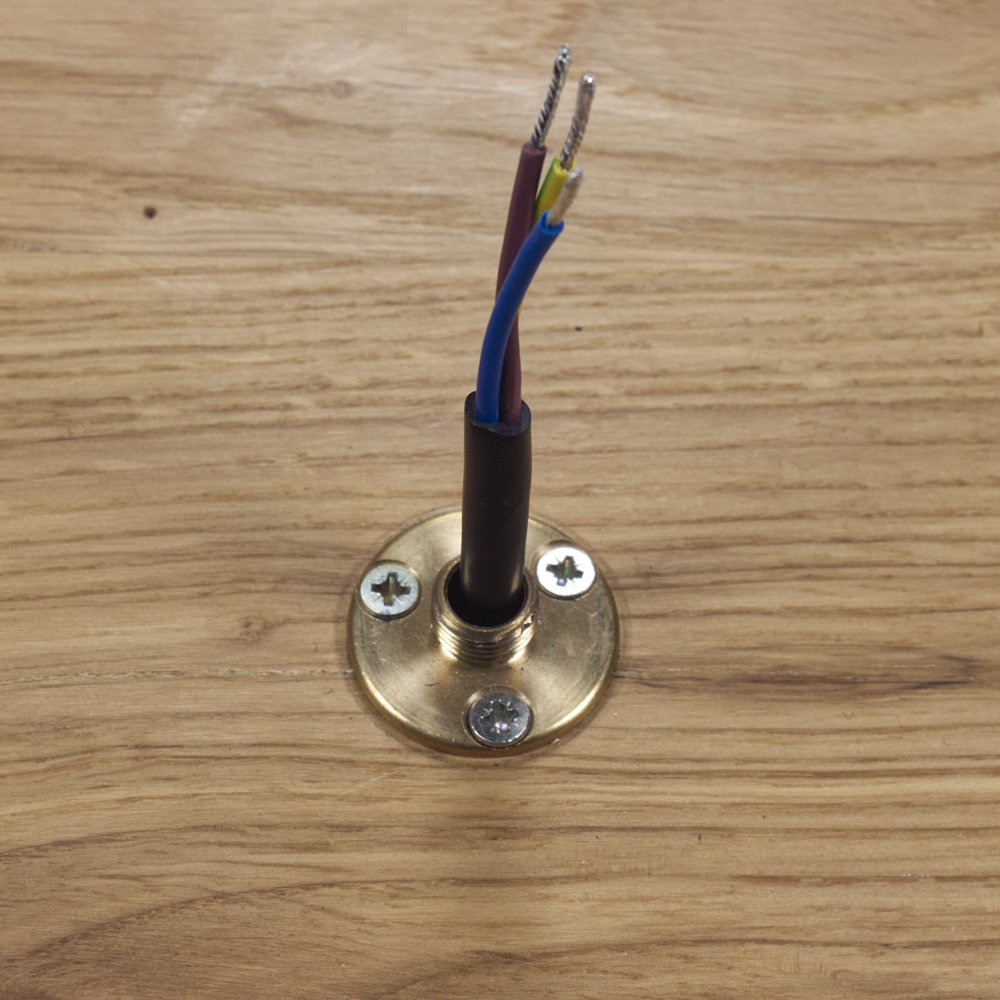
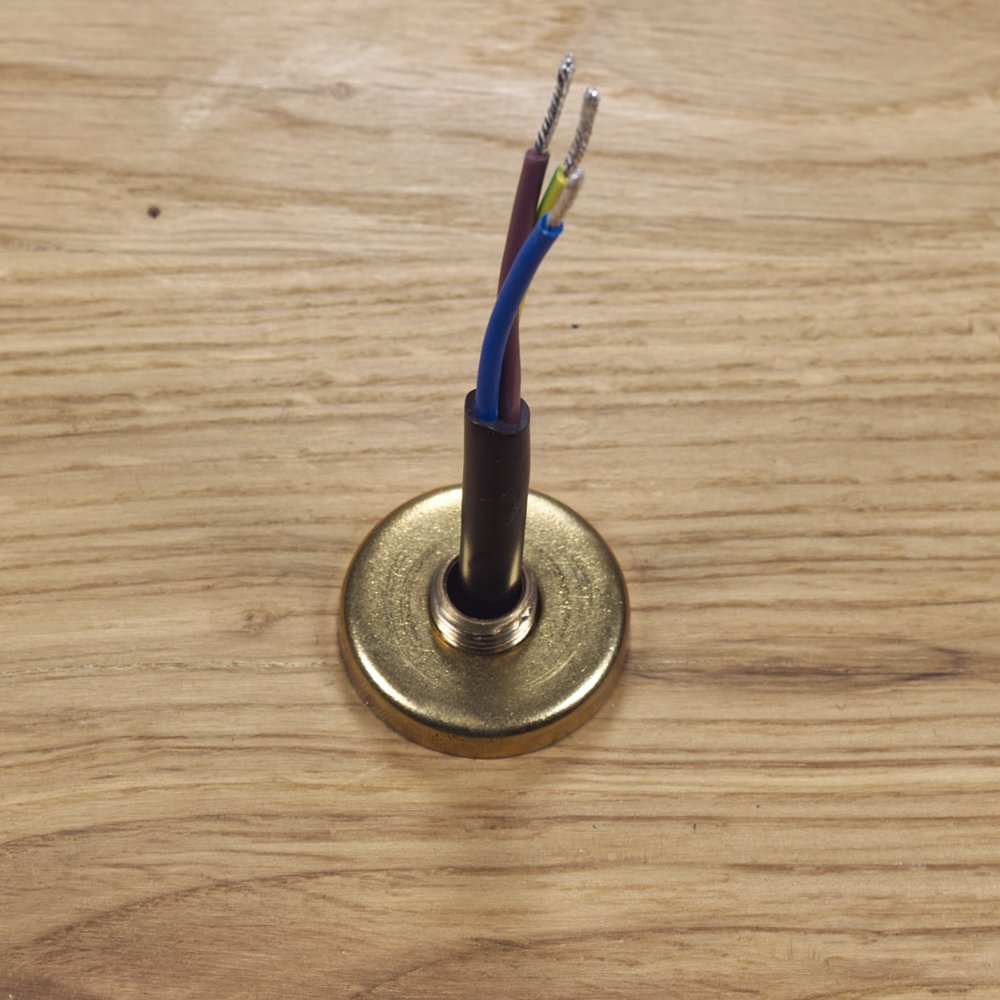
Next, place the backplate over the cable and fix it down onto your wooden lamp using the supplied screws, then place the cover over the top.
-
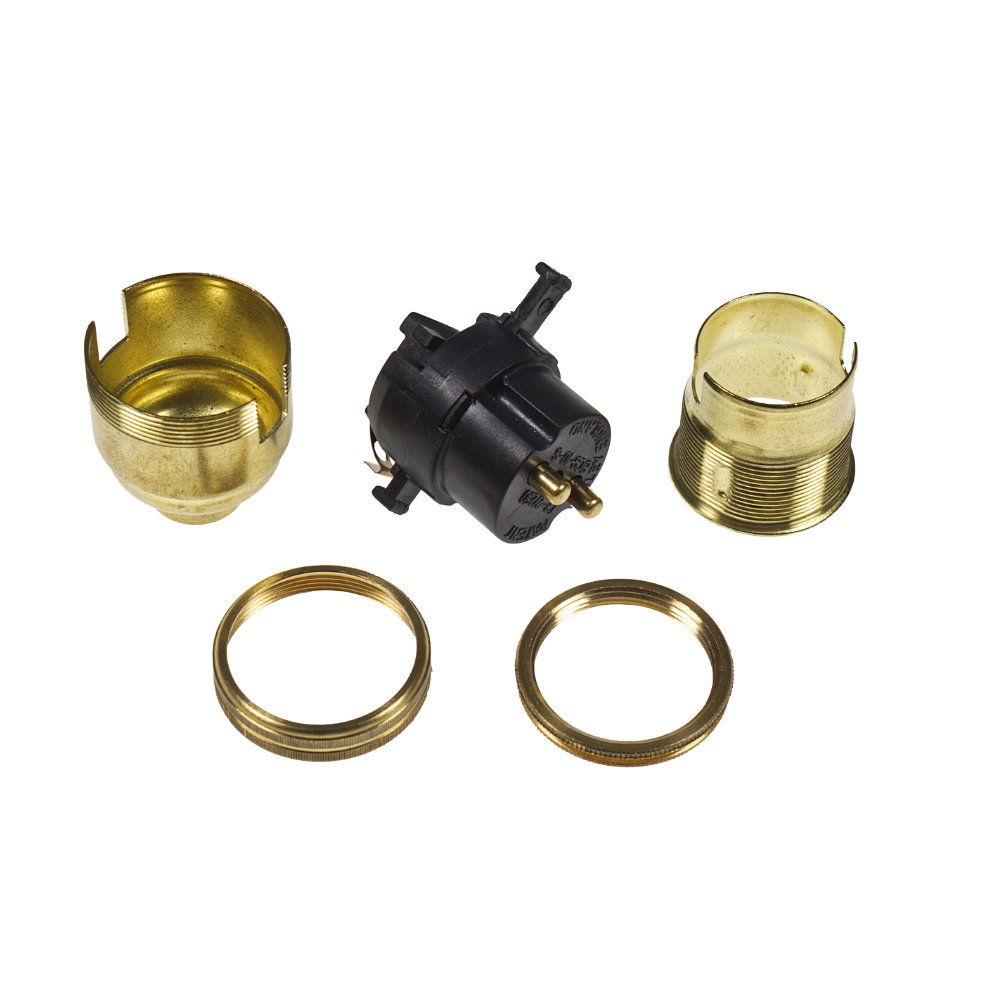
Separate the lampholder into the following parts:
-
Then take the cap of the lampholder and screw it onto the thread of the backplate.
-
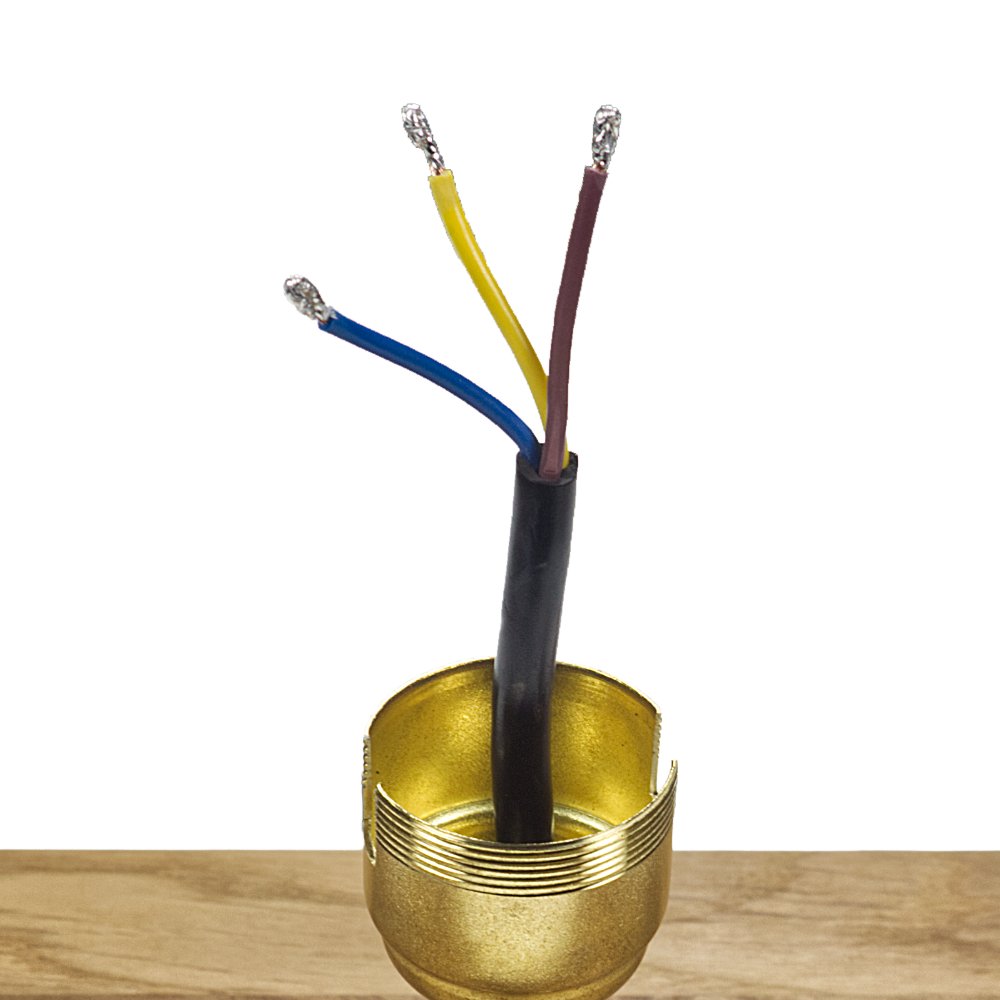
Using a pair of pliers, double over the ends of the cable.
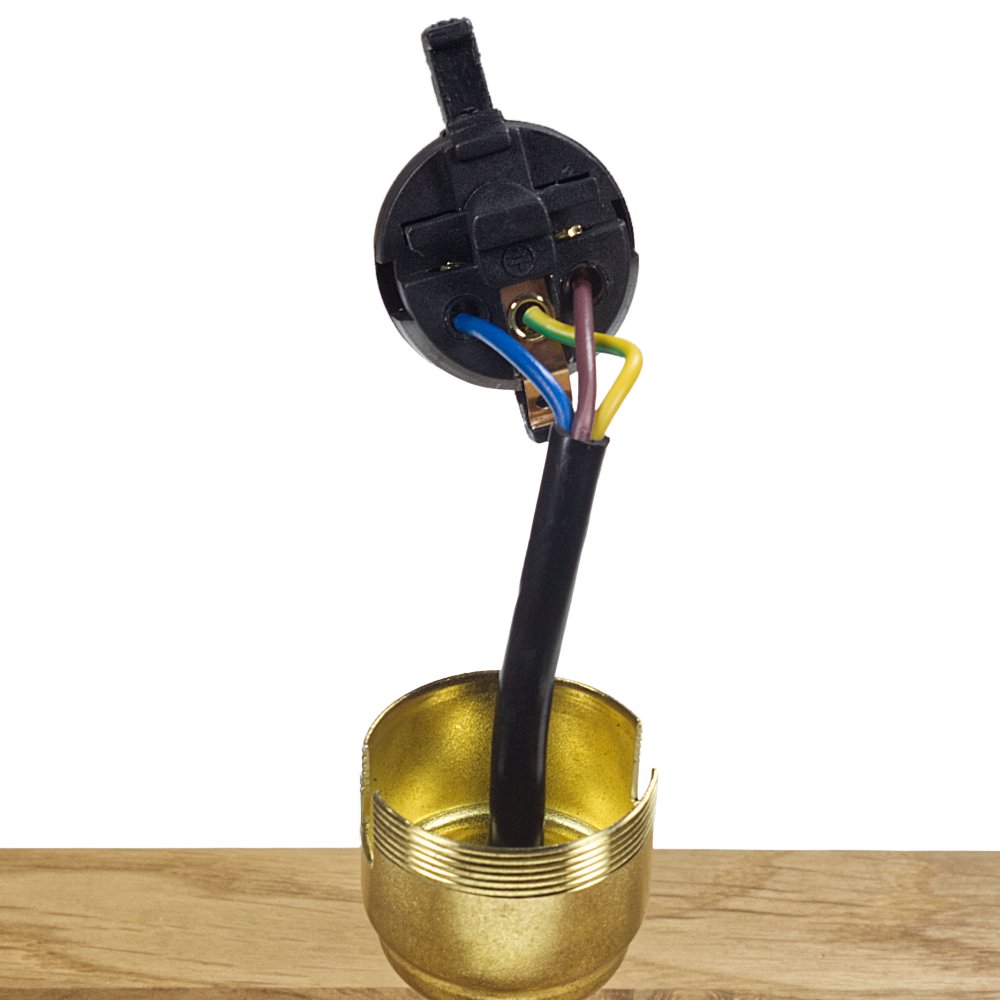
Next, wire the cable into the connection unit of the lampholder. This is done by firstly loosening the screws in the connection unit, then inserting the cable ends into the connection points, ensuring the Earth (Green/Yellow) is in the middle connection.
It does not matter which way around the Live (Brown) and Neutral (Blue) go. Lastly, tighten the screws, so the cable is securely in place, as shown in the image below.
-
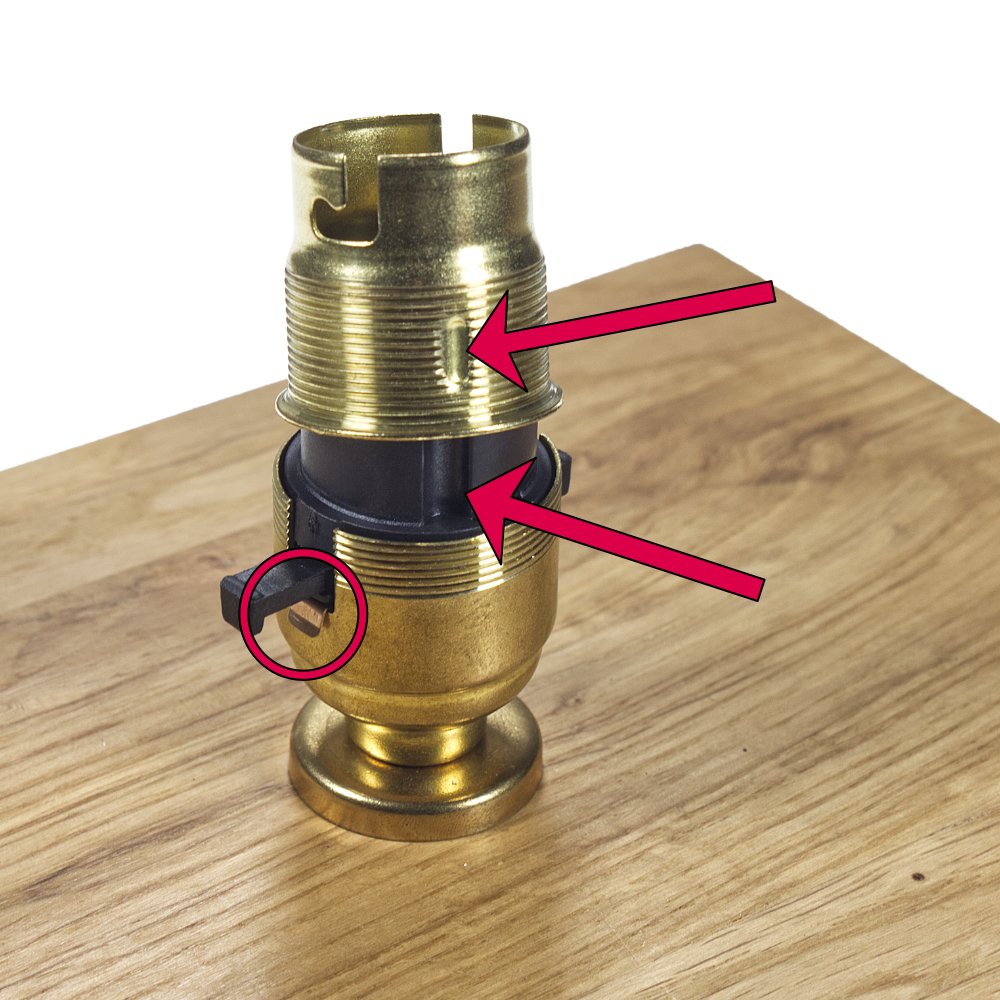
Carefully push the connection unit into the cap of the lampholder and place the top section (the skirt) onto the lampholder, ensuring the indents line up.
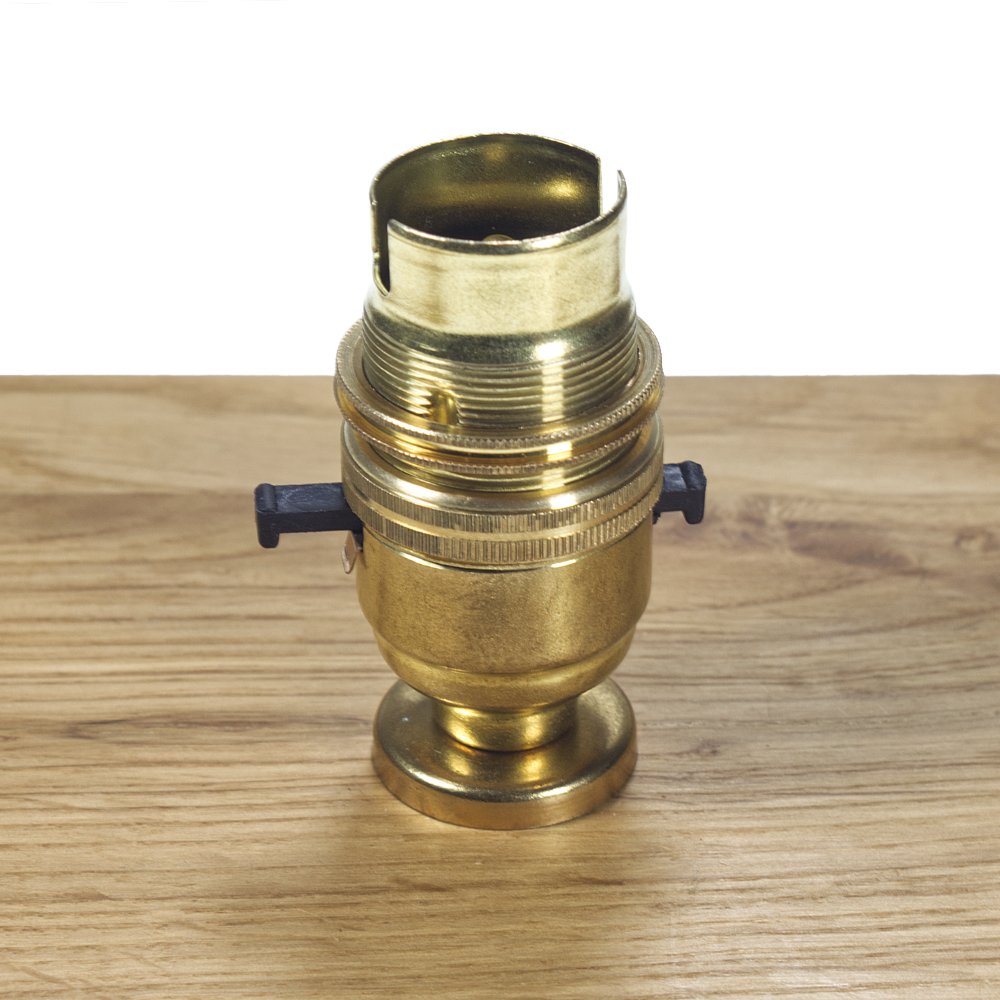
Finally, screw the lock ring and shade ring onto the lampholder.
Note: The copper tag is to sit over the indent on the lampholder so it is slightly visible.
-
Carefully push the connection unit into the cap of the lampholder and place the top section (the skirt) onto the lampholder, ensuring the indents line up.
Finally, screw the lock ring and shade ring onto the lampholder.
Note: The copper tag is to sit over the indent on the lampholder so it is slightly visible.