


Installing S.lilley Brand E14 Lampholder’s
This guide is to aid you in installing the S.Lilley brand SES | E14 | Small Edison Screw lampholders.
-
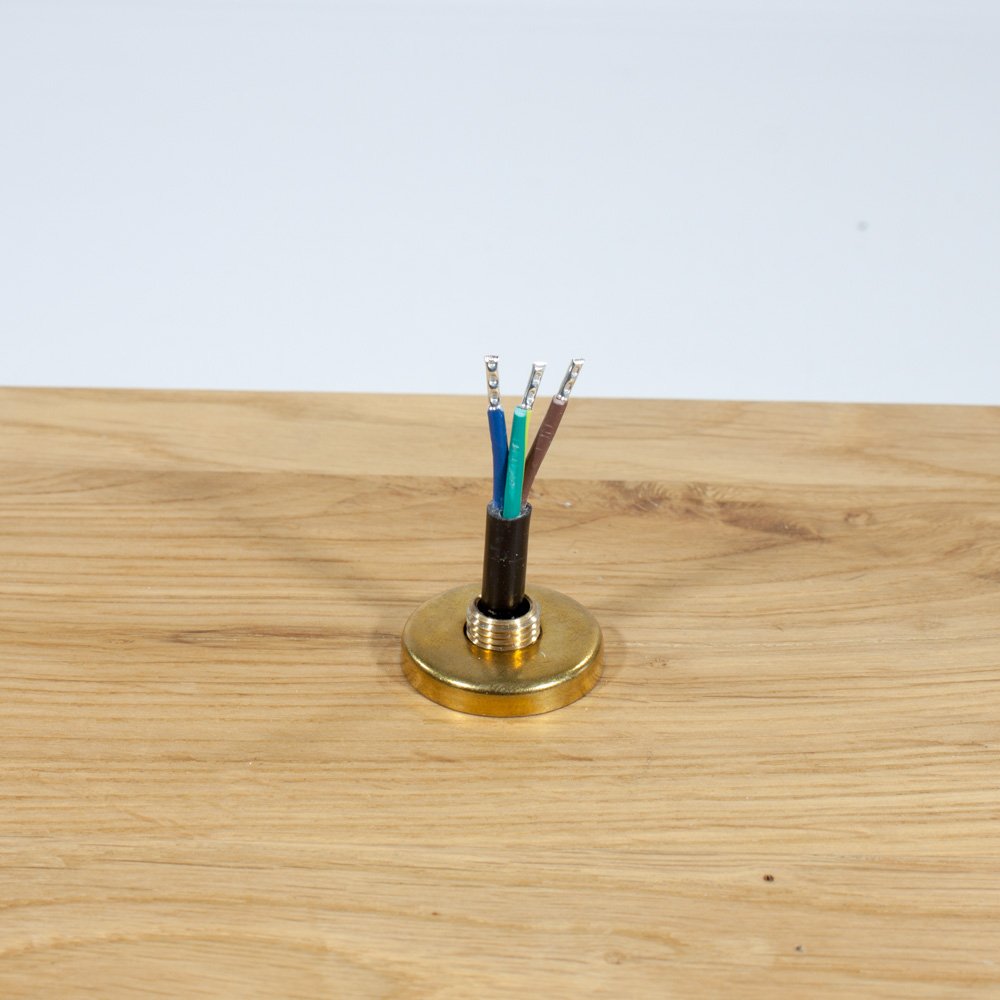
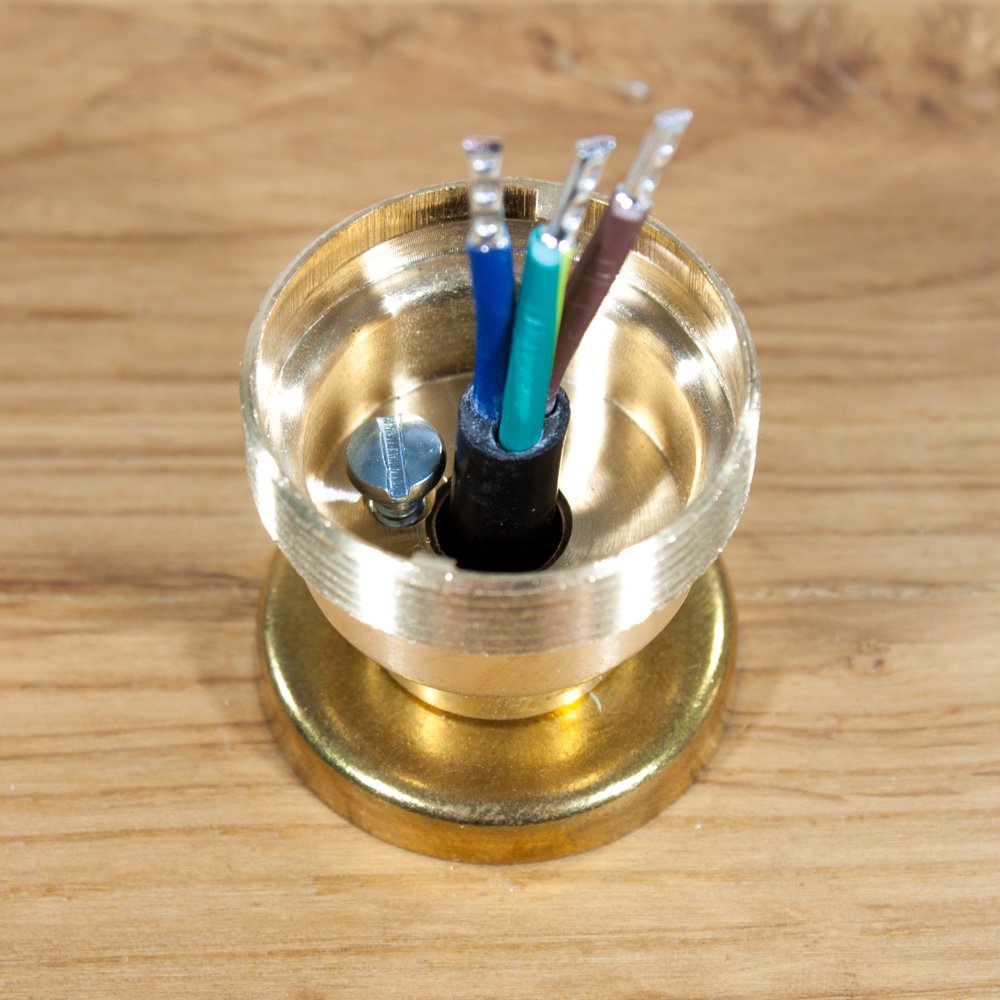
Separate the lampholder into its 3 parts and screw the cap (bottom section) onto your thread.
Notice you will see a screw in the cap, once the cap is screwed onto your thread you will need to tighten this screw up.
This will lock the cap onto the thread.
-
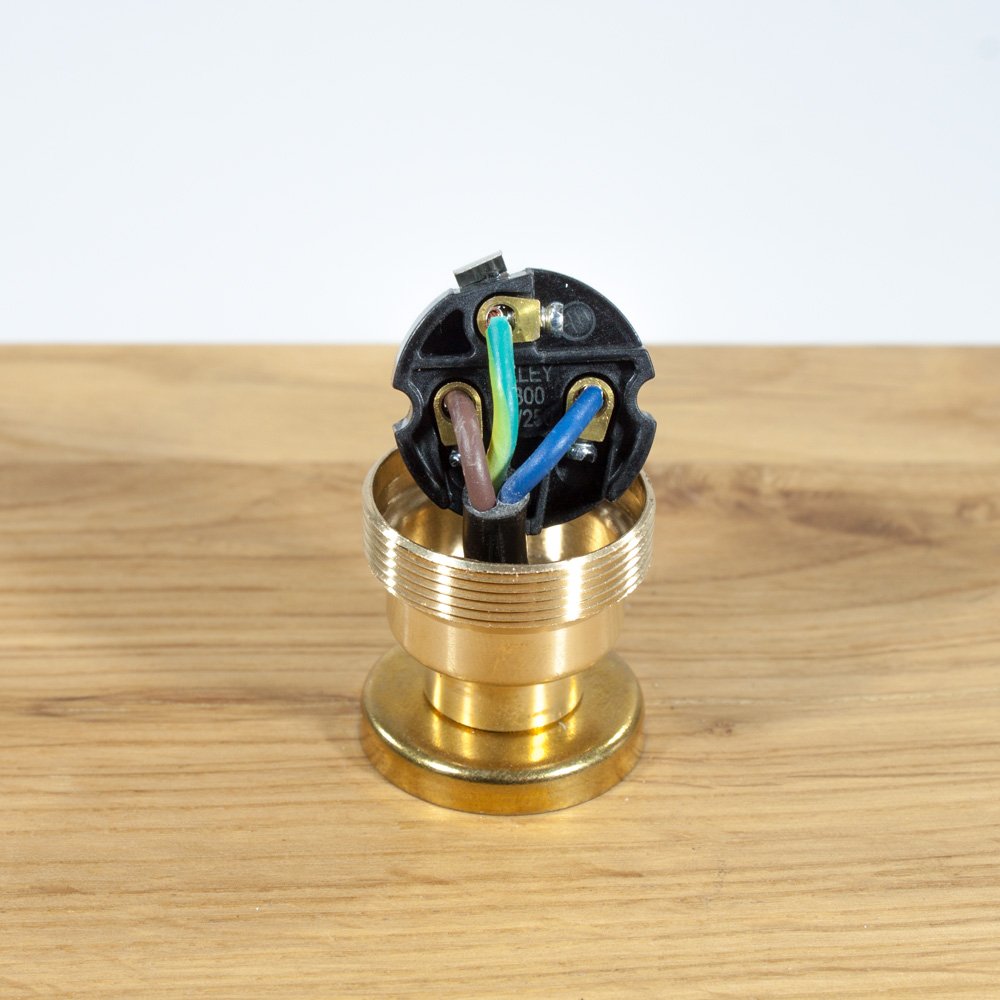
Take the connection unit and wire it as shown below, note the location of the live and neutral this is crucial.
- Live (Brown Wire)
- Neutral (Blue Wire)
- Earth (Green/Yellow Wire)
-
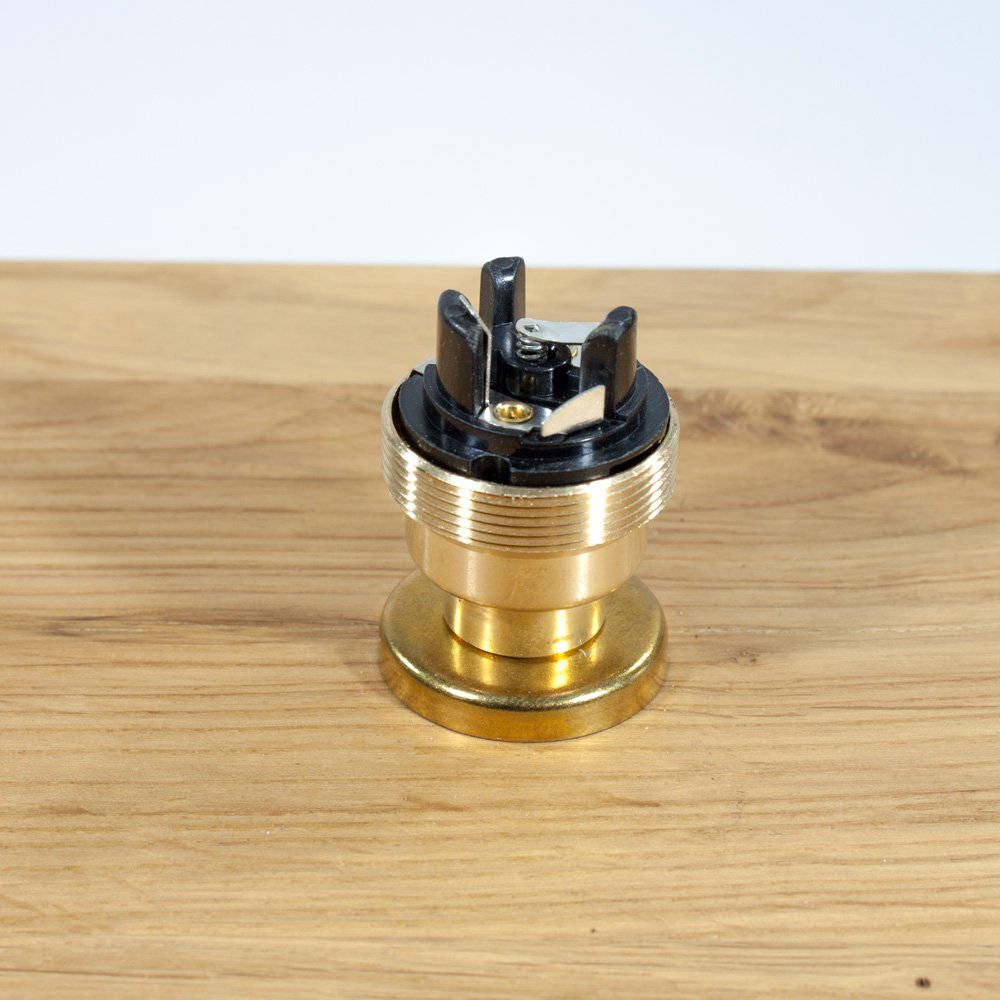
Carefully sit the connection unit into the cap of the lampholder, taking care not to trap any wires.
Note there is a notch on the connection unit that will need to be located into the cap, this will only go one way.
-
Take the black isolator that is inside the skirt (if it has not already fallen out) and place it over the top of the connection unit as shown below.
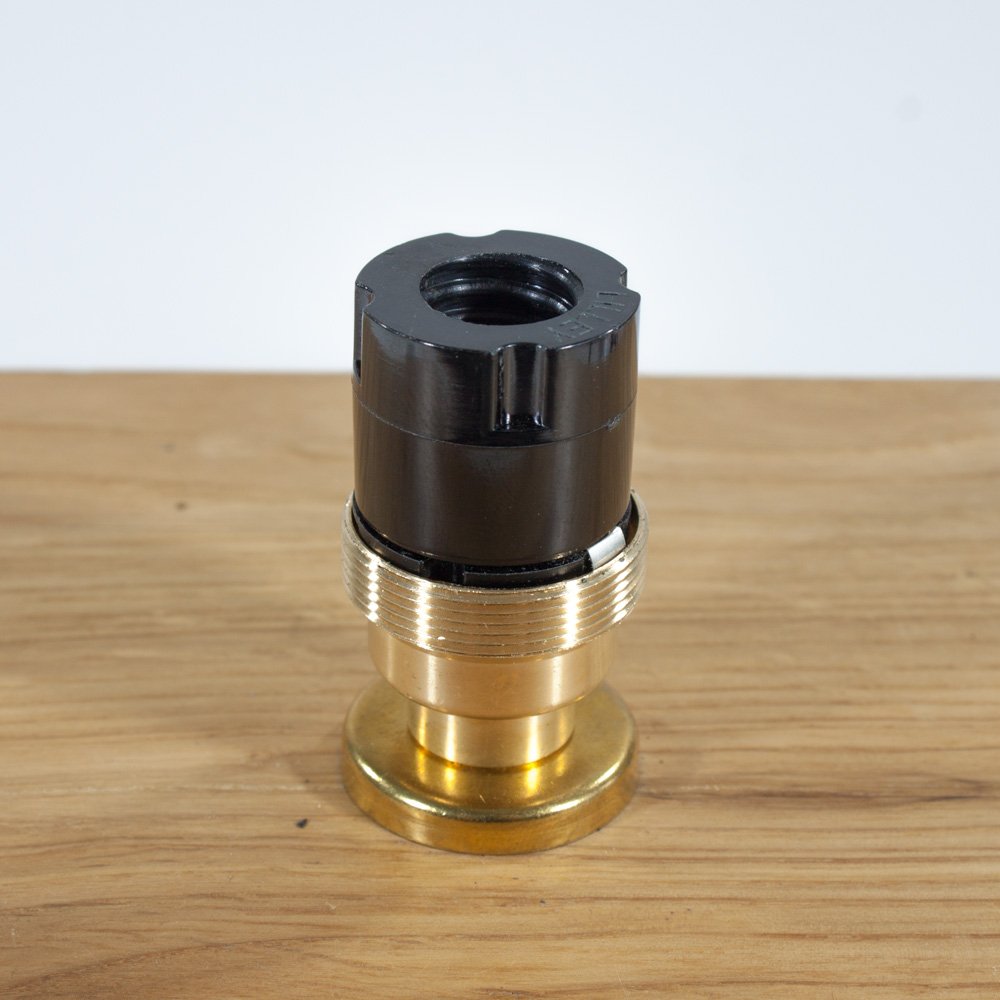
- Place the skirt over the top ensuring the 4 notches align up as shown below.
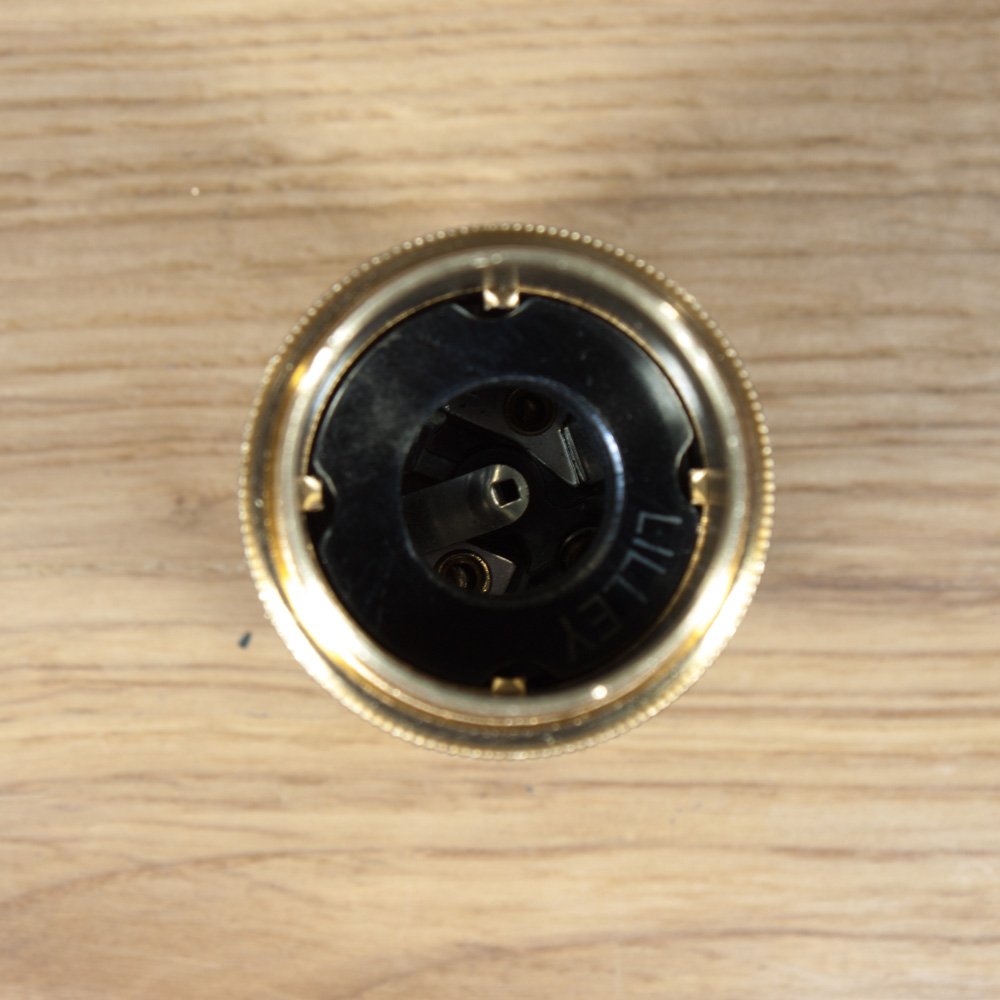
-
After ensuring the 4 notches are still aligned carefully tighten the skirt unit by threading it onto the cap, you will hear and feel a clicking noise this is normal and is the locking barb engaging.
Keep threading until the skirt has hit the bottom of the thread.
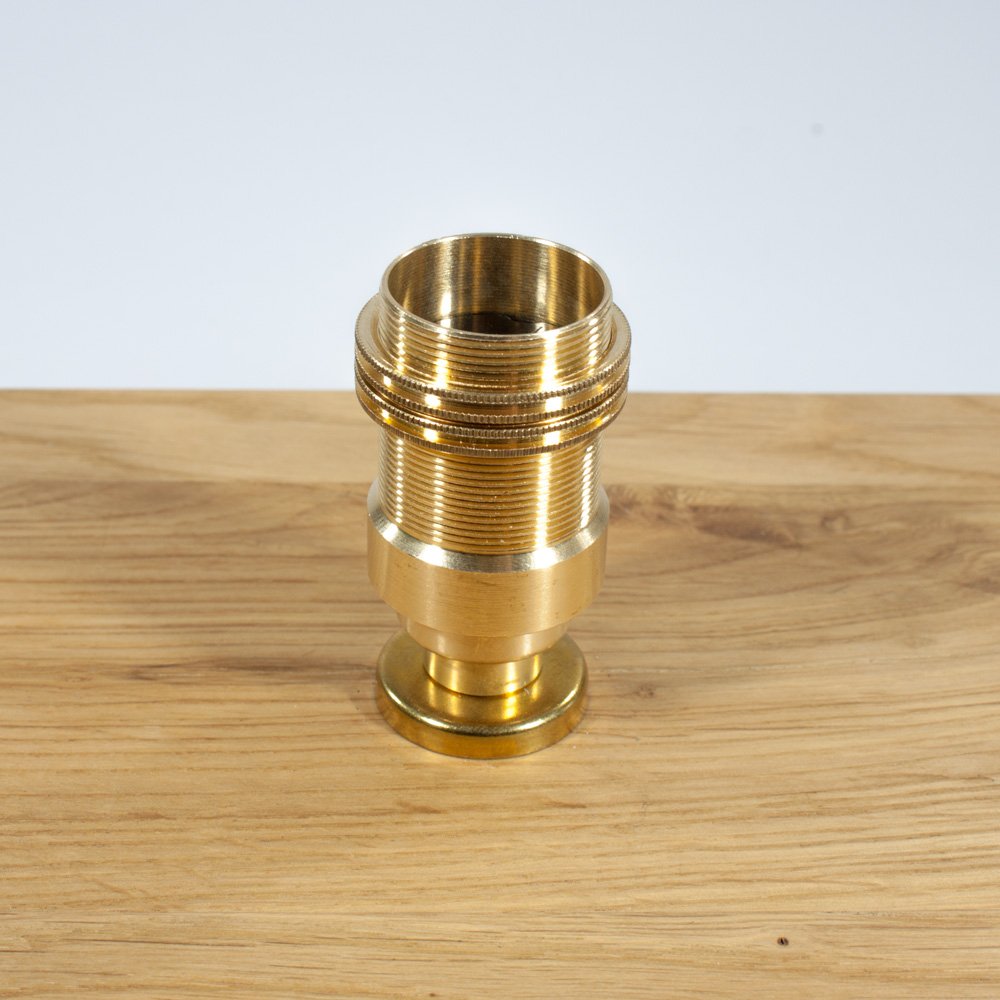
If you need to remove this lampholder then please view our "how to unlock your lampholder" guide.